How to create or locate default .htaccess file for WordPress
Leave a comment on How to create or locate default .htaccess file for WordPress
In today’s tutorial, we will walk you through a quick, simple easy guide on how to create or locate your .htaccess file in a shared hosting environment.
When you install WordPress on your hosting account, it adds a list of directories to your web server. For example, wp-admin stores the administrative core files, wp-content directory stores themes and plugins that necessary for your website. Apart from these, the WordPress also contains .htaccess which is configuration file that controls the running of your WordPress website. The .htaccess file is supported in webservers mainly apache and a few more other webservers like LiteSpeed web server.
The .htaccess is known as Hypertext access file, it is a very critical file that’s used for enabling and disabling features of website running on WordPress. This file is mainly used for managing permalink structures and redirects of your Website.
Locate .htaccess file:
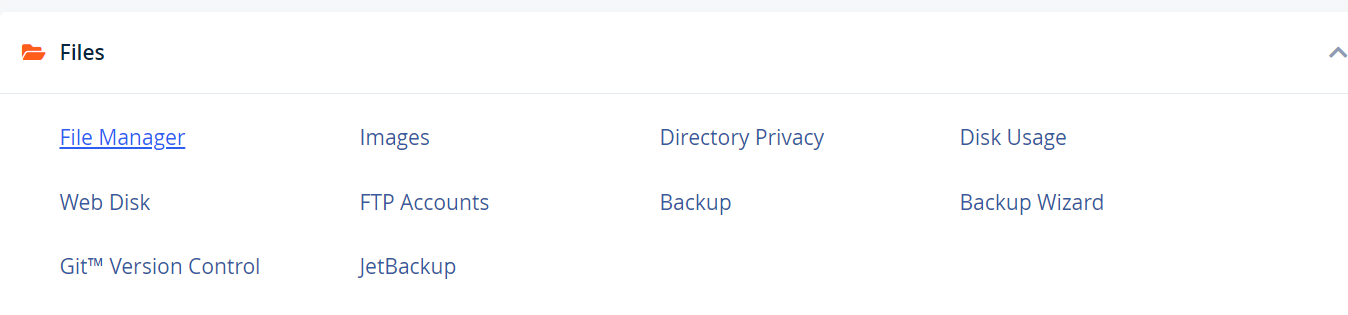
Login to your cPanel Account, find the Files Section and Click File Manager, a new window will open as below,
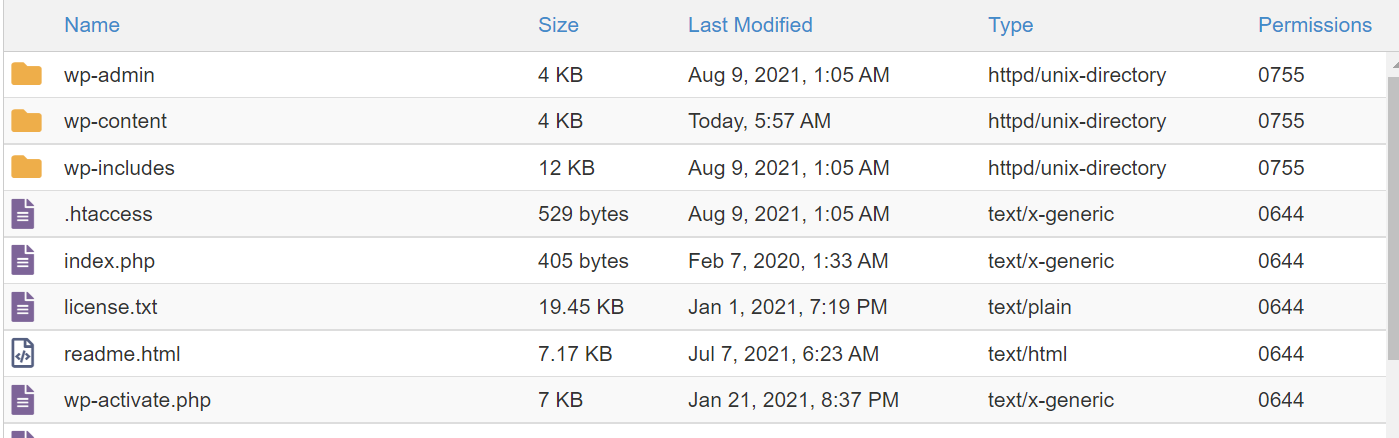
Once you get into File Manger of your cPanel account, you should be able to access public_html directory, now click wp folder if it is not within the public_html area, and you should be able to find the .htaccess file. If you do not see it, please skip to the next step below.
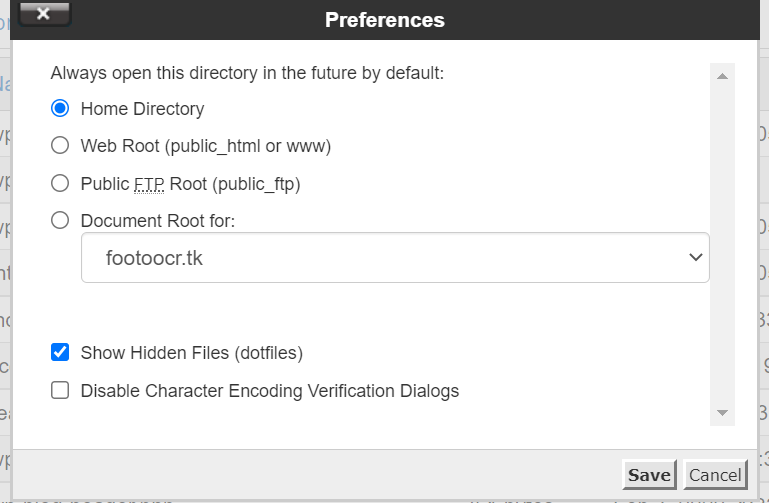
If you unable to locate the file, then you need click the settings in top right corner and enable viewing of hidden files as below:
Now, you should be able to view the .htaccess file and edit, if you have more than one domain, each domain will have its own .htaccess file.
Now, there are unique situations where some WordPress configuration might be corrupted and some times your websites might stop working due to corrupted .htaccess file. Since .htaccess is the core file, that keeps your website running. If you find your .htaccess file to be missing or corrupt, then you can proceed to the next step below to create a default .htaccess file for your WordPress website.
Creating a .htaccess file for WordPress Website:
Click on File at the left top corner as below, a new window will pop up as below
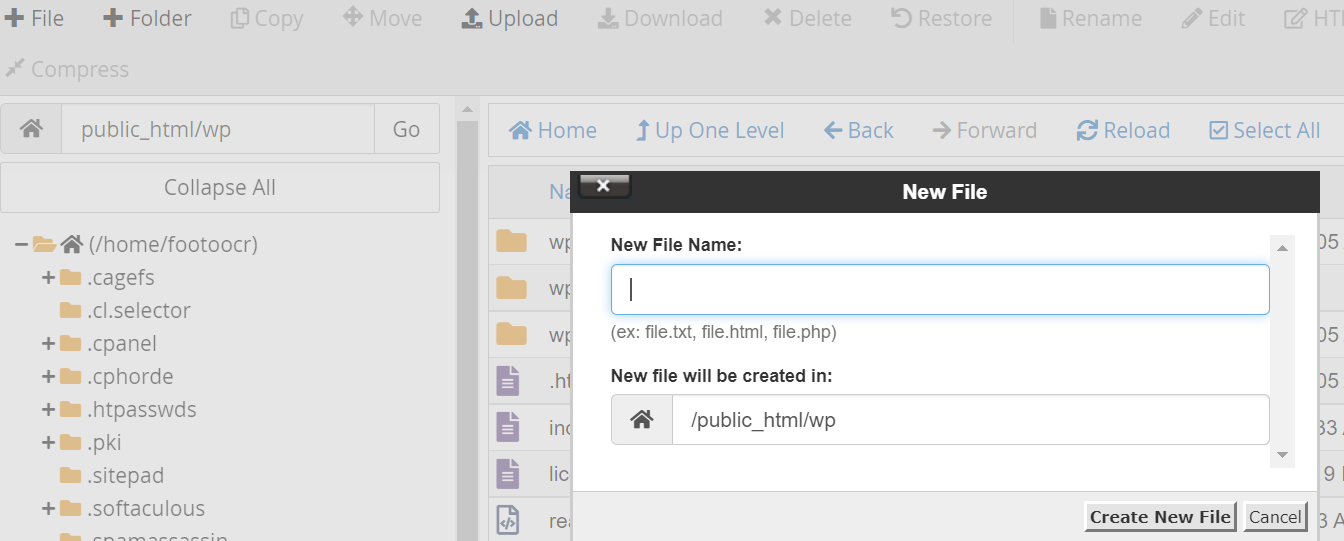
Now name the file as .htaccess and paste the below code
# BEGIN WordPress

RewriteEngine On
RewriteRule .* - [E=HTTP_AUTHORIZATION:%{HTTP:Authorization}]
RewriteBase /
RewriteRule ^index\.php$ - [L]
RewriteCond %{REQUEST_FILENAME} !-f
RewriteCond %{REQUEST_FILENAME} !-d
RewriteRule . /index.php [L]

# END WordPress
This is default .htaccess code for WordPress.
If you’re looking to setup more advanced rules for your website you can visit https://wordpress.org/support/article/htaccess/ for more information.
Thank you for taking time to read our post, feel free to check RackNerd’s Shared Hosting Plans which are optimized to provide the best speeds and performance for WordPress based websites.