How to Setup Joomla (with LAMP Stack) on Your VPS
Leave a comment on How to Setup Joomla (with LAMP Stack) on Your VPS
In today’s world, Joomla has been one of the popular CMS-Content Management System, that gives you a wide variety of option manage both the dynamic and static websites.
In this tutorial we will show you how to install Joomla, along with a LAMP stack on your VPS or dedicated server. In this tutorial we utilize a VPS running on AlmaLinux OS 8, which is a new RHEL fork/alternative. The tutorial will also be applicable to servers running on CentOS 8. If you do not have a VPS server yet and are looking to deploy a KVM VPS instantly, take a look at our VPS specials by clicking here (very affordable pricing!)
Before you proceed with Joomla Installation, you need to make sure, that your LAMP stack is setup. Here are some simple commands that you need to run on your VPS server’s SSH command line.
STEP #1: Install Apache Webserver
sudo yum install httpd -y
systemctl enable httpd
systemctl start httpd.service
STEP #2: Install MariaDB server
yum install mariadb-server mariadb -y
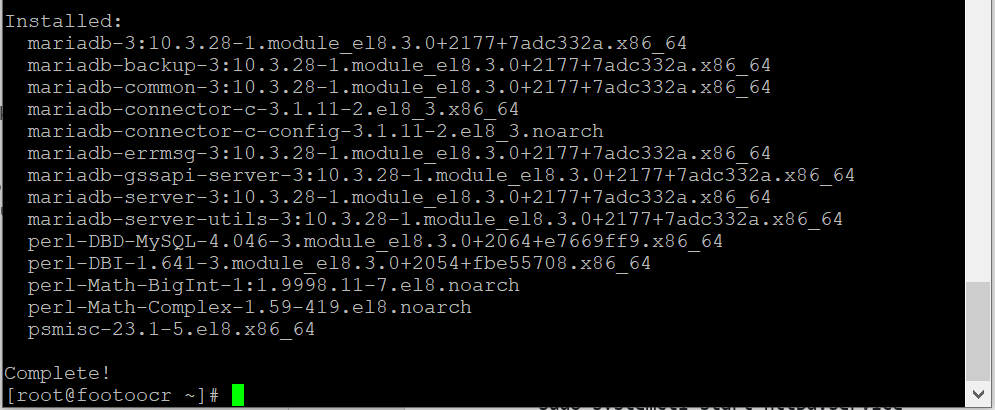
systemctl start mariadb
After setting up MariaDB server, its important to secure the database server, enter the below command on command line
mysql_secure_installation
Once you enter the above the command, it prompt you for password, just hit the Enter Key
After this step, you will need to setup password, and follows multiple security questions, follow the below snippet, 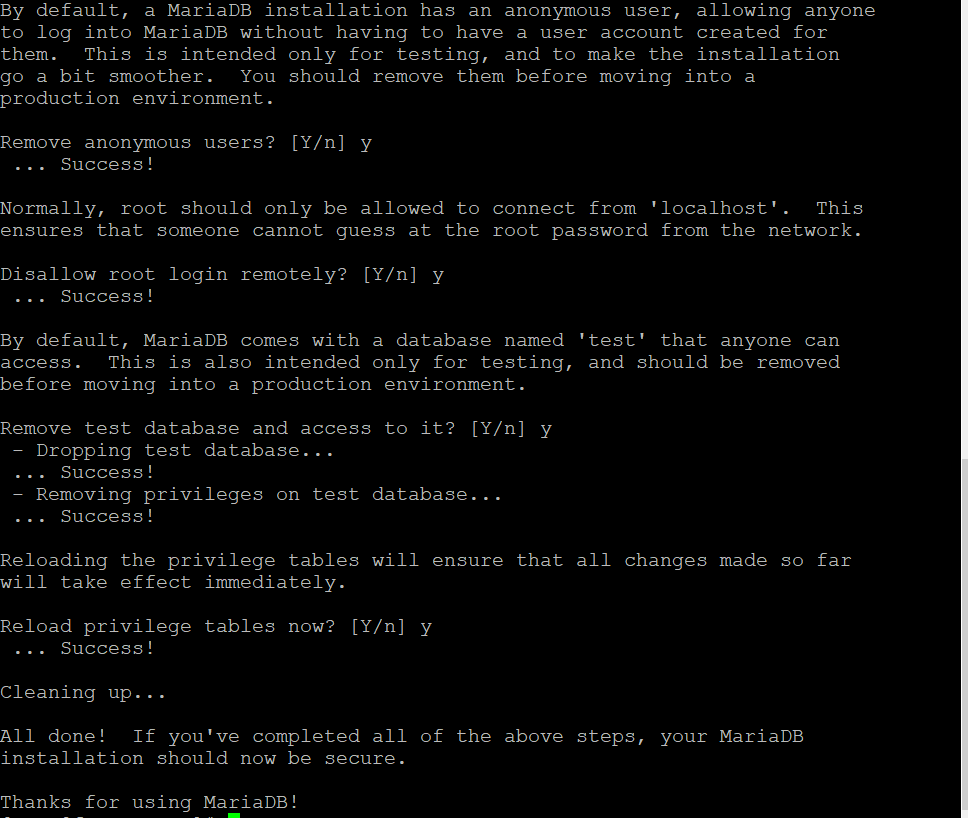
Now connect to database with below command,
mysql -u root -p
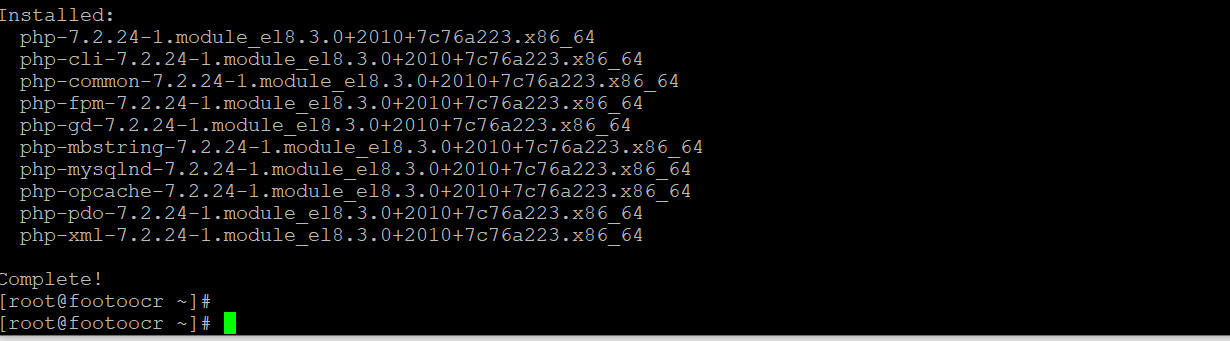
STEP #3: Install PHP
dnf install php php-fpm php-mysqlnd php-opcache php-gd php-xml php-mbstring -y
systemctl start php-fpm
Finally, our LAMP Stack is setup and ready to use.
Now let’s get into main part of tutorial, Joomla setup!
STEP #4: Download Joomla package using below command:
wget https://downloads.joomla.org/cms/joomla3/3-9-4/Joomla_3-9-4-Stable-Full_Package.zip
If you don’t have wget installed on your system, you can have it installed using the below command:
yum install -y wget
STEP #5: Create a new directory using below command
mkdir -p /var/www/html/joomla
Now unzip the downloaded package using below command,
unzip Joomla_3-9-4-Stable-Full_Package.zip -d /var/www/html/joomla
STEP #6: Give appropriate permissions to Joomla using below commands
chown -R apache:apache /var/www/html/joomla
chmod -R 755 /var/www/html/joomla
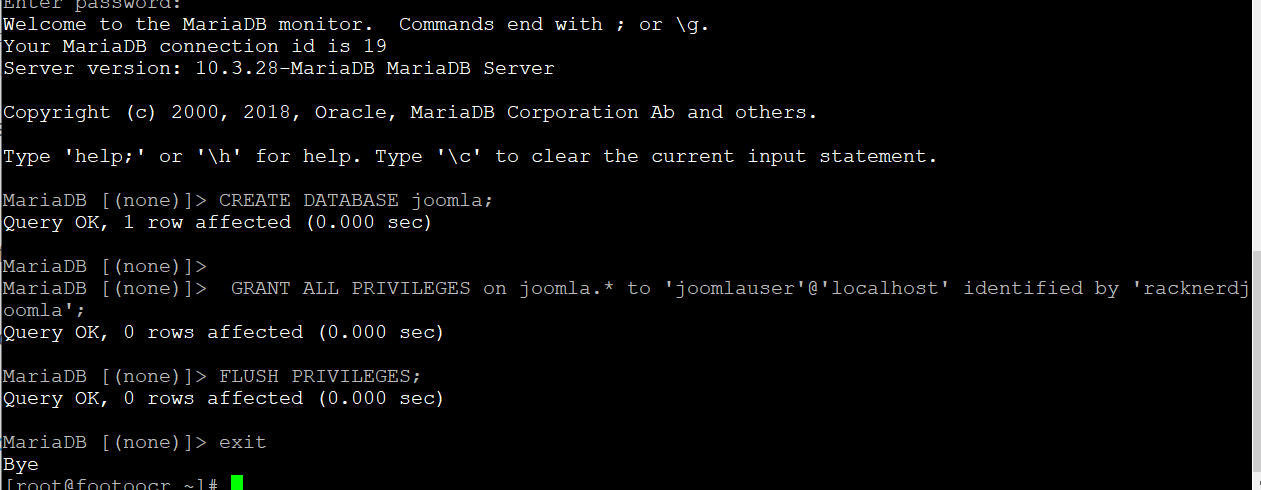
STEP #7: Login to your database server
mysql -u root -p
mysql> CREATE DATABASE joomla;
mysql> GRANT ALL PRIVILEGES on joomla.* to ‘joomlauser’@’localhost’ identified by ‘racknerdjoomla;
mysql> FLUSH PRIVILEGES;
STEP #8: Restart the mysql database service
systemctl start mariadb
All set, now you can access Joomla from you browser using: https://vps_ip_address/joomla
Be sure to replace vps_ip_address with your VPS server IP address.
We hope that you’ve found this tutorial useful! Next time you’re in the market for a reliable web hosting provider, consider RackNerd’s web hosting plans at https://www.racknerd.com/