How to Install Shadowsocks on a Ubuntu VPS
Leave a comment on How to Install Shadowsocks on a Ubuntu VPS
Shadowsocks is a fast tunnel proxy that helps you bypass firewalls and block certain websites and web protocols. It is also a lightweight, fast and Flexible Encrypted Socks5 proxy. Shadowsocks is used to encrypt the data between client and server communication. It is not a VPN per say, but it can act like a VPN to protect you by encrypting your internet data.
We are using Shadowsocks-libev package on Ubuntu server for setting the shadowsocks server. Now let’s jump into how to install shadowsocks.
Before we begin, update your system by running the below command:
sudo apt update && sudo apt upgrade
Install the Shadowsocks Server
Install dependencies on the Ubuntu
apt install -y –no-install-recommends gettext build-essential autoconf libtool libpcre3-dev \
asciidoc xmlto libev-dev libudns-dev automake libmbedtls-dev \
libsodium-dev git python3-m2crypto libc-ares-dev

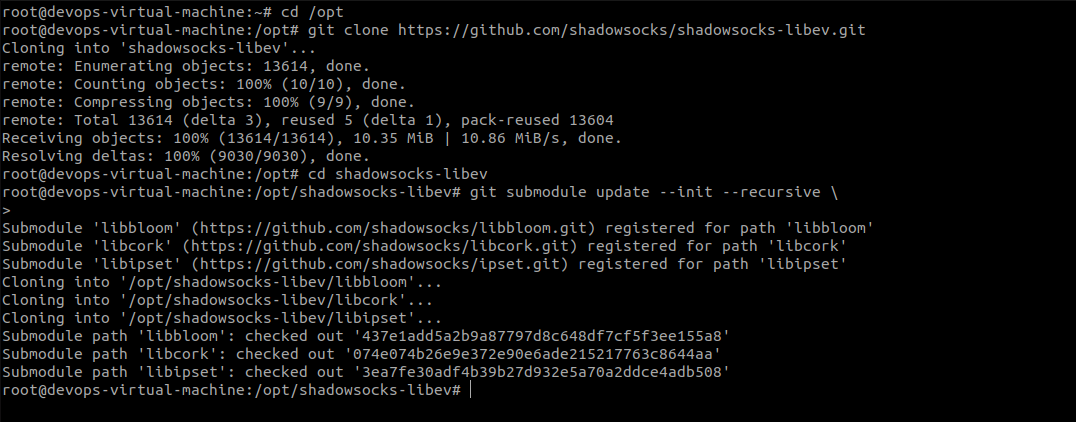
Change the directory to /opt and download the Shadowsocks Git:
cd /opt
git clone https://github.com/shadowsocks/shadowsocks-libev.git
cd shadowsocks-libev
git submodule update –init –recursive \
Install Shadowsocks-libev:
apt install pkg-config
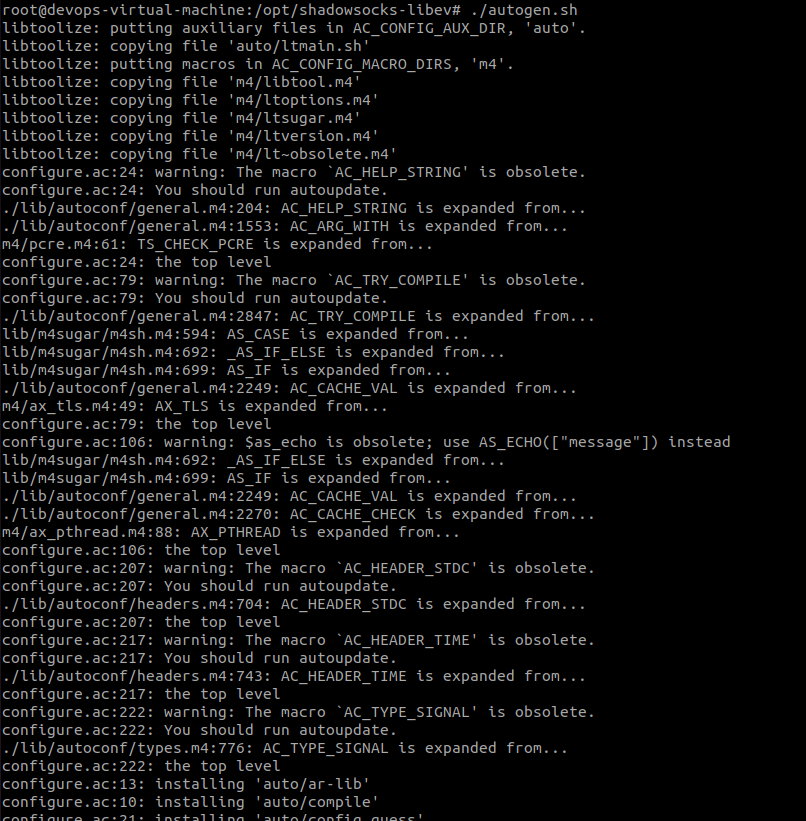
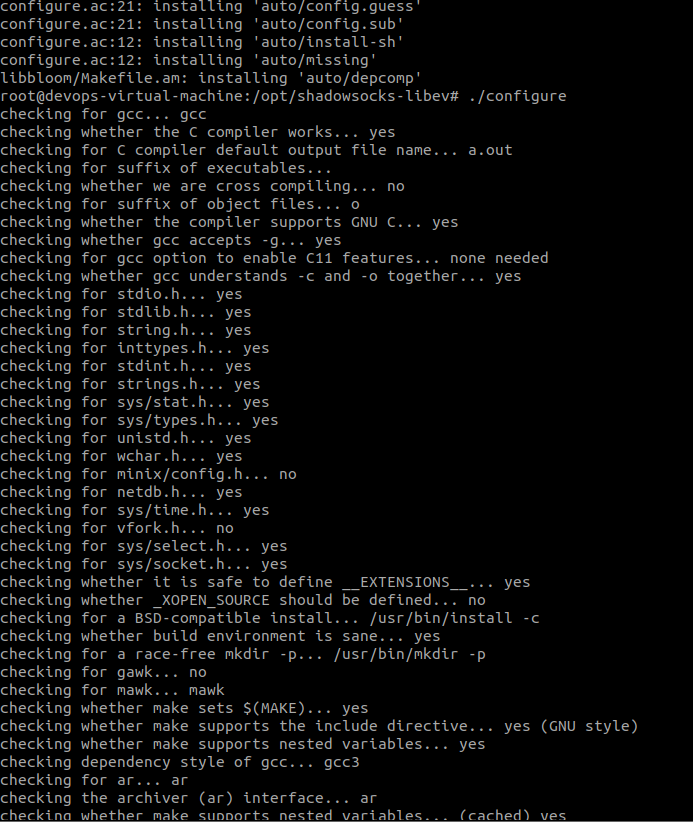
./autogen.sh
./configure
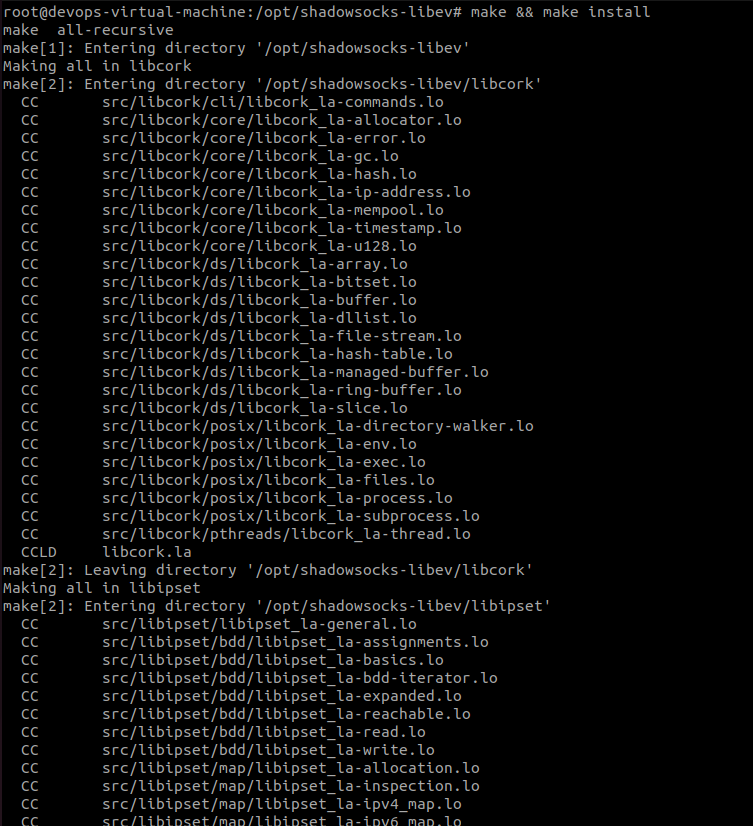
make && make install
Configure the Shadowsocks Server
Create a new system user for Shadowsocks
adduser –system –no-create-home –group shadowsocks
Create a directory for the configuration file:
mkdir -m 755 /etc/shadowsocks
Create the Shadowsocks configuration file shadowsocks.json by running:
nano /etc/shadowsocks/shadowsocks.json
Paste the contents shown below in bold into the file:
{
“server”:”your_public_IP_address”,
“server_port”:8388,
“password”:”your_password”,
“timeout”:300,
“method”:”aes-256-gcm”,
“fast_open”: true
}
Optimize Shadowsocks
Create the local.conf system optimization file by running: nano /etc/sysctl.d/local.conf
# max open files
fs.file-max = 51200
# max read buffer
net.core.rmem_max = 67108864
# max write buffer
net.core.wmem_max = 67108864
# default read buffer
net.core.rmem_default = 65536
# default write buffer
net.core.wmem_default = 65536
# max processor input queue
net.core.netdev_max_backlog = 4096
# max backlog
net.core.somaxconn = 4096
# resist SYN flood attacks
net.ipv4.tcp_syncookies = 1
# reuse timewait sockets when safe
net.ipv4.tcp_tw_reuse = 1
# turn off fast timewait sockets recycling
net.ipv4.tcp_tw_recycle = 0
# short FIN timeout
net.ipv4.tcp_fin_timeout = 30
# short keepalive time
net.ipv4.tcp_keepalive_time = 1200
# outbound port range
net.ipv4.ip_local_port_range = 10000 65000
# max SYN backlog
net.ipv4.tcp_max_syn_backlog = 4096
# max timewait sockets held by system simultaneously
net.ipv4.tcp_max_tw_buckets = 5000
# turn on TCP Fast Open on both client and server side
net.ipv4.tcp_fastopen = 3
# TCP receive buffer
net.ipv4.tcp_rmem = 4096 87380 67108864
# TCP write buffer
net.ipv4.tcp_wmem = 4096 65536 67108864
# turn on path MTU discovery
net.ipv4.tcp_mtu_probing = 1
# for high-latency network
net.ipv4.tcp_congestion_control = hybla
# for low-latency network, use cubic instead
net.ipv4.tcp_congestion_control = cubic
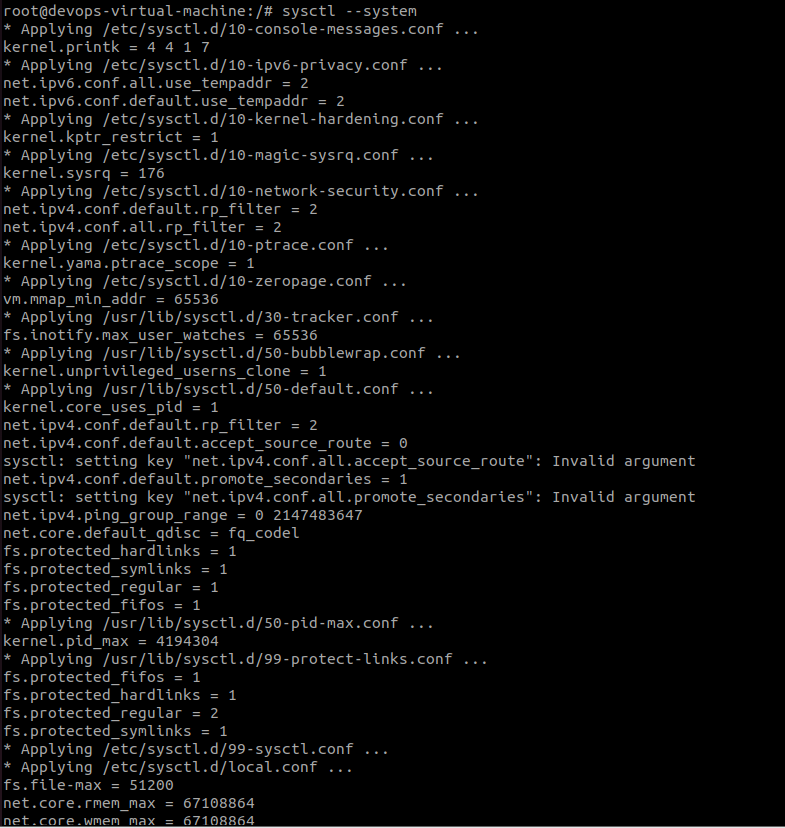
Apply optimizations
sysctl –system

Shadowsocks Systemd Service
Create a systemd file shadowsocks.service and paste the contents shown below into the file
nano /etc/systemd/system/shadowsocks.service
[Unit]
Description=Shadowsocks proxy server
[Service]
User=root
Group=root
Type=simple
ExecStart=/usr/local/bin/ss-server -c /etc/shadowsocks/shadowsocks.json -a shadowsocks -v start
ExecStop=/usr/local/bin/ss-server -c /etc/shadowsocks/shadowsocks.json -a shadowsocks -v stop
[Install]
WantedBy=multi-user.target
Enable and start shadowsocks.service
systemctl daemon-reload
systemctl enable shadowsocks
systemctl start shadowsocks

Allow the port 8388 in the server firewall
ufw allow proto tcp to 0.0.0.0/0 port 8388 comment “Shadowsocks”
![]()
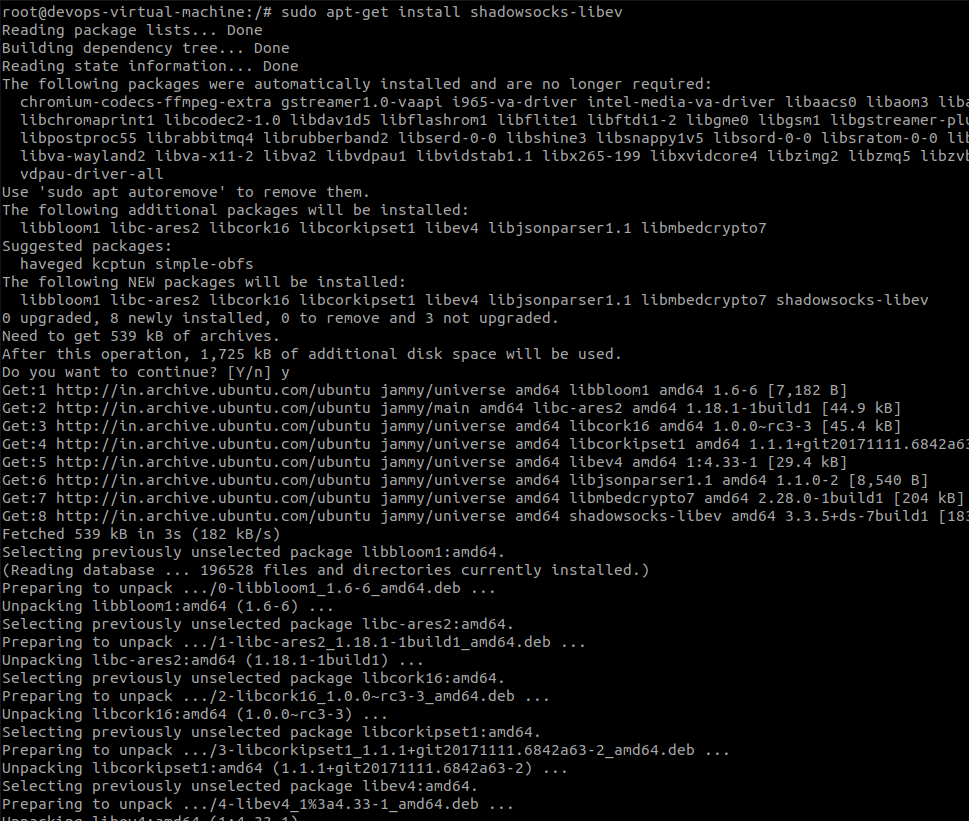
Install Shadowsocks Client and Connect
sudo apt-get install shadowsocks-libev
sudo systemctl stop shadowsocks-libev
sudo systemctl disable shadowsocks-libev

create the client-side configuration file local-config.json and paste the contents shown below into the file
nano /etc/shadowsocks-libev/local-config.json
{
“server”:”Your_Server_IP”,
“mode”:”tcp_and_udp”,
“server_port”:8388,
“local_address”:”127.0.0.1″,
“local_port”:1080,
“password”:”your-secure-password”,
“timeout”:60,
“method”:”aes-256-gcm”
}
Then we can start/enable the client by issuing below command
sudo systemctl start [email protected]
sudo systemctl enable [email protected]

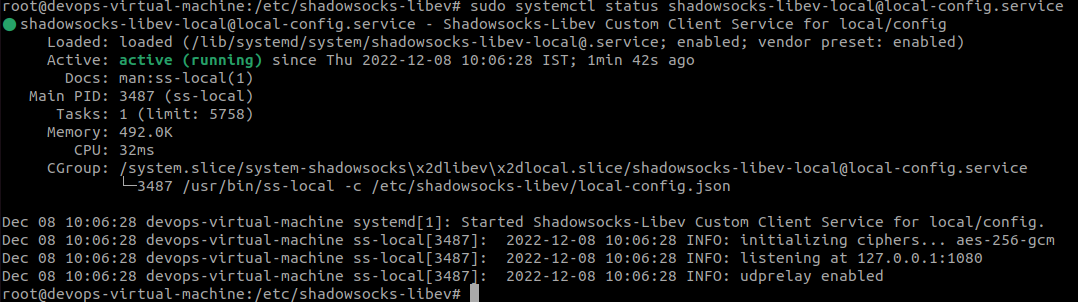
Check the status
sudo systemctl status [email protected]
Testing the connection
you can test it directly by using curl in the terminal
curl –proxy socks5://127.0.0.1:1080 https://ifconfig.me
Your connection details will be listing the IP address of your VPS server instead of the IP of your client device.
![]()
Congratulations! You have successfully set up Shadowsocks on your VPS.