Tour of the RackNerd VPS Control Panel
RackNerd utilizes our own panel called ctrl for all of our KVM VPS, Windows VPS, and Ryzen VPS services. ctrl is RackNerd’s proprietary & modern VPS control panel – which allows you to monitor, manage your VPS and make changes to settings.
You can access your ctrl control panel using the login credentials mentioned in your welcome email. If you haven’t received your login details after your order is accepted and active, you can always reach out to support team by submitting a ticket, or by clicking on the “View Email Log” button in the RackNerd client portal.
Here are some things that you can do within your RackNerd ctrl Control Panel. Let’s dive into it!
1. How to change the status of server
Once you login to you control panel with login details, you will see the below page:
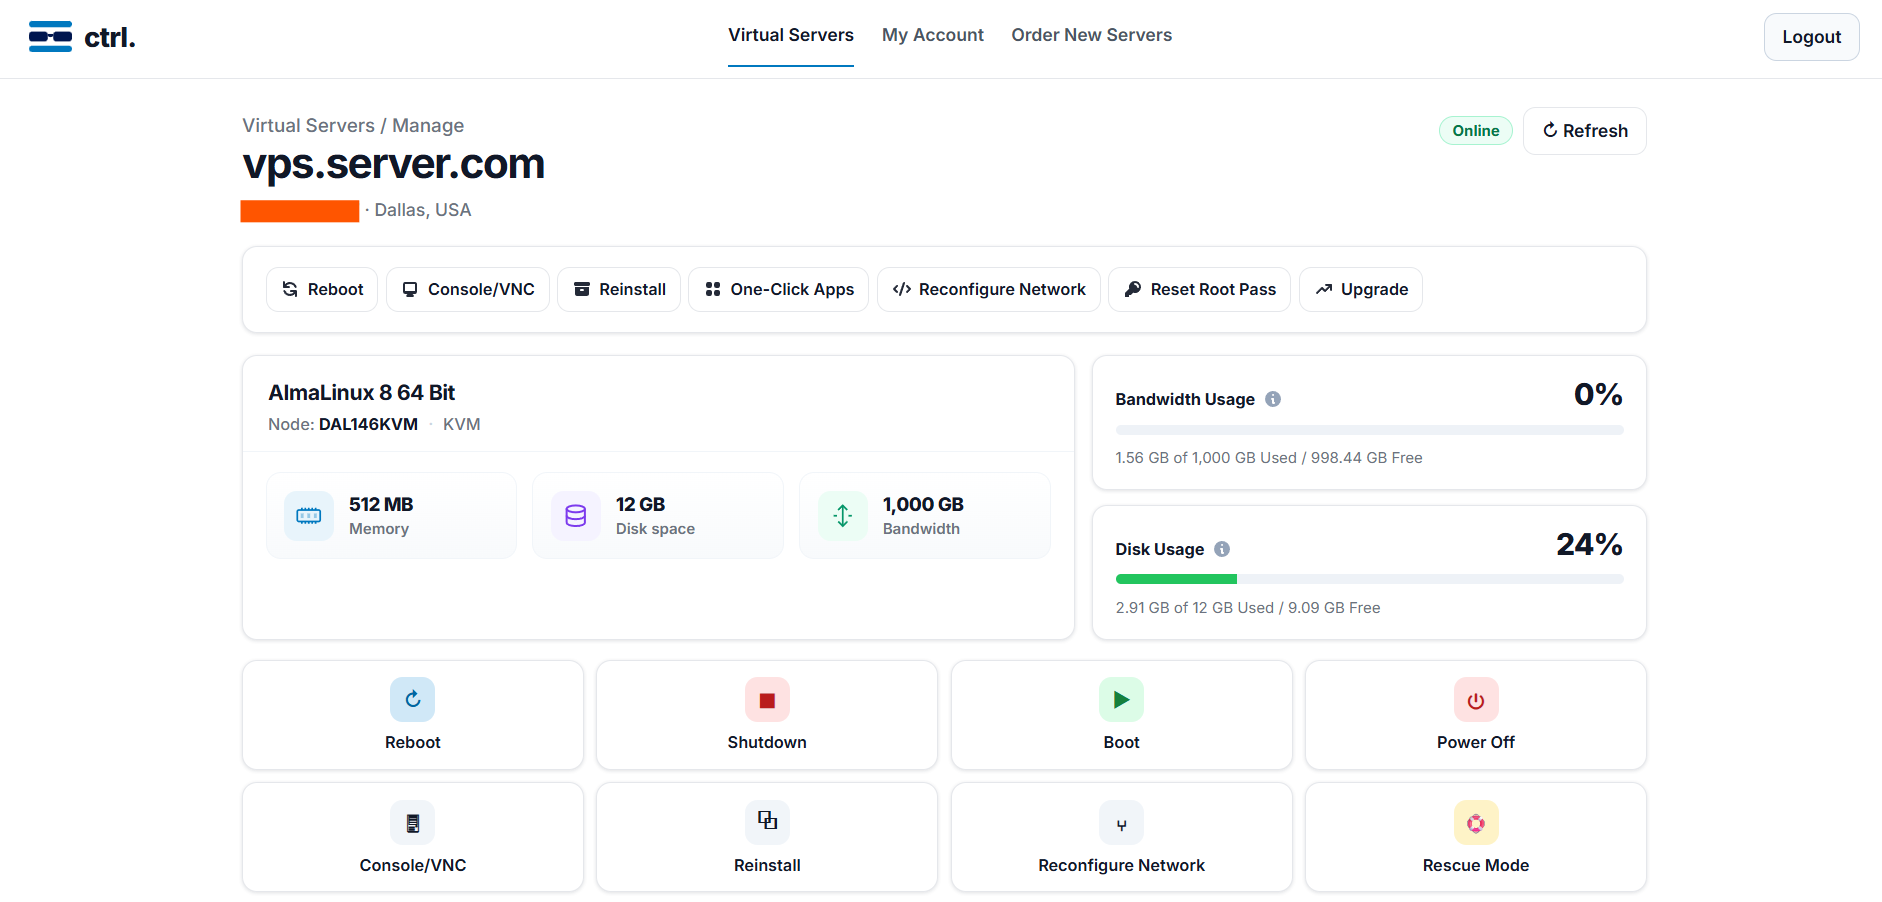
Here are some things that you can do from your ctrl Control Panel:
Reboot – reboots your VPS
Shutdown – turns off your VPS server
Boot – turns on your VPS server
Reinstall – reinstalls OS on your VPS, you can choose the OS template of your choose from the drop down.
One-Click App – offers several applications that can be deployed with a single click.
Firewall – additional layer of protection
Please note that reinstall and one-click app installation options will completely erase all existing data on your VPS. So, backup if you have critical data before performing reinstall option.
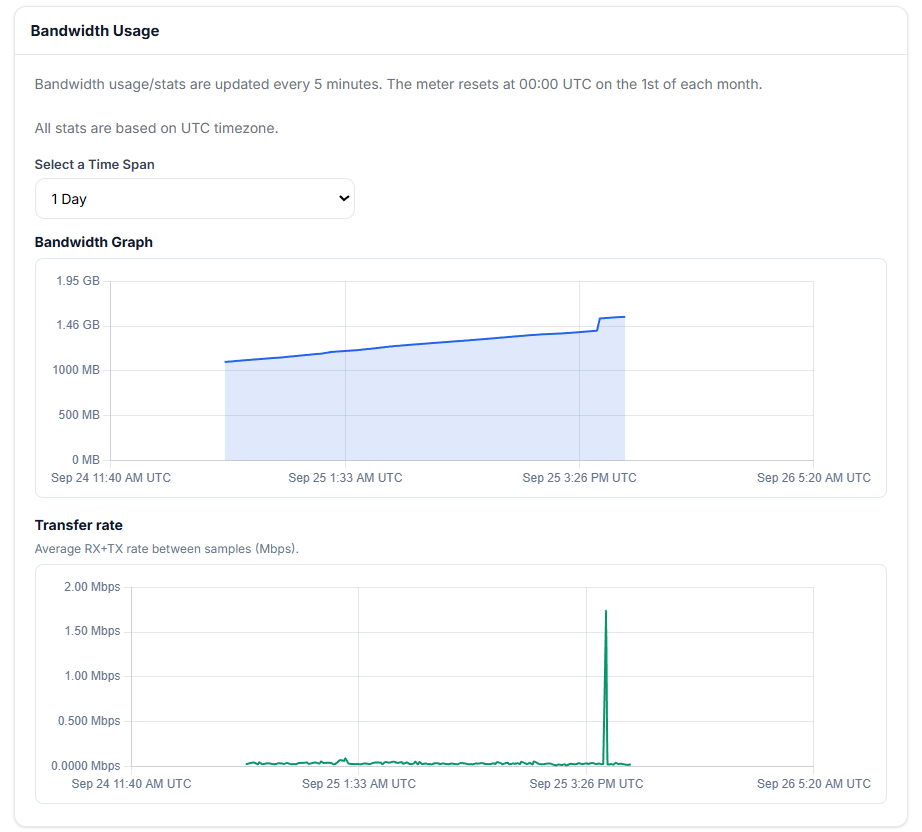
2. How to check the usage statistics of VPS
You can check the usage statistics of your VPS at the bottom of your VPS control panel and select the time interval of your choice.
3. How to use One-Click Apps
Our One-Click Apps feature lets you quickly deploy applications such as AdminBolt, n8n, Webmin, CyberPanel, WireGuard, CloudPanel, and more directly from your VPS control panel. Open One-Click Apps from your VPS management page and select your preferred application.
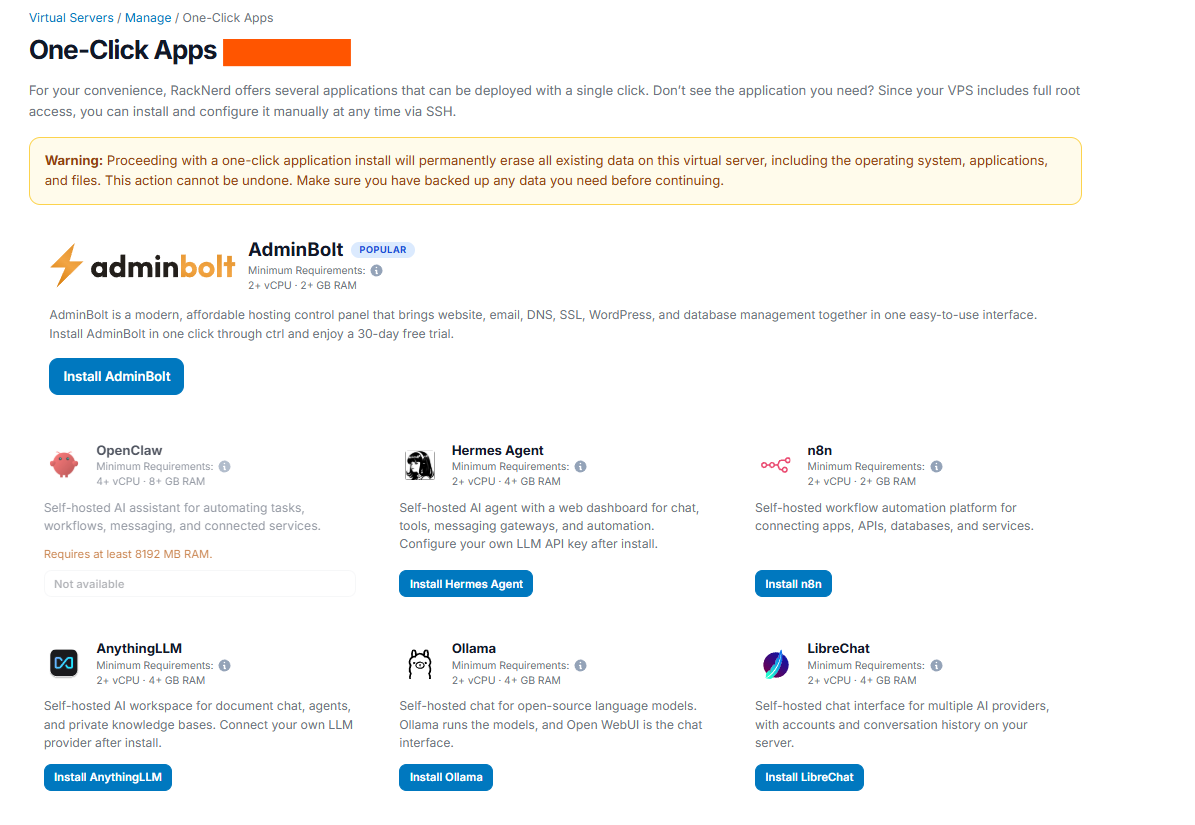
Please note: Installing a One-Click App permanently erases all existing VPS data, including the operating system, applications, and files. Back up any important data before proceeding.
4. How to Change the Root/Admin Password
To change the root/administrator password of your VPS go to the “Reset Root Pass” tab and click Reset Root Password button icon.
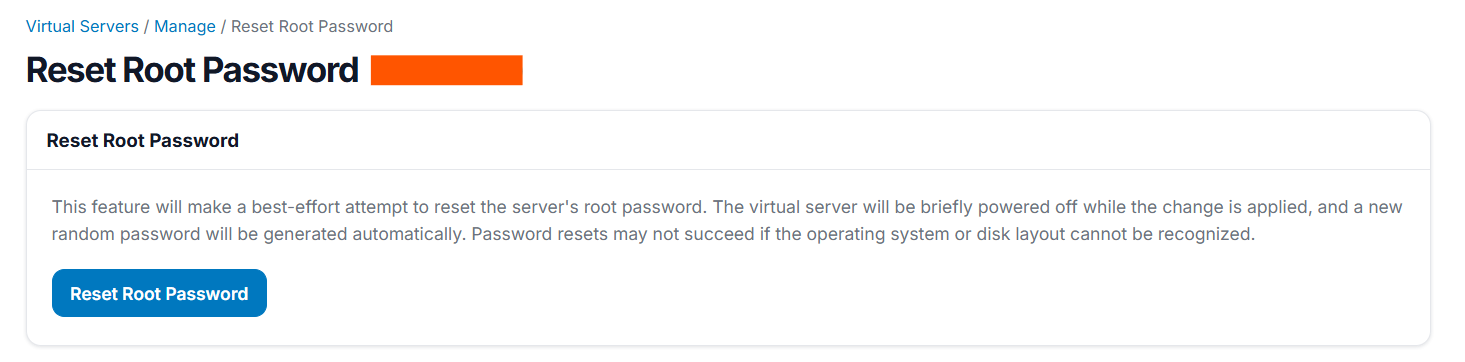
Once you click Reset Root Password button, a confirmation pop-up window will open. Go ahead and click OK to confirm.
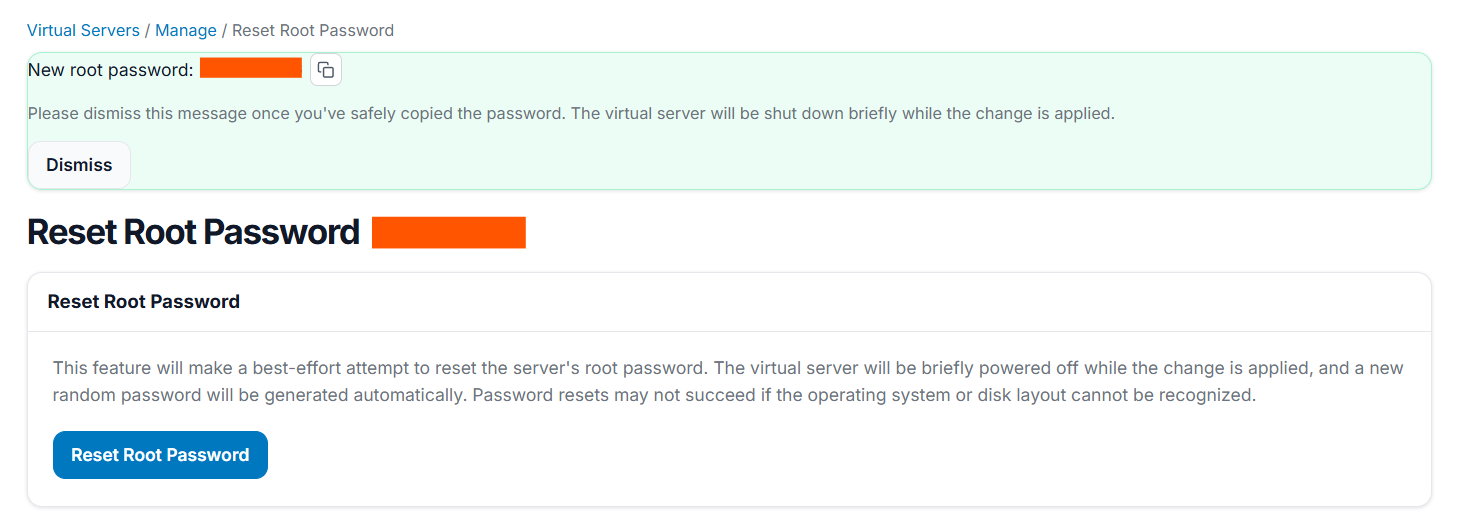
Once you click the OK confirm button, wait for few minutes in order for the password to be reset. Once it is completed, you will receive a message box with the new password on the same page.
5. How to use ctrl Network Firewall
The ctrl Network Firewall feature provides an additional layer of protection by filtering network traffic before it reaches your VPS operating system. To enable it, open Firewall from your VPS management page, select the acknowledgment checkbox, and click Enable Firewall. You can disable it at any time while keeping your saved rules.
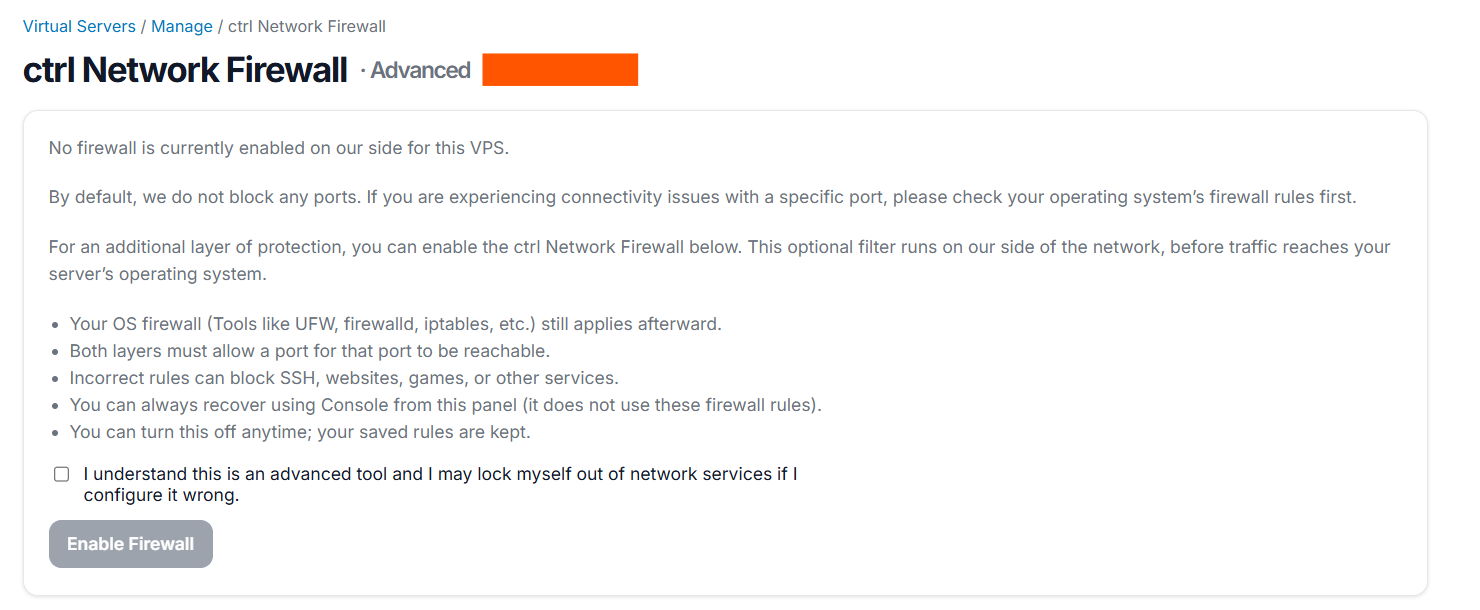
Please note: Your operating system’s firewall still applies, and both firewalls must allow the ports needed by your services. Incorrect rules may block SSH, websites, or other connections. If you lose network access, you can use the panel’s Console/VNC to access your VPS.
6. How to Change Operating System of your VPS
You can change by clicking the Reinstall icon from your ctrl control panel:

Once you click Reinstall button, in the next page you will see the available operating system choices to choose from. Simply select the OS and version of your choice and click Reinstall.
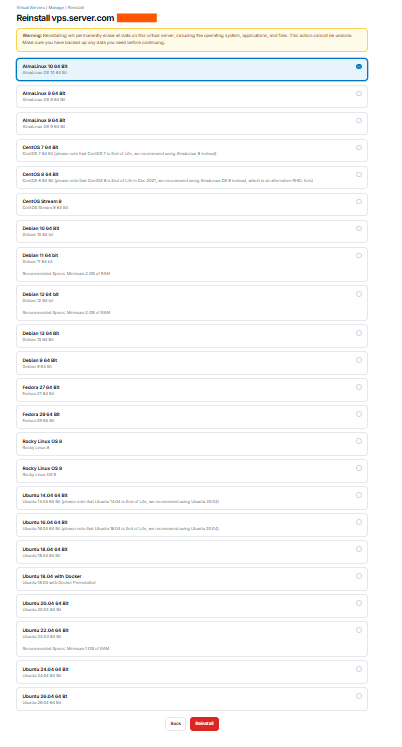
Confirm your actions in below window, by confirming with “Yes, reinstall”:
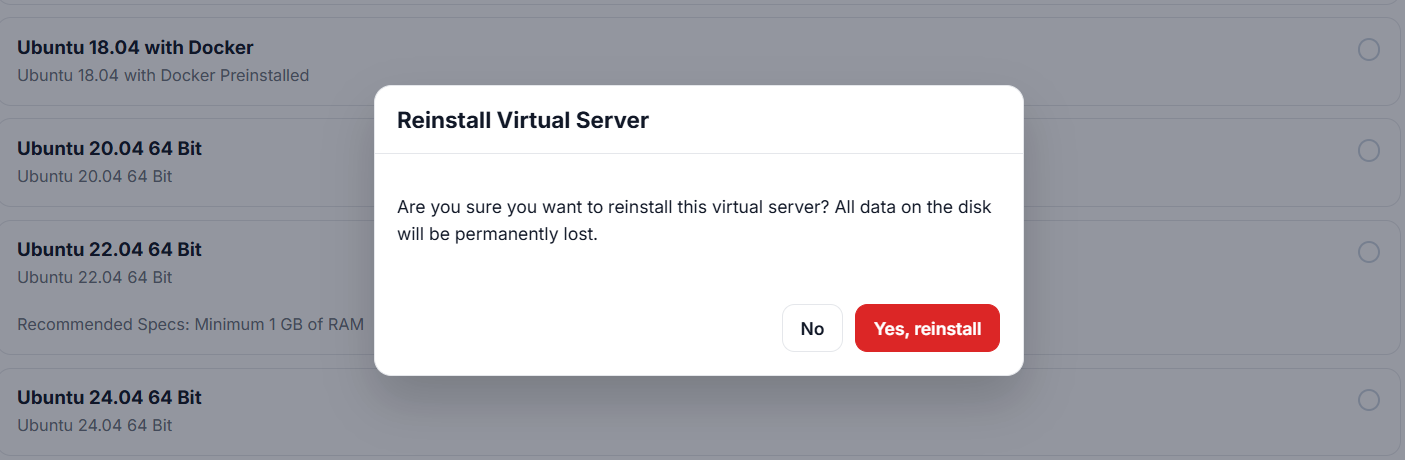
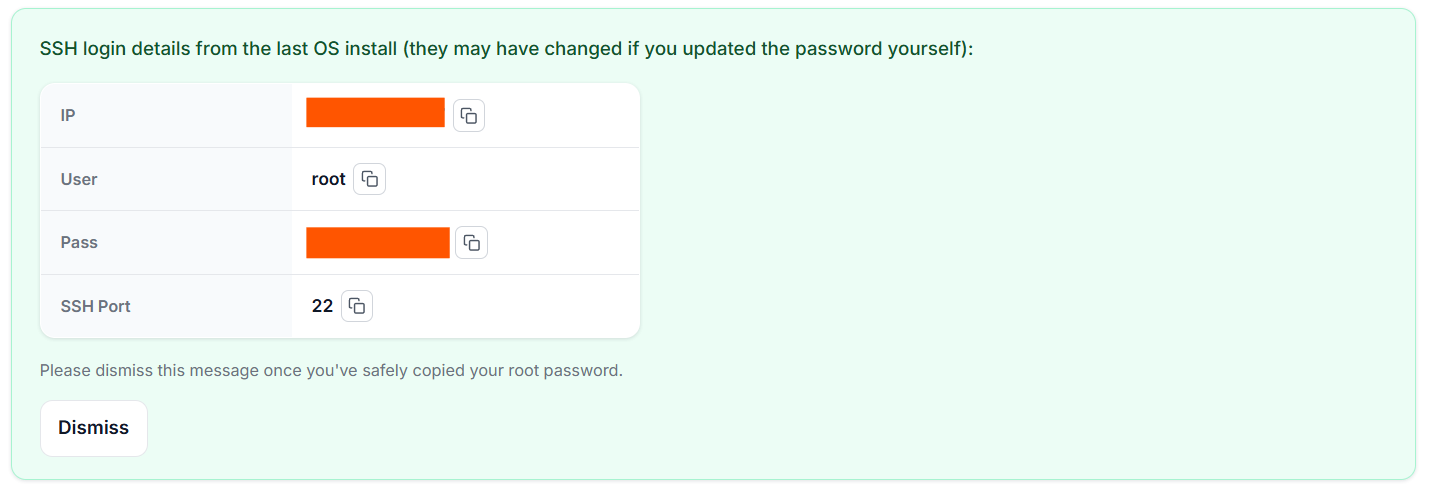
The OS reinstallation may take up to 5 to 10 minutes to be completed. Once it is completed your VPS will begin responding to SSH connections on SSH port 22 and a message box will display with SSH login details on the screen like below.
7. How to check Activity Log
Simply click on the log, and from here you can check actions done within your VPS control panel, such as the root password change we just did above.

8. How to change the Hostname
You can change the hostname by selecting “Hostname” tab from your control panel.
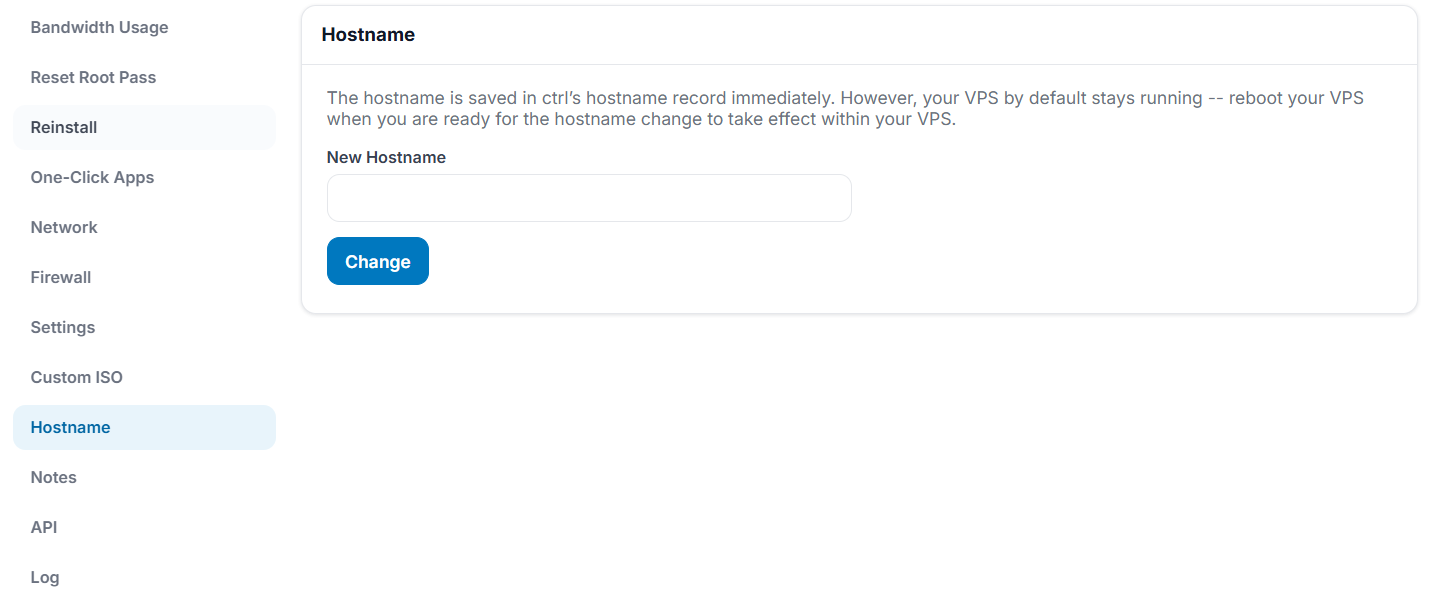
From here, enter your new hostname and click change. The changes will not take into effect until you hit on the “Reboot” button in the control panel.
9. How to use API
The API feature allows you to manage your VPS programmatically through scripts or external applications. Open API from your VPS management page and click Generate to create your API Key and API Hash. Then follow the documentation provided on the page to send requests.
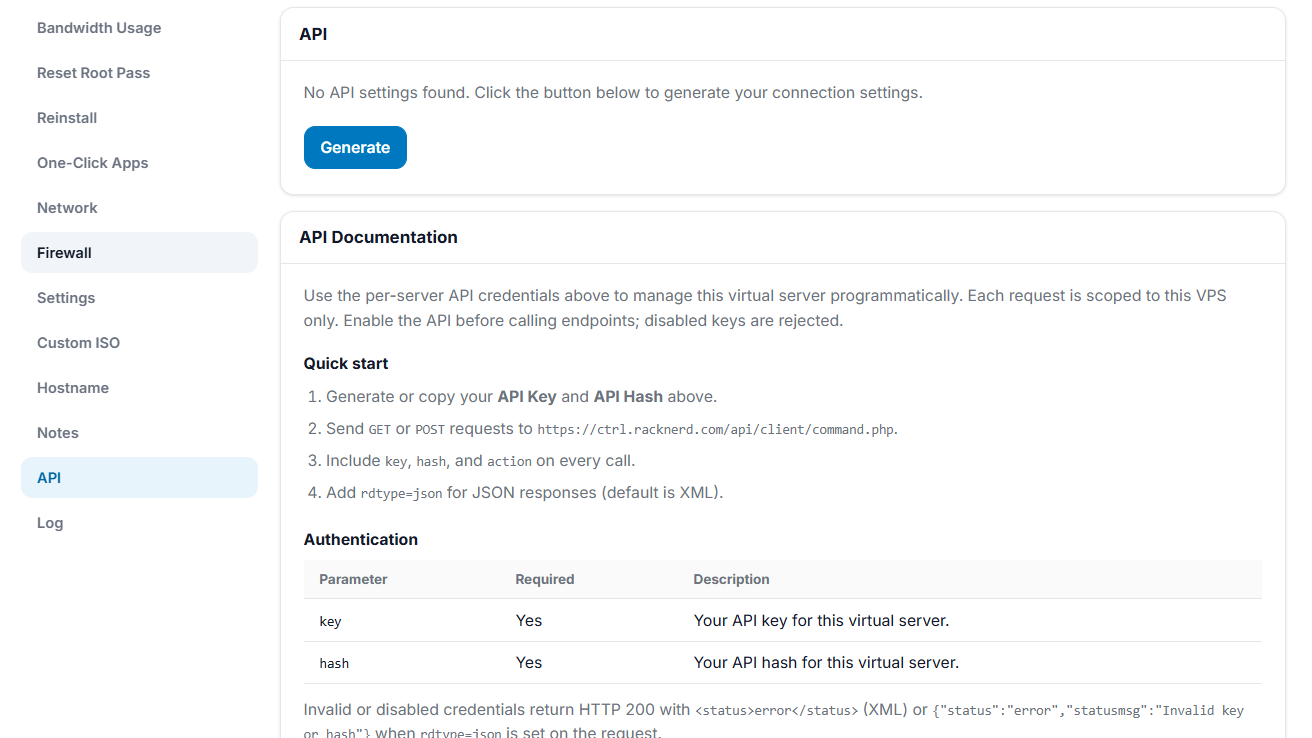
Please note: API credentials are specific to each VPS and only provide access to that server. Keep your API Key and API Hash private, as they allow access to your VPS management functions.
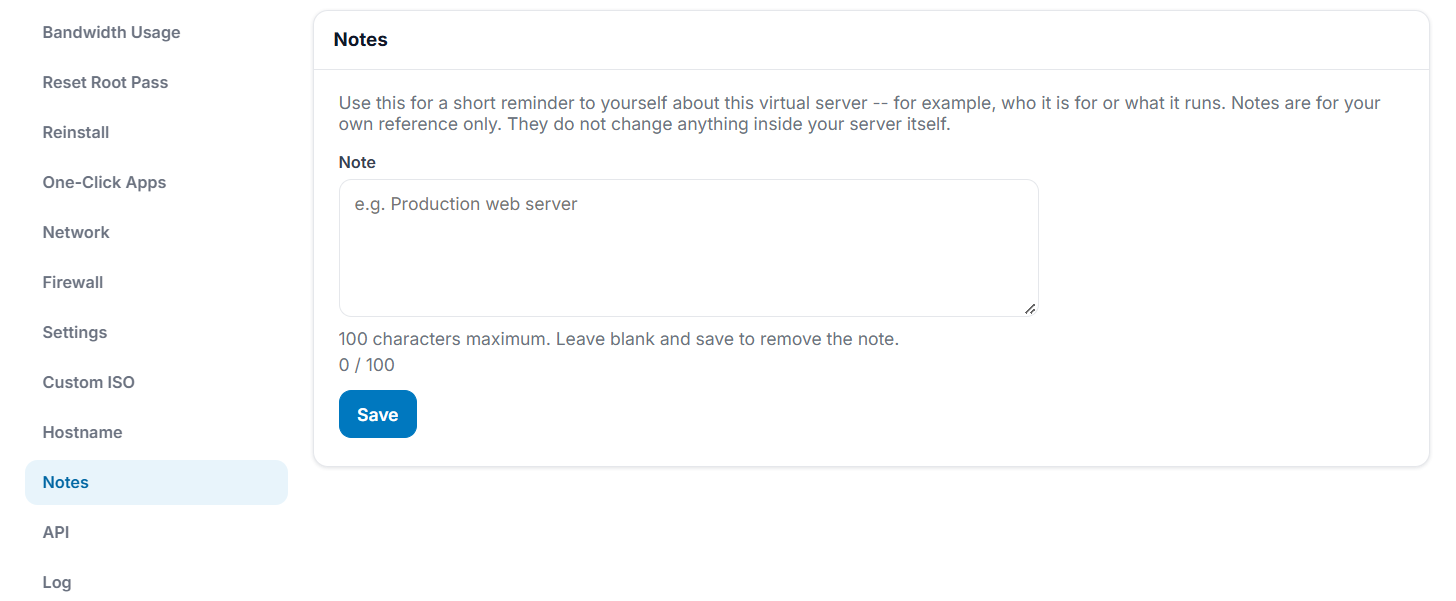
10. Reference Notes
The notes feature within ctrl lets you save a short reminder about your VPS, such as who it is for or which applications it runs. Open Notes from your VPS management page, enter your note, and click Save. To remove a note, clear the text and click Save again.
We hope you enjoyed the tour of the RackNerd VPS control panel. This is an intuitive self-serve control panel that allows our VPS customers to perform a lot of functions within just a few clicks of a button. If you have any questions, please don’t hesitate to open a support ticket in your client area.