How to Turn Your CentOS 7 VPS into a Linux RDP
Leave a comment on How to Turn Your CentOS 7 VPS into a Linux RDP
RDP stands for Remote Desktop Protocol. It provides a graphical interface to control another computer/server over the network connection. In basic terms – user will employ the RDP User Client, on the other hand, RDP Server must be functional on the computer/server end that the user wants to connect to.
One of the common usages are file-sharing/uploading or accessing blocked contents. We won’t go into the debate about what you should do and shouldn’t do with RDP. But keep in mind that there is a fair usage policy that is maintained by every hosting provider. If you don’t maintain them your VPS server might get suspended.
Why Linux RDP ?
Host providers have to pay for Windows License. Hence windows servers are costly than Linux Servers. So if you can setup the RDP server with necessary settings and tweaks in your Linux VPS, you can get a fully functional RDP with a low cost. Also nowadays all of the popular Windows software have their Linux alternative as well. If not there are always alternatives.
In this tutorial we will use Teamviewer to control the Linux VPS and use it as an RDP server. This method is fairly easy than setting up an RDP environment in Linux VPS. Which takes a lot of time and configuration.
Prerequisites
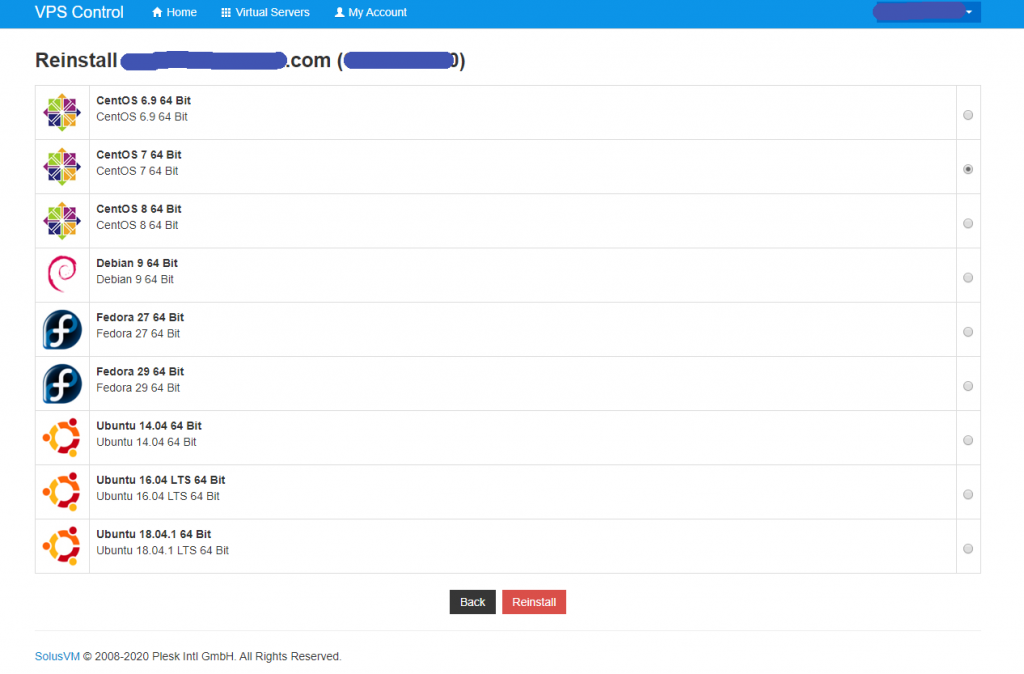
Before starting you will need an SSH Client & root password. We all prefer Putty. Also you should ensure that you have Centos 7 installed on your VPS. You can do it from your VPS Control Panel.
Installing GNOME Desktop Environment
First login to your server via putty with root access. Then with the below command we will install GNOME Desktop Environment. Its always better to Update & Upgrade Centos before installing GNOME.
sudo yum -y groups install “GNOME Desktop”
This will take a bit of time. As it will install all necessary packages for GNOME. After installation, we have to change the system target to ensure that we directly boot to GNOME GUI. We first check the target and then change it to Graphical Target.
sudo systemctl get-default
sudo systemctl set-default graphical.target
Its better to run the 1st command again to check if it has changed or not. Then we reboot the system
reboot
Installing TeamViewer
We will import GPG keys of the TeamViewer repository to the server.
sudo rpm –import https://dl.tvcdn.de/download/linux/signature/TeamViewer2017.asc

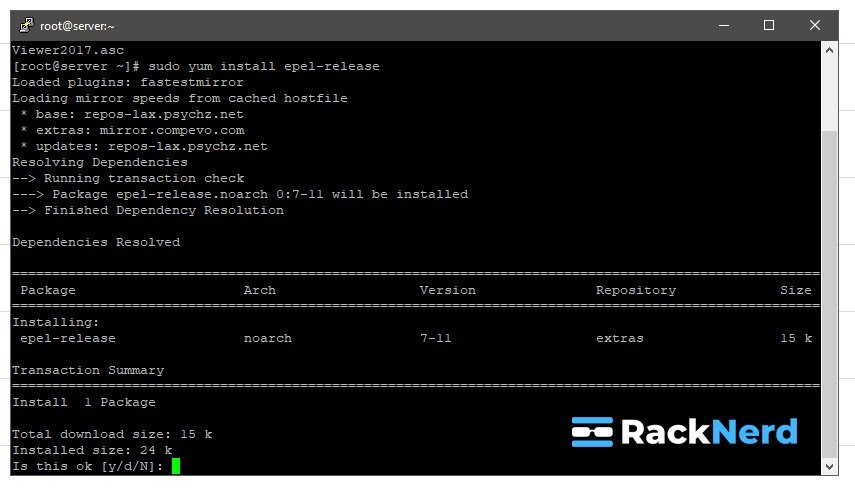
TeamViewer needs packages that are offered in the EPEL software repository. If its not installed in your server, you can do it below command
sudo yum install epel-release
After giving the command it will ask permission to download the package. Pres y and Enter to continue with the installation.
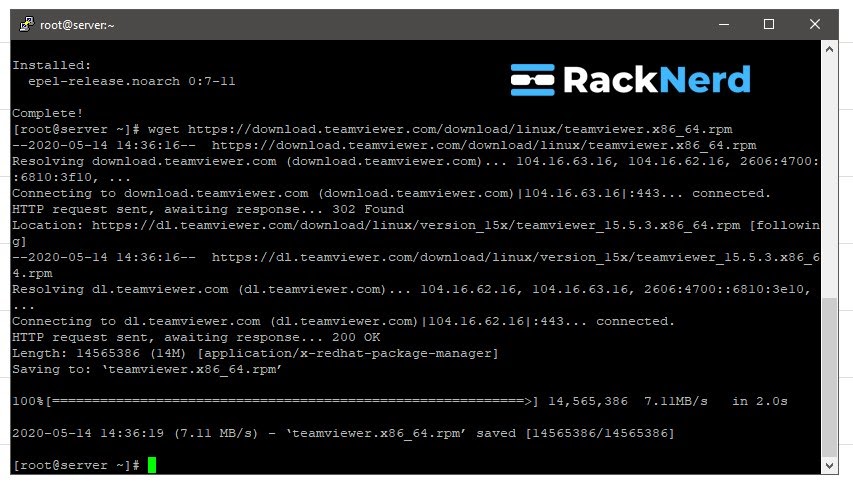
Next download the latest TeamViewer rpm with wget command.
wget https://download.teamviewer.com/download/linux/teamviewer.x86_64.rpm
Now we will install the rpm we just downloaded with Sudo privileges. It will ask for permission as before press y and enter to continue. It will also ask for permission to use GPC key, proceed with y as well.
sudo yum localinstall ./teamviewer.x86_64.rpm
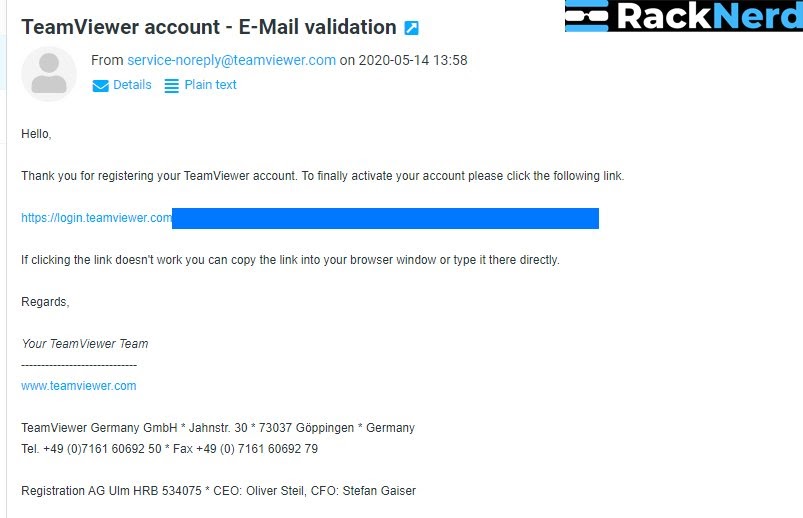
After installation is done, you need to create a Teamviewer ID & Password. By assigning a Teamviewer account with the Centos 7 we can one-click login, otherwise, we have to put users and pass every time If you already have an account with them you can use it or you can open a new from Teamviewer Website.
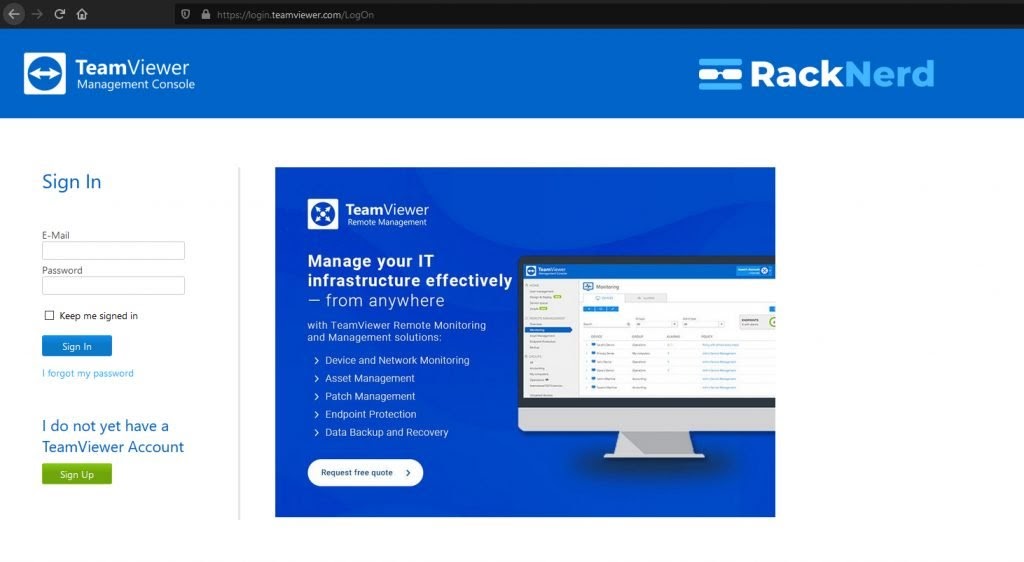
Then you need login to your email account and click on the confirmation link in order to activate the account.
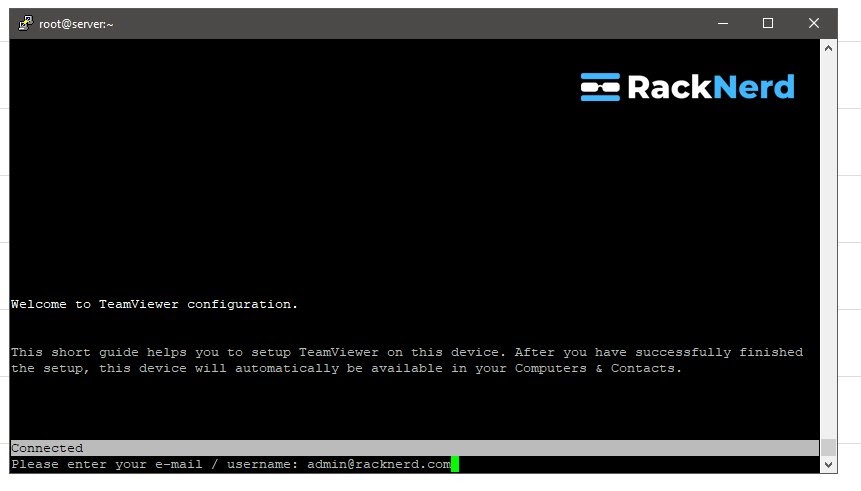
Not we use below command to add the account we created in previous step. You can follow the screen to proceed , we have to add Email then the Password for the account.
teamviewer setup
After that restart Teamviewer with below command
teamviewer daemon restart
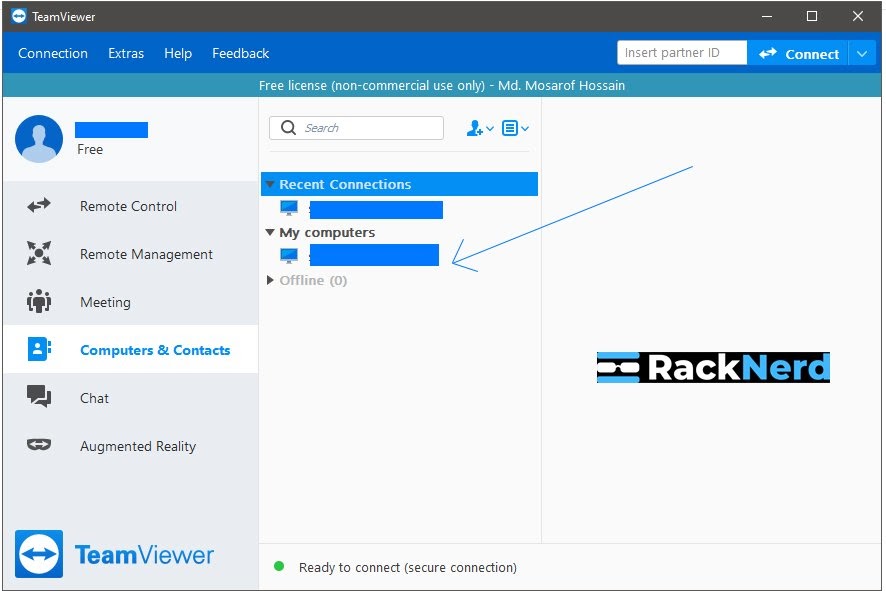
Now Install Teamviewer in your windows/linux in your PC and login with the same credential. You will be easily able to log in via the saved Computer & Contacts in one click.
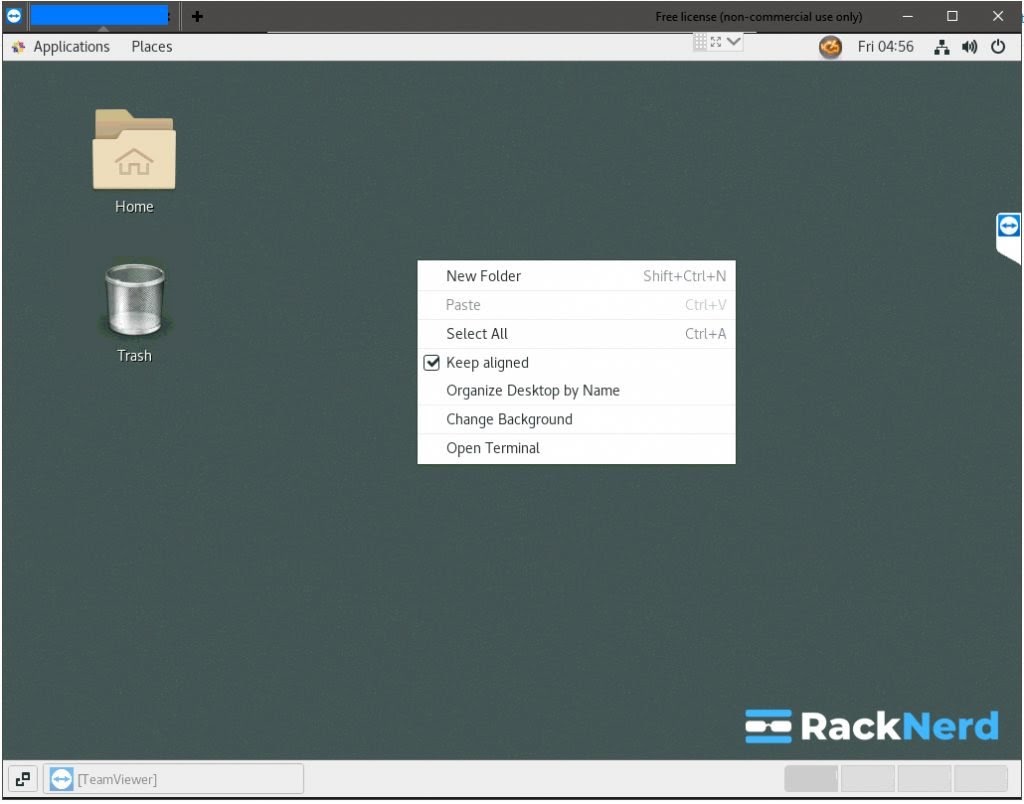
Install your necessary apps and start using the RDP as per your need.
Let us know if you face any difficulty in the installation process in the comment section below.
This article was contributed by Ishtiak at CoderClick.com. Also, be sure check out this awesome tutorial on How to Setup Remote Desktop on Ubuntu Server!