How to Setup Redis on Ubuntu
Looking for an open-source memory data management tool which will help you manage your database cache? Then Redis is a good solution to consider! In this tutorial, we are going to go over some steps on how to install Redis on your server running on Ubuntu 18.04 or Ubuntu 20.04.
Here are some features of Redis:
- Flexible Open-Source Memory Management
- High Availability
- Wide Language Support
- Database cache management
- Automatic Partitioning
Steps to install Redis
Update and upgrade your Ubuntu server:
sudo apt-get update -y
sudo apt-get upgrade -y
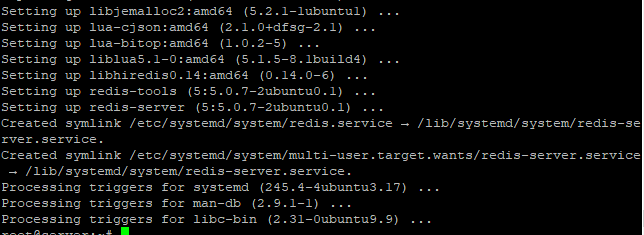
Install Redis
sudo apt-get install redis-server -y
Configuring Redis Server
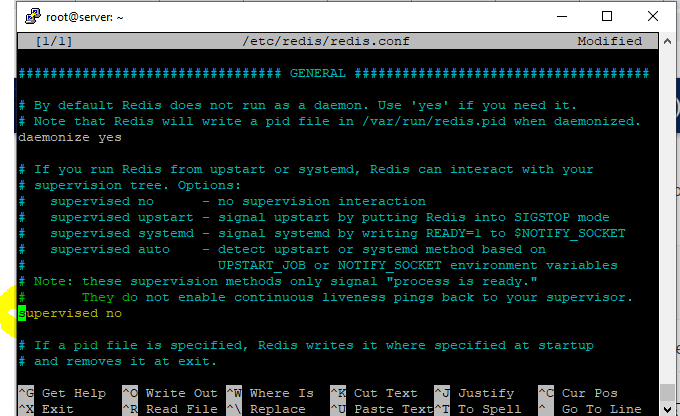
As soon as the installation is completed, choose a editor of your choice and update the configuration file, where you need to locate the line called “Supervised” and set to systemd for managing the redis service on your server.
sudo nano /etc/redis/redis.conf
At first it will be set to no, you need to change that with the word “systemd”, which we will demonstrate in the below screenshot (see highlighted):
BEFORE changing:
AFTER changing:

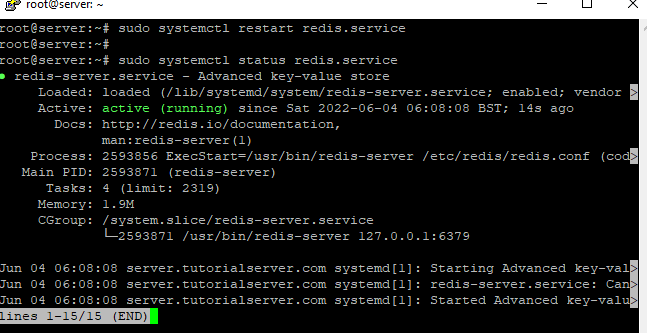
After above change save the file by running CTL + X on your keyboard. Once saved, retart the Redis service by following the below steps:
sudo systemctl restart redis.service
sudo systemctl status redis.service
Connect to Redis Server
redis-cli

If your application is PHP you need to PHP extension on Redis to use
sudo apt install php-redis -y
And now you’ve successfully installed Redis on your Ubuntu server!