How To Setup Joomla, MySQL, and phpMyAdmin on a Docker Container
Leave a comment on How To Setup Joomla, MySQL, and phpMyAdmin on a Docker Container
In this tutorial, we will cover a detailed and simple way to run Joomla, MySQL, and phpMyAdmin on Docker container. In this tutorial, we utilize a RackNerd VPS running on AlmaLinux OS 8 (but the following tutorials will also work for CentOS based servers, as AlmaLinux is essentially a RHEL fork like CentOS).
STEP #1: Login to your VPS via SSH (with root access)
Run the below commands to Install docker on your AlmaLinux or CentOS based VPS
yum update
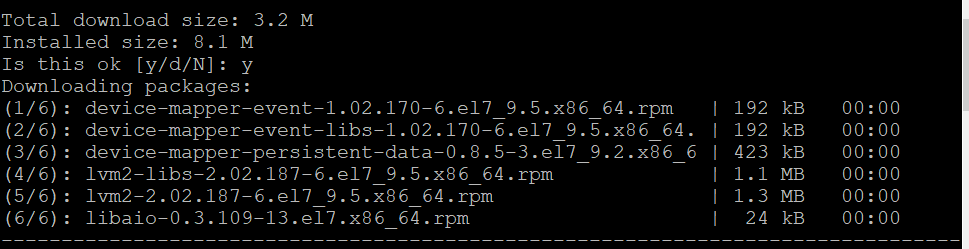
Next, please install docker dependencies on your system
yum install yum-utils device-mapper-persistent-data lvm2
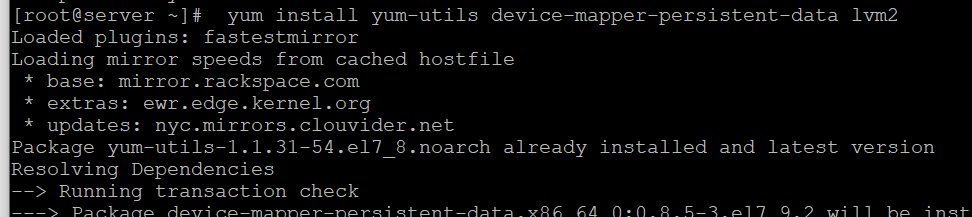

At this point, Docker dependencies has been successfully installed on our VPS server.
STEP #2: Add docker stable repo to your VPS server with below command
yum-config-manager –add-repo https://download.docker.com/linux/centos/docker-ce.repo

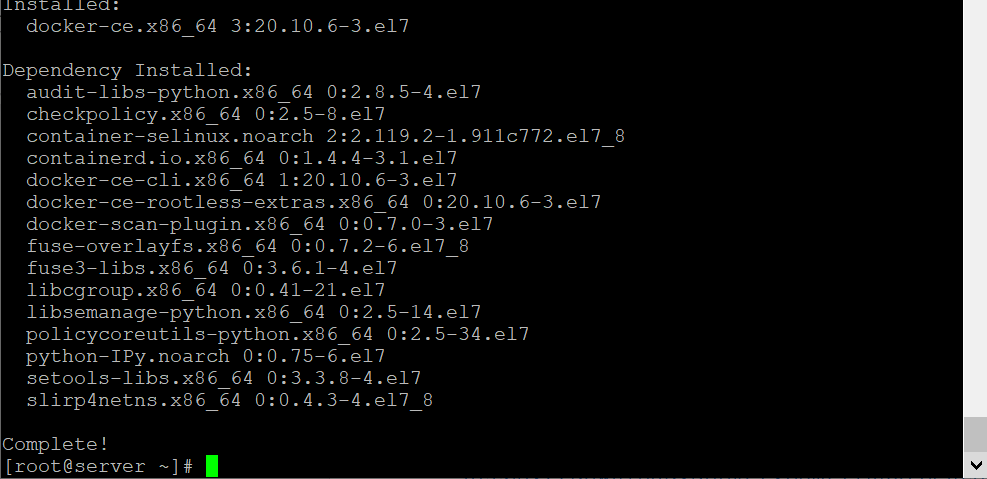
STEP #3: Once docker stable repo has been added, lets start installing docker running below command
yum install -y docker-ce
Docker has been successfully installed
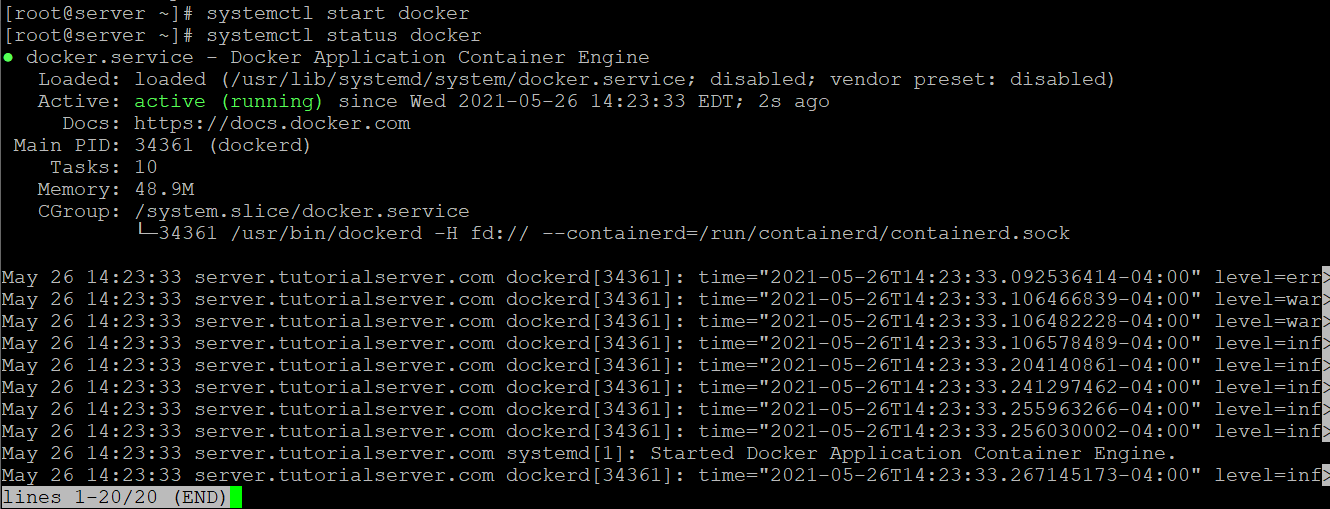
STEP #4: Docker has been installed, now start docker and enable to automatically to start every time the server is booted.
systemctl start docker
systemctl enable docker

STEP #5: Now check status of docker service with command
systemctl status docker
STEP #6: Now let’s move to our main part of tutorial, that’s using docker to run Joomla in an isolated environment.
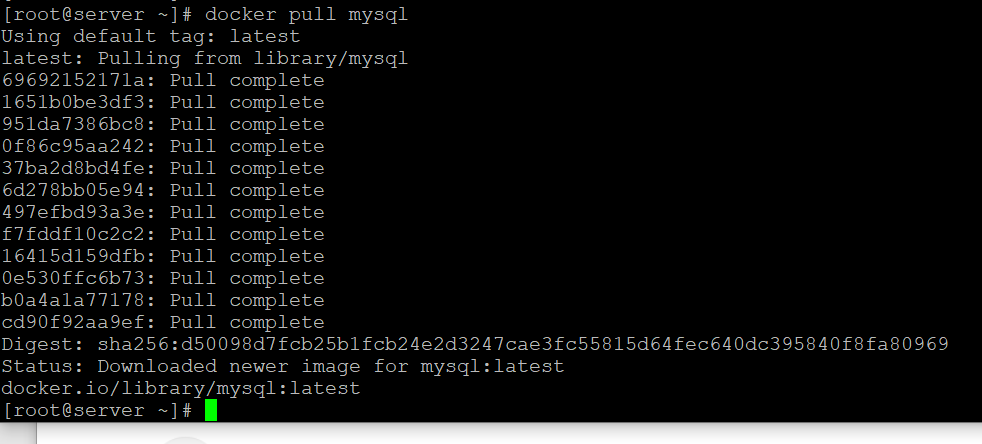
We will need to download the MySQL package, using the below command:
docker pull mysql
For the purpose of this tutorial, we will name the service as racknerd-mysql, root as user and racknerd123 as password. (please be sure to utilize a secure password)
Next is to create a “volume”, a local folder on the container to store the database files.
docker run –name racknerd-mysql -v /Your/LocalPath/Desktop/mysql-nginx/datadir:/var/lib/mysql -e MYSQL_ROOT_PASSWORD=racknerd123 -d mysql

By default, the MySQL service will be running on default port 3306, you can see the service is now running.
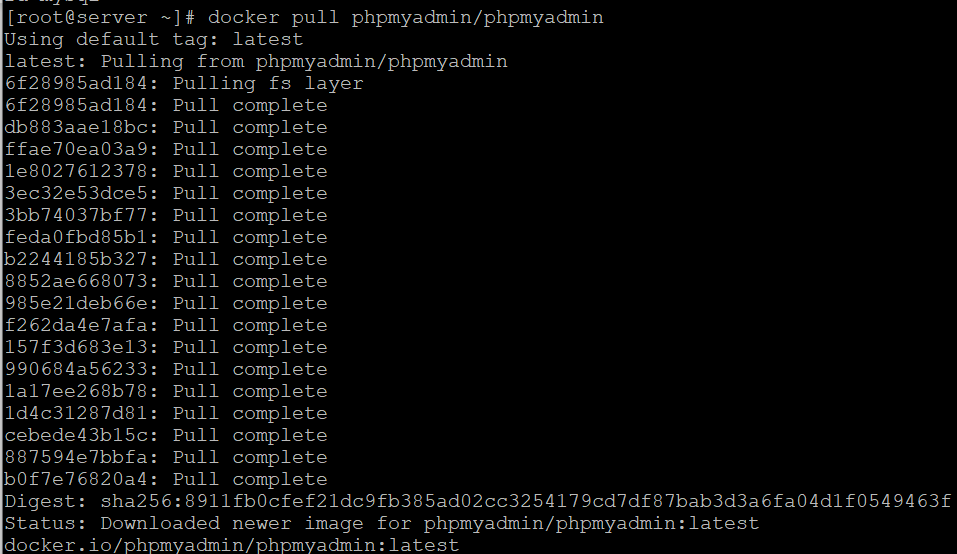
STEP #7: Let’s configure phpMyAdmin next. Enter the below command:
docker pull phpmyadmin/phpmyadmin
Name the service as racknerd-phpmyadmin and link it to mysql database racknerd-mysql that we have created earlier and run it on the port 8084 using below command on your terminal.
docker run –name racknerd-phpmyadmin -d –link racknerd-mysql:db -p 8084:80 phpmyadmin/phpmyadmin

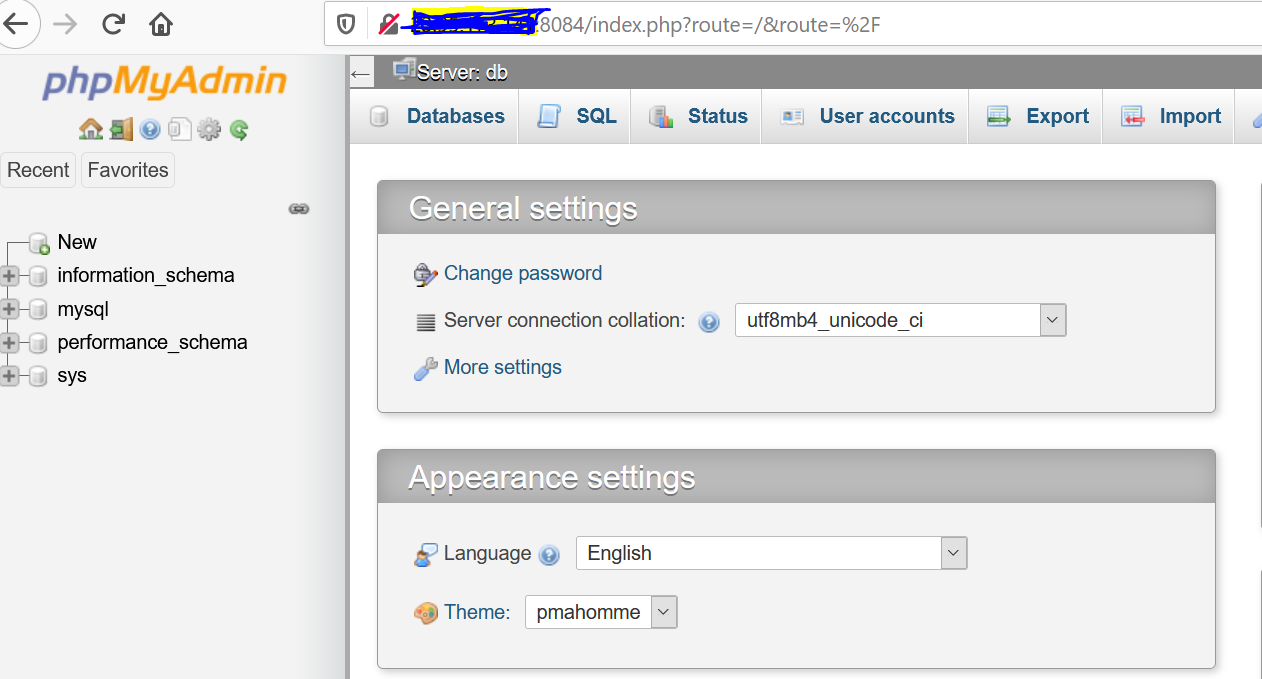
Now you should be able to access the phpMyAdmin login page, and we can access with username: root and the password you entered earlier (in this example… it’d be racknerd123)
Access via your web browser using your server IP and port 8084 like http://serverIP:8084
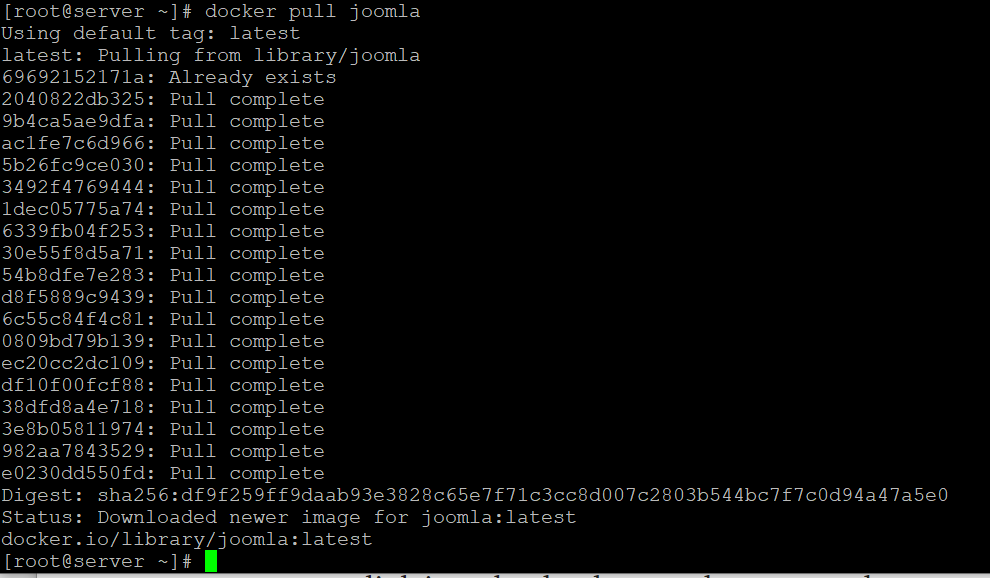
Last part of the setup is Joomla installation:
docker pull joomla
Let’s set Joomla instance on the port 8080 using name racknerd-joomla, link it at the database and create a volumes.
docker run –name racknerd-joomla –link racknerd-mysql:db -e JOOMLA_DB_HOST=db:3306 -e JOOMLA_DB_USER=root -e JOOMLA_DB_PASSWORD=racknerd123 -v /your/local/path/Desktop/joomla-docker/joomla_www:/var/www/html -p 80:80 -d joomla
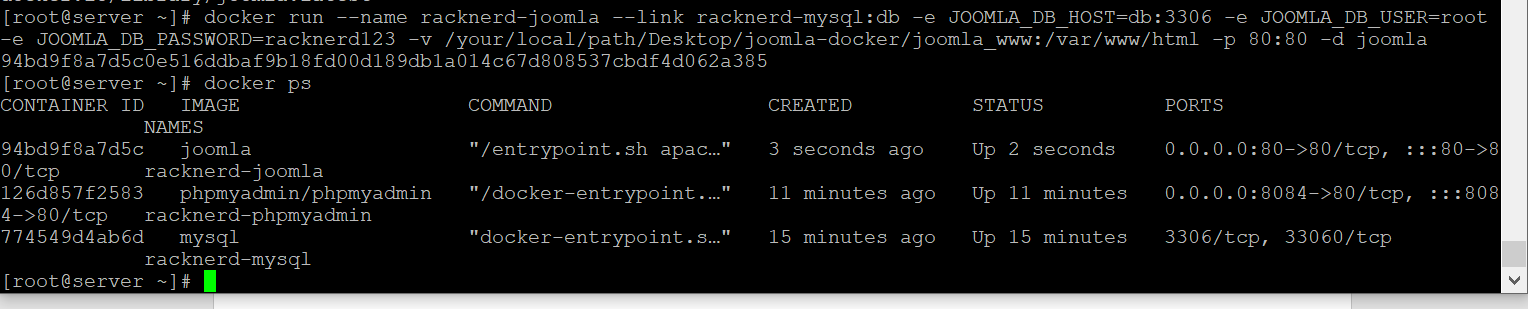
Finally, we have configured Joomla + MySQL + phpMyAdmin on a Docker container.
You can access the Joomla using http://serverIP
In this tutorial we went over how to install and set up Joomla on a Docker container (including the dependencies surrounding it, such as MySQL and phpMyAdmin)
If you have any questions, be sure to leave them in the comments section below.
In this tutorial we used a Ryzen VPS with 2 GB of RAM, running on AlmaLinux OS. If you are looking to deploy a blazing fast VPS server, check out our Ryzen VPS packages here: https://www.racknerd.com/ryzen-vps