How to Self-Host Hermes Agent on a $5/Month VPS
Leave a comment on How to Self-Host Hermes Agent on a $5/Month VPS
Hermes Agent is a self-hosted AI assistant from Nous Research. It lives on a VPS you control, talks to the models you pick, and can keep chatting from a web dashboard. That is a Hermes Agent VPS job, not a laptop job. When this guide is done you will have Hermes installed on Ubuntu 24.04, a model that actually replies, and the dashboard open in your browser.
You do not need prior VPS experience. We will spell out which window is your laptop and which is the server.
The plan that fits is the 4 GB RackNerd special at $59.99/year (about $5/month prepaid). That is 3 vCPU and 4 GB RAM. You want a VPS with 4 GB RAM or higher.
A lot of other providers lock you into 24 months and then raise the price even after that term. RackNerd is more affordable and predictable. You always renew at the same price you signed up at today. There is no intro pricing here.
What You Need
- A VPS with 4 GB RAM or higher. The 4 GB RackNerd special ($59.99/year) is the plan this post uses. Pick Ubuntu 24.04 LTS at checkout.
- A computer (Mac, Windows, or Linux). The SSH app is already there: Terminal on macOS/Linux, PowerShell on Windows.
- An LLM API key so the assistant can actually reply. This walkthrough uses OpenRouter because it has a free option.
You will use two places at once: your laptop (Terminal / PowerShell and a browser at http://127.0.0.1:9119/) and your VPS (the Ubuntu machine you SSH into).
Step 1: Order the 4 GB RackNerd Special
- Open https://www.racknerd.com/specials.
- Choose the 4 GB plan ($59.99/year, 3 cores).
- At checkout, pick Ubuntu 24.04 LTS.
- Complete payment. Provisioning is instant.
RackNerd then emails you a welcome message with the IP address (we call it YOUR_VPS_IP) and the root password. Keep that email open. Keep your root password safe. You can update it yourself anytime in SSH with the passwd command.
Step 2: SSH Into Your VPS
SSH opens a command line on the VPS from your laptop. In that window run:
ssh root@YOUR_VPS_IPThe first time, SSH asks you to trust the server fingerprint. Type yes and press Enter. Then paste the root password from the welcome email. The cursor will not move while you paste. That is normal. Press Enter.
If the prompt changes to something like root@racknerd-xxxxxxxx:~#, you are on the VPS. Everything in Steps 3 to 6 is typed in this window.
Step 3: Install the Packages Hermes Needs (one paste)
apt-get update && apt-get install -y git curl xz-utils ca-certificates tmuxStep 4: Run the Official Hermes Installer (one paste)
curl -fsSL https://hermes-agent.nousresearch.com/install.sh | bashThat is the command-line install, not the macOS/Windows desktop app. If the installer opens an interactive setup wizard, press Ctrl+C to skip it, then use the commands in Step 5. Do not pick Quick Setup (Nous Portal) on a VPS. That path wants a browser login.
source ~/.bashrc && hermes doctor --fixIf you see hermes: command not found:
source ~/.bashrc && export PATH="/usr/local/bin:$HOME/.local/bin:$PATH" && which hermesStep 5: Add a Model Key so Chat Can Reply
Hermes can connect to any AI provider you choose. This walkthrough uses OpenRouter because it has a free option.
Create an OpenRouter account
On your laptop browser, open openrouter.ai and sign up.
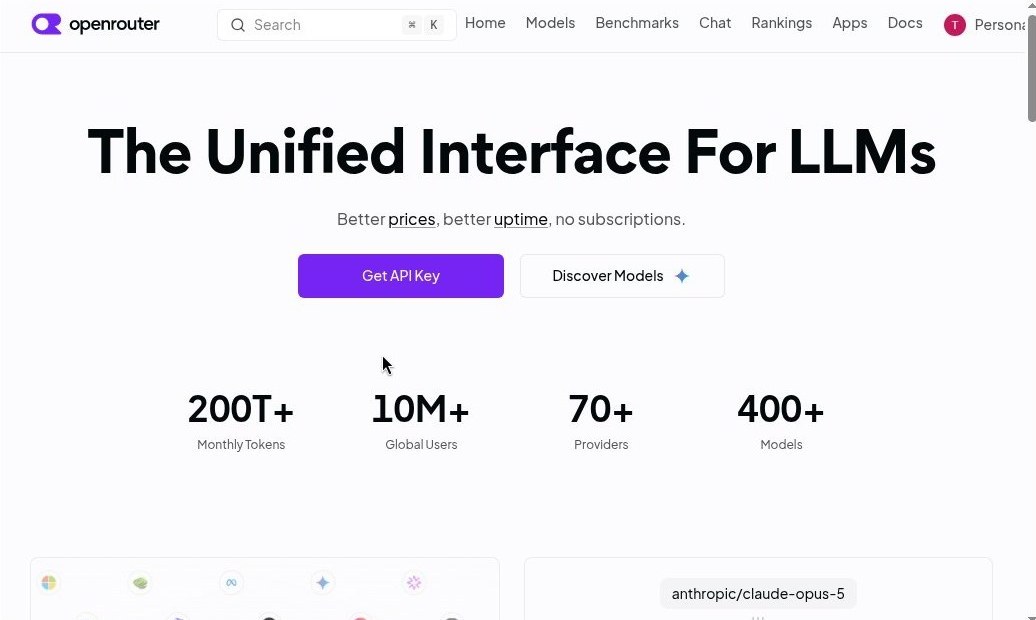
Create an OpenRouter account. Google sign-in is enough.
Create a key
Open openrouter.ai/keys and create a key. Copy it once and treat it like a password. In this post we call it YOUR_OPENROUTER_API_KEY.
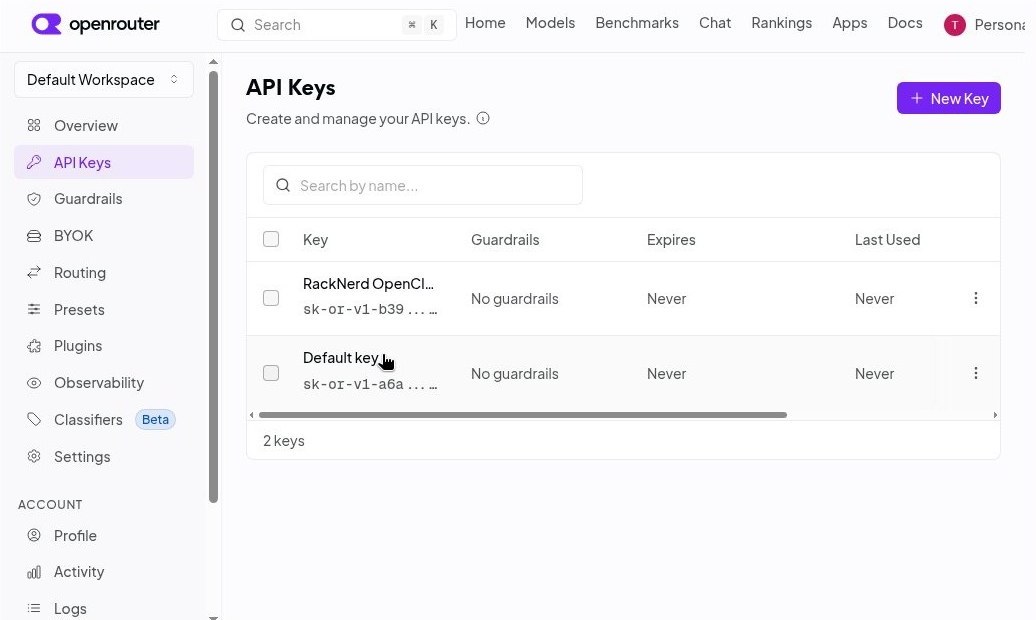
Create an OpenRouter key. Copy it once and treat it like a password.
Pick a free model
Open openrouter.ai/models and look for a model ending in :free with at least 64K context.
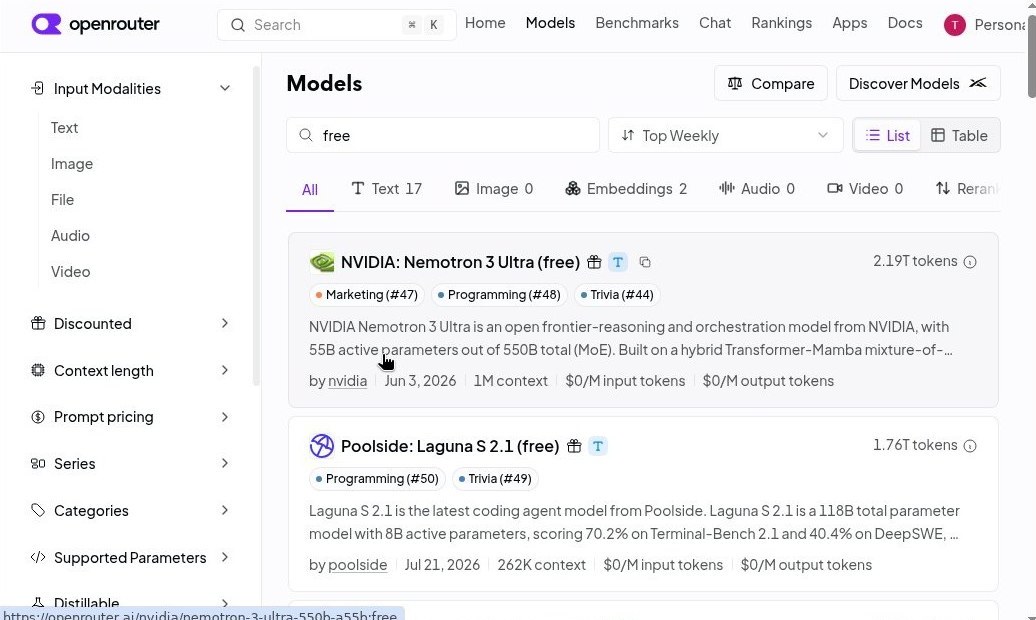
Free models. Pick a :free slug with at least 64K context, or use openrouter/auto.
Set the key and model on the VPS
Back in the VPS SSH window, paste this whole block. Put your real key in place of YOUR_OPENROUTER_API_KEY:
hermes config set OPENROUTER_API_KEY YOUR_OPENROUTER_API_KEY
hermes config set model openai/gpt-oss-20b:free
hermes config set model.provider openrouter
hermes config set model.max_tokens 2048
The openai/gpt-oss-20b:free slug is a current free model with a large context window. If OpenRouter has rotated it, pick another :free id from the models page.
Step 6: Run Your First Chat
hermesYou should see a welcome banner with your model. Type a short prompt, for example hello. To leave the session, type /quit or /exit.
Step 7: Open the Web Dashboard Through an SSH Tunnel
On the VPS:
hermes dashboard --no-open--no-open matters on a VPS. Default bind is 127.0.0.1:9119. Never publish port 9119 on 0.0.0.0.
Keep the first SSH window open. The tunnel runs in a second window on your laptop.
macOS and Linux
ssh -N -L 9119:127.0.0.1:9119 root@YOUR_VPS_IP-N means do not open a shell, just hold the tunnel. After you enter the password, the window looks idle. That is success. Leave it open.
Windows PowerShell
ssh -N -L 9119:127.0.0.1:9119 root@YOUR_VPS_IPIf Windows Firewall pops up, click Allow.
With the tunnel holding, open a browser on your laptop to http://127.0.0.1:9119/. Use http, not https, and do not try the public VPS IP on port 9119.
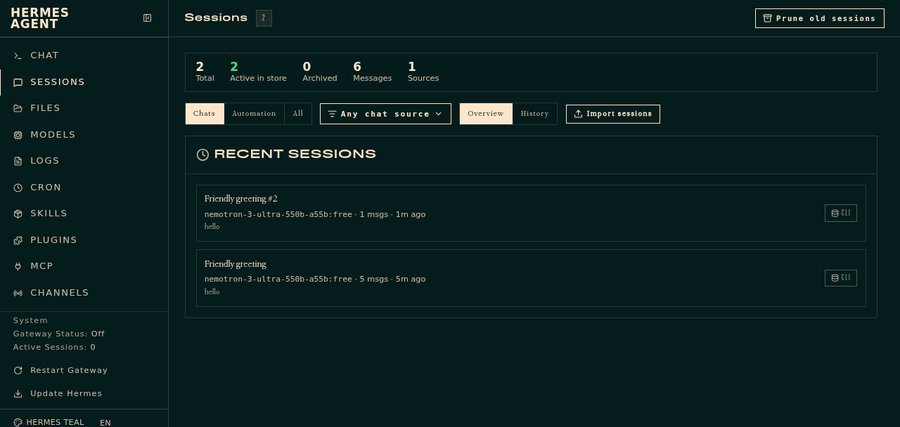
Hermes dashboard after the SSH tunnel. Sessions list is live.
Open the Chat tab and send a short message such as hello.
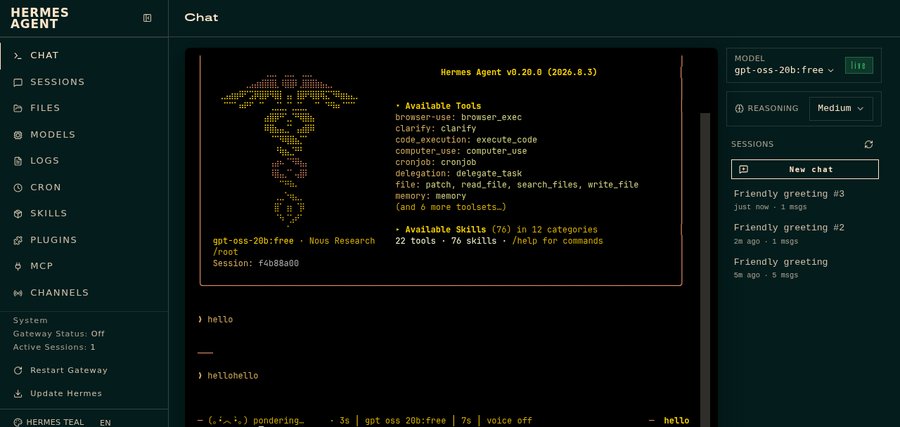
First working chat in the Hermes dashboard Chat tab.
Then open API Keys to confirm OpenRouter is set.
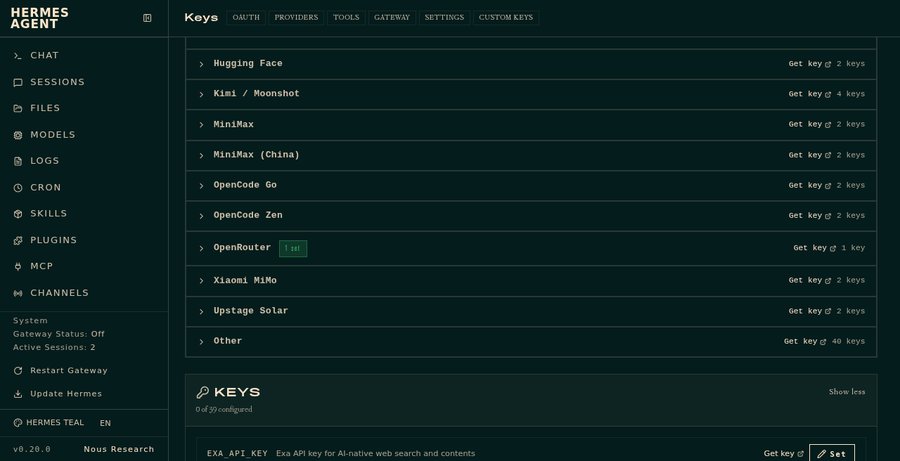
API Keys. OpenRouter is configured. Keep the value masked.
Once chat works, you can connect Slack, Telegram, Discord, or WhatsApp later from the Channels page accordingly.
Step 8: Keep the Dashboard Running After You Log Out
Leave the dashboard bound to loopback and reach it through the SSH tunnel every time. Never publish 9119 on 0.0.0.0.
If the dashboard from Step 7 is still running in this SSH window, press Ctrl+C first so you get a prompt back. Then paste:
tmux new-session -d -s hermes-dash 'hermes dashboard --no-open'Then check that it is there:
tmux lsYou should see a line that starts with hermes-dash. That is success. You can close this SSH window. The laptop tunnel is still required whenever you want the browser UI.
To peek at it later, SSH back in and run:
tmux attach -t hermes-dashTo leave without killing it, press Ctrl+b, then tap d (detach). Do not press Ctrl+c.
Conclusion
You now have a self-hosted Hermes Agent on Ubuntu 24.04: official installer, a model key, a first chat, and the web dashboard over an SSH tunnel. If you are comparing Hetzner, Hostinger, or Contabo, pick a plan with 4 GB RAM or higher without intro pricing that jumps later (unlike most alternatives, RackNerd’s pricing stays the same upon renewal!)
Order the 4 GB RackNerd special ($59.99/year) at racknerd.com/specials.
Pick Ubuntu 24.04 LTS at checkout, SSH in, and walk the steps above.