How to Install Rundeck on Ubuntu
In this tutorial, we will go over how to install Rundeck on a Ubuntu based VPS.
First and foremost, connect to your server via SSH.
Step 1:
Install Java 11 version by running the two commands bolded below:
root@ip:~# apt install openjdk-11-jre-headless
root@ip:~# java –version
openjdk version “11.0.15” 2022-04-19OpenJDK Runtime Environment (build 11.0.15+10-Ubuntu-0ubuntu0.22.04.1)
Step 2:
To login to rundeck, we require user and password, which can be created via MySQL.
Therefore, we need to install mysql service in the server.
root@ip:~# sudo apt install mysql-server
Once the installation is completed, you can login to mysql command prompt, and then create user.
root@ip:~# mysql
mysql> CREATE DATABASE rundeckdb;
Query OK, 1 row affected (0.00 sec)
mysql> CREATE USER ‘rundeck_test’@’localhost’ IDENTIFIED BY ‘give-any-password’;
Query OK, 0 rows affected (0.00 sec)
mysql> GRANT ALL PRIVILEGES ON *.* TO ‘rundeck_test’@’localhost’ WITH GRANT OPTION;
Query OK, 0 rows affected (0.00 sec)
mysql> FLUSH PRIVILEGES;
Query OK, 0 rows affected (0.00 sec)
mysql> exit;
Now, we have created the Rundeck user “rundeck_test” with the password “give-any-password“.
Step 3:
Now, we need to configure repos to install Rundeck.
To automatically install the repo, use the command mentioned below:
root@ip:~# curl https://raw.githubusercontent.com/rundeck/packaging/main/scripts/deb-setup.sh 2> /dev/null | sudo bash -s rundeck
The output will be as mentioned below:
“The repository is setup! You can now install packages”
Step 4:
Run the command mentioned below to install the package
root@ip:~# sudo apt-get install rundeck
Once it gets complete, check if its installed using the command mentioned below:
root@ip:~# dpkg –list | grep -i rundeck
ii rundeck 4.3.1.20220615-1 all Rundeck
Step 5:
Starting Rundeck
root@ip:~# sudo service rundeckd start
Step 6
You need to edit the file: /etc/rundeck/rundeck-config/properties
root@ip:~# nano /etc/rundeck/rundeck-config/properties
Then update configuration like below:
dataSource.username = rundeck_test
dataSource.password = (use the password set from your end for the user “rundeck_test“)
Step 7
This step is only required if your server has a firewall configured. Open port 4440 in your server. If it has CSF firewall, add the port under TCP IN/OUT section in CSF configuration file and restart CSF service.
If your server is not configured to use a firewall, feel free to skip this step.
Step 8
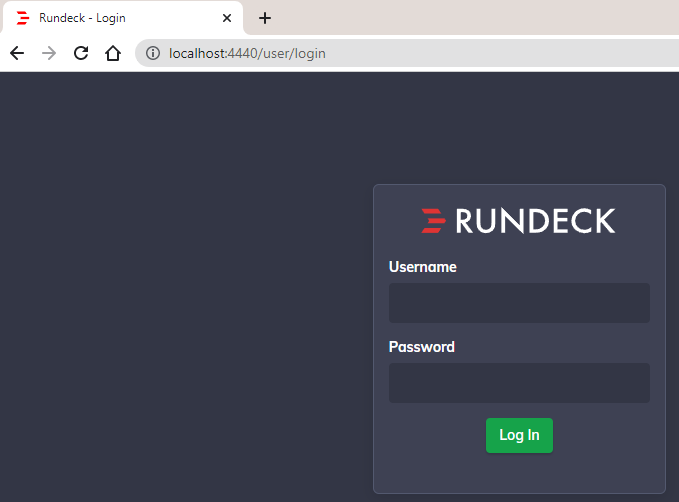
Now access the Rundeck from your browser as below:
http://localhost:4440
Congratulations! You have successfully installed Rundeck on your Ubuntu VPS.