How to Install Dozzle in Docker Host
The era of containerization has a crucial role to play in modern software development. Docker environments have multiple containers running different services. Each container generates its own logs.
Log viewers provide a centralised and streamlined way to monitor logs across all containers. It is needed for performance monitoring and optimization.
There are a number of tools in place for that and let’s take a look at Dozzle and see how it can be installed on a docker host and its various functionalities.
What is Dozzle?
It’s a simple light weight log viewer widely used in containerized deployment.
It’s easy to use and well suited for the environment. Dozzle helps in monitoring the deployment and it’s helpful for developers and sysadmin, devops in their operations. It also helps to view all logs containers running on the docker host.
How to Install Dozzle in Docker Host
The Dozzle installation is quite simple. We need to run below commands to run it as a container.
docker run -v /var/run/docker.sock:/var/run/docker.sock -p 8080:8080 amir20/dozzle --username racknerd --password password
This will create a Dozzle container that runs on port 8080. We can verify it using the commands below.
docker ps -aIf there is any error with Dozzle container, we can check docker native logs option to troubleshoot.
docker logs <container id>This is how we can install and verify the Dozzle running correctly. If it needs to be run in the background, just use -d option along with docker run.
docker run -d -v /var/run/docker.sock:/var/run/docker.sock -p 8080:8080 amir20/dozzle --username racknerd --password passwordHow to use Dozzle?
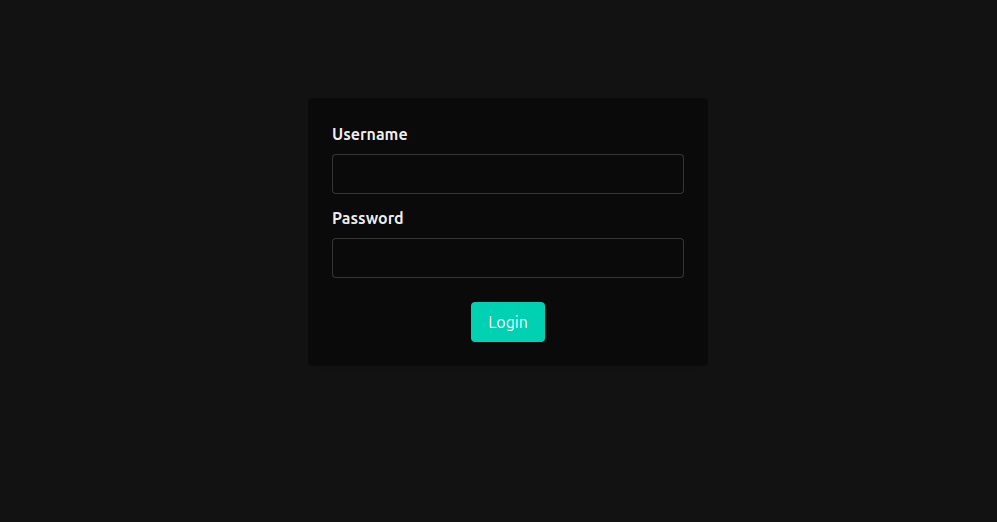
Once the Dozzle container is deployed, open web browser and go to URL localhost_IP:8080
The Dozzle is finally ready to use now. Just login with your username and password:
How to Bind a Domain with a Dozzle Container?
To enable Dozzle to function on our domain using HTTPS, we can implement a reverse proxy to forward traffic to port 8080.
Just install httpd or nginx web server and configure the virtual host. An example is given below:
server {
        listen 80;
         server_name dozzle.racknerd.com;

        gzip            on;
        gzip_types      text/plain application/xml text/css application/javascript application/json;
        gzip_min_length 1000;


         if ($http_x_forwarded_proto = 'http') {
               return 301 https://$host$request_uri;
       }


        location /.well-known {
        alias /var/www/html/.well-known/;
       }


       location / {
         proxy_redirect                      off;
         proxy_set_header Host              $host;
         proxy_set_header X-Real-IP          $remote_addr;
         proxy_set_header X-Forwarded-For    $proxy_add_x_forwarded_for;
         proxy_set_header X-Forwarded-Proto  $scheme;
         proxy_read_timeout          1m;
         proxy_connect_timeout       1m;
         proxy_pass   http://127.0.0.1:8080;

       }
}
That’s all about Dozzle installation and usage. Reference docs can be found at https://dozzle.dev/guide/authentication
Final thoughts
The adoption of containerization in modern software development has brought about the need for effective log monitoring tools. Among the various options available, Dozzle stands out as a lightweight and user-friendly log viewer tailored for containerized deployments. Its straightforward installation process, as outlined in the blog post, makes it accessible for developers, sysadmins, and DevOps professionals alike.