How to Host Your Own Password Manager with Bitwarden on a VPS
Leave a comment on How to Host Your Own Password Manager with Bitwarden on a VPS
Managing passwords securely is one of the most important responsibilities in today’s digital world. While cloud-based password managers are convenient, some users prefer full control over their data, especially when handling business or sensitive personal credentials.
Bitwarden, one of the most trusted open-source password managers, offers an excellent
self-hosted edition that you can deploy on your own Virtual Private Server (VPS). This gives you complete ownership of your vault, zero external reliance, and the freedom to customize the environment as needed.
Why Self-Host Bitwarden?
Hosting Bitwarden on your own VPS provides several benefits:
- Full control over your data
- No third-party cloud dependency
- Ability to harden and customize security settings
- Lower long-term costs compared to paid cloud subscriptions
- Ideal for businesses with compliance requirements
If you’re privacy-conscious or simply enjoy managing your own infrastructure, this approach is perfect.
Step 1 – Update Your System
Start by ensuring your server is up to date:
sudo apt update && sudo apt upgrade -y
Step 2 – Install Docker and Docker Compose
Bitwarden uses Docker to run its services, so install Docker and Compose:
sudo apt install docker.io docker-compose -y
sudo systemctl enable docker
Verify installation:

docker –version
docker-compose –version
Step 3 – Install Bitwarden Self-Hosted
Bitwarden provides an official installer script that automates the setup. Download the installation script:
curl -Lso bitwarden.sh “https://func.bitwarden.com/api/dl/?app=self-host&platform=linux”
chmod +x bitwarden.sh
Now start the installation:
./bitwarden.sh install
You’ll be prompted to configure:
Domain Name : Enter the domain pointing to your VPS SSL Setup : Do you want to use Let’s Encrypt? (y/n): y
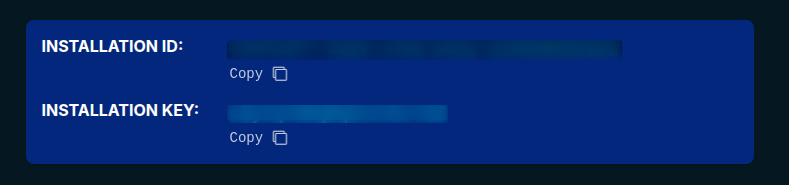
Also it will prompt INSTALLATION ID and INSTALLATION KEY
This can be obtained from https://bitwarden.com/host/ add your email address and preferred region.
Once all the information is provided, the installation will be complete.
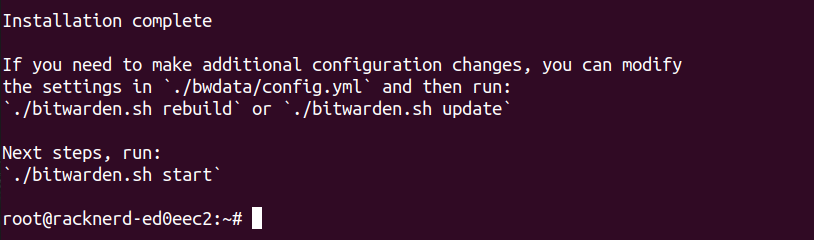
Step 4 – Start Your Bitwarden Server
After installation, start the services:
./bitwarden.sh start
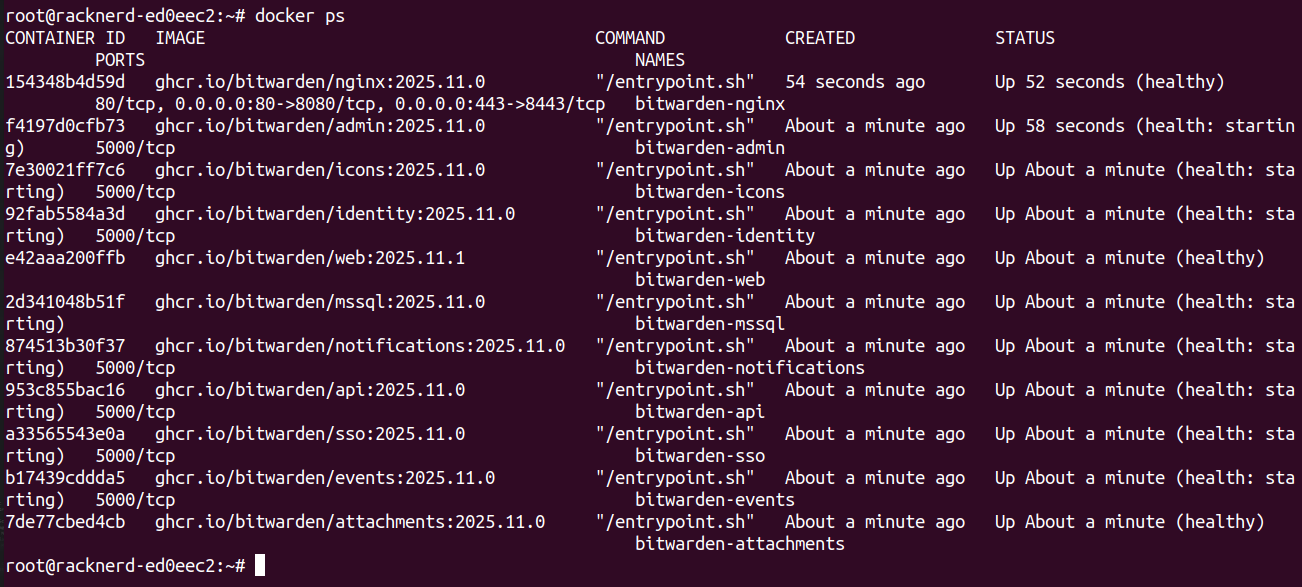
You can check that all containers are running:
docker ps
If everything looks good, open your browser and visit: https://yourdomainname.tld You should now see the Bitwarden web interface.
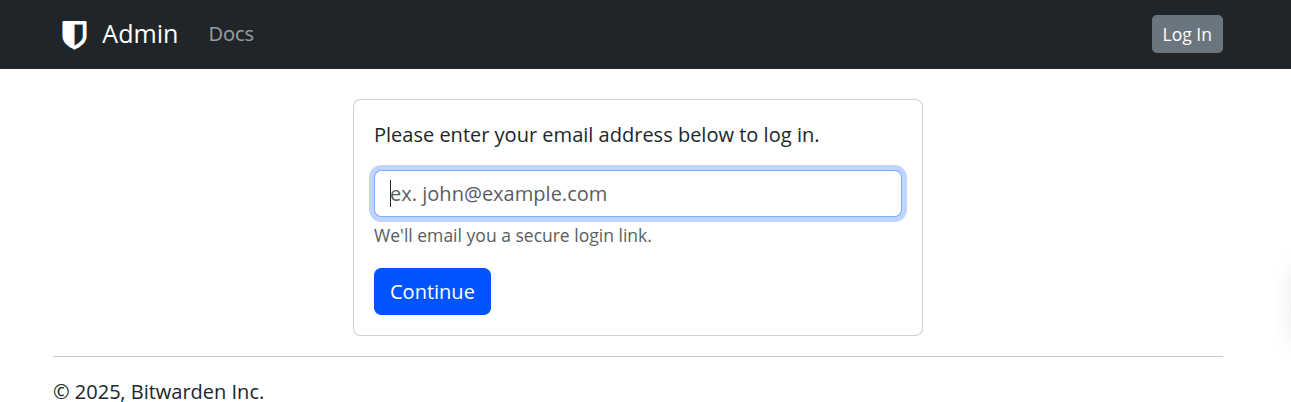
Step 5 – Create an Admin Account
Click Create Account and set up your first user.Once logged in, go to:
Step 6 – Install Clients
Bitwarden supports:
- Browser extensions (Chrome, Firefox, Edge, etc.)
- Desktop apps (Linux, macOS, Windows)
- Mobile apps (Android, iOS)
- Terminal CLI When logging in, select:
- Self-hosted environment
- Enter your server URL
You now have a fully private password manager synced across devices!
Conclusion
By hosting Bitwarden on your own VPS, you gain:
- Total sovereignty over your password vault,
- The ability to scale as needed,
- A secure private solution that rivals top commercial services.
With Docker and Bitwarden’s streamlined installation script, deployment takes less than 30 minutes even for beginners.
If you want secure password management without depending on third parties, self-hosting Bitwarden is one of the best paths forward.