How to Enable Microphone and Sound on Remote Desktop?
Leave a comment on How to Enable Microphone and Sound on Remote Desktop?
Looking for a Windows VPS? Take a look here -> https://www.racknerd.com/windows-vps
Remote Desktop Protocol, widely known as RDP, is being used to connect to any remote windows system. To connect to any remote system, you need any remote desktop applications that will then use Remote Desktop Protocol (RDP) for connection. Let’s learn how to enable microphone and sound on a remote desktop!
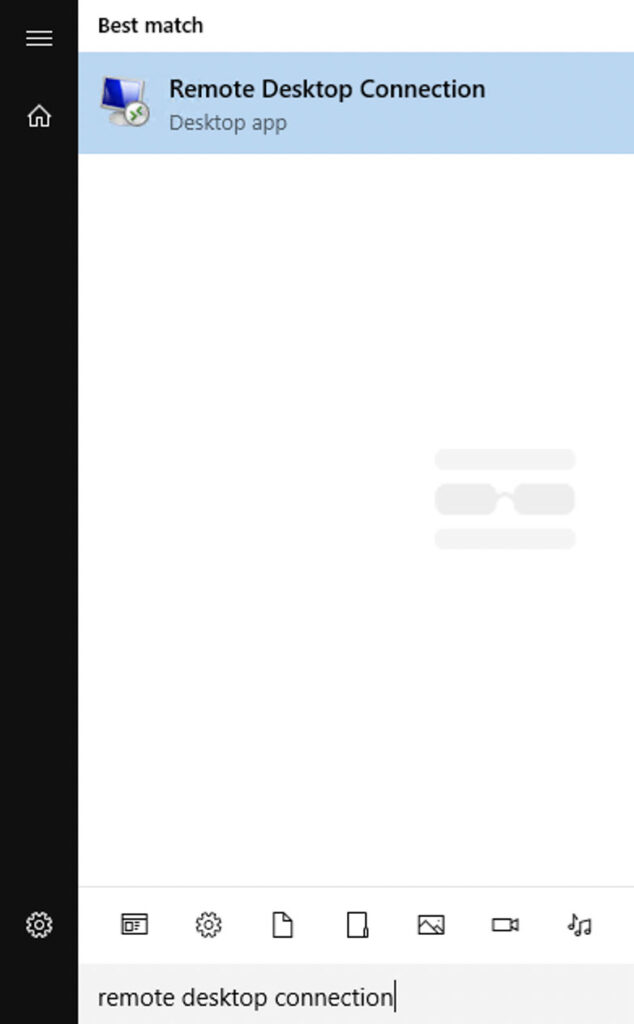
1. First, open the Remote Desktop application. In windows, it is “Remote Desktop Connection” or “mstsc.exe,” and on macOS, “Microsoft Remote Desktop“. As of now, we will be continuing this tutorial based on a Windows PC:
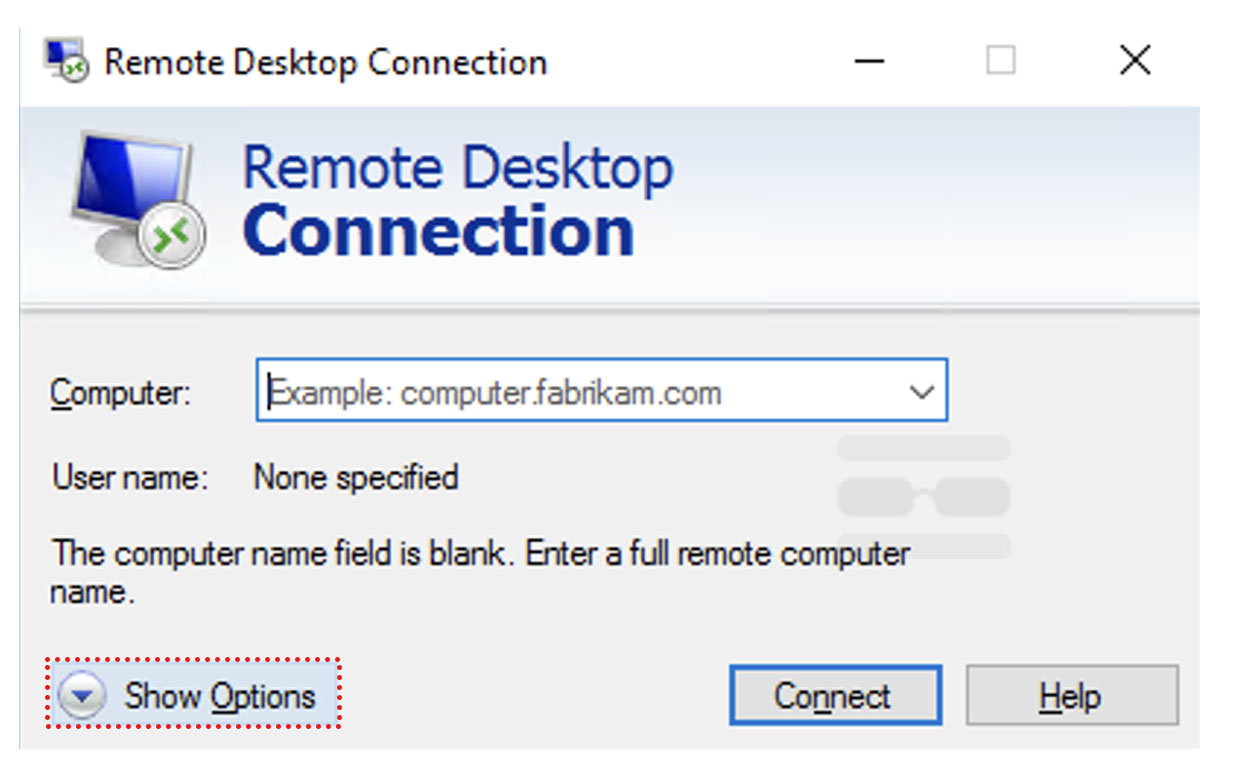
2. To expand the configurable option, click on “Show Options“,
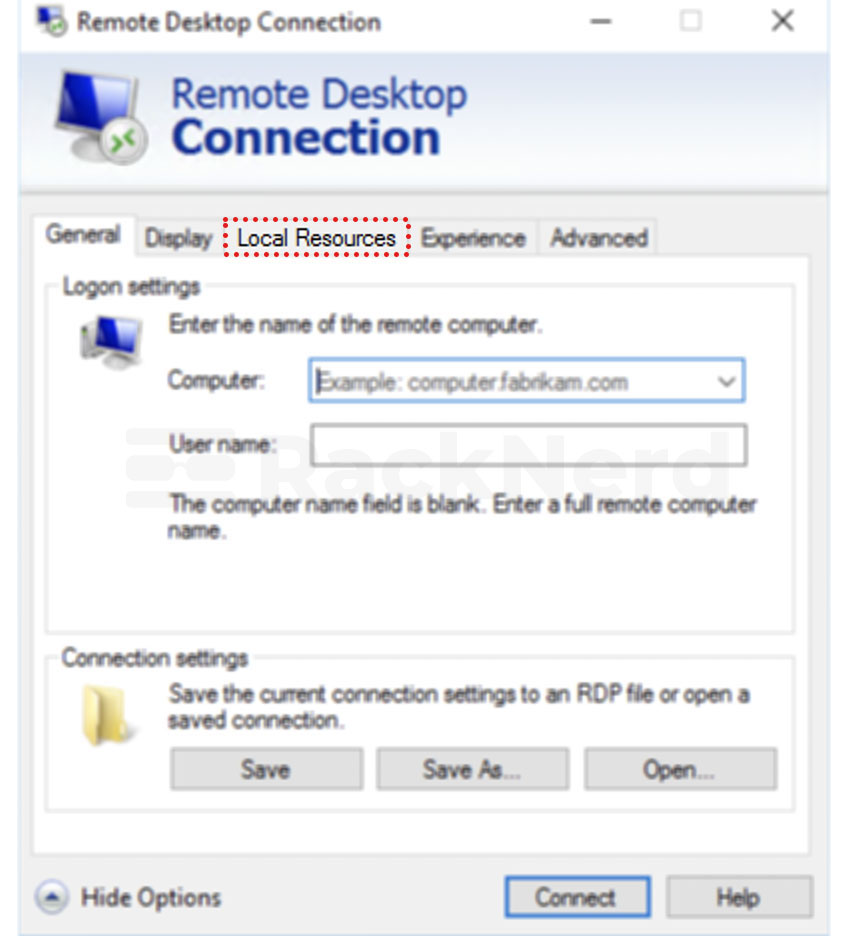
3. Navigate to Local Resources.
4. Next, click on the Remote audio → Settings.
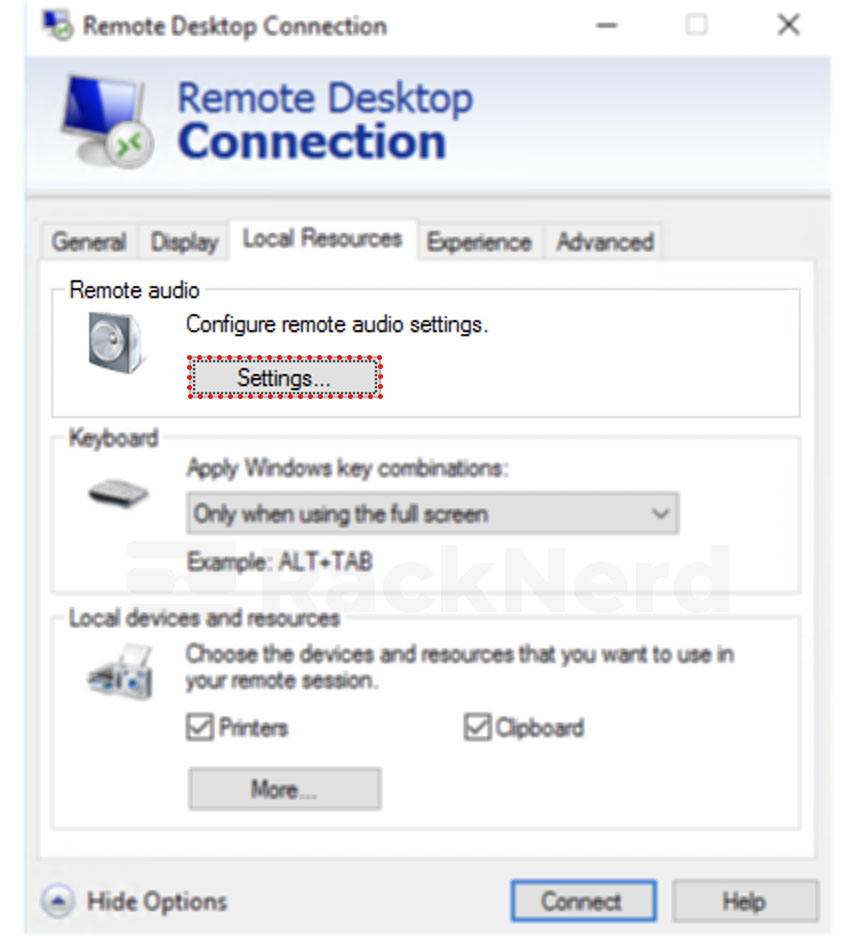
5. Select the following options and click on OK:
- Remote audio playback: Play on this computer.
- Remote audio recording: Record from this computer.
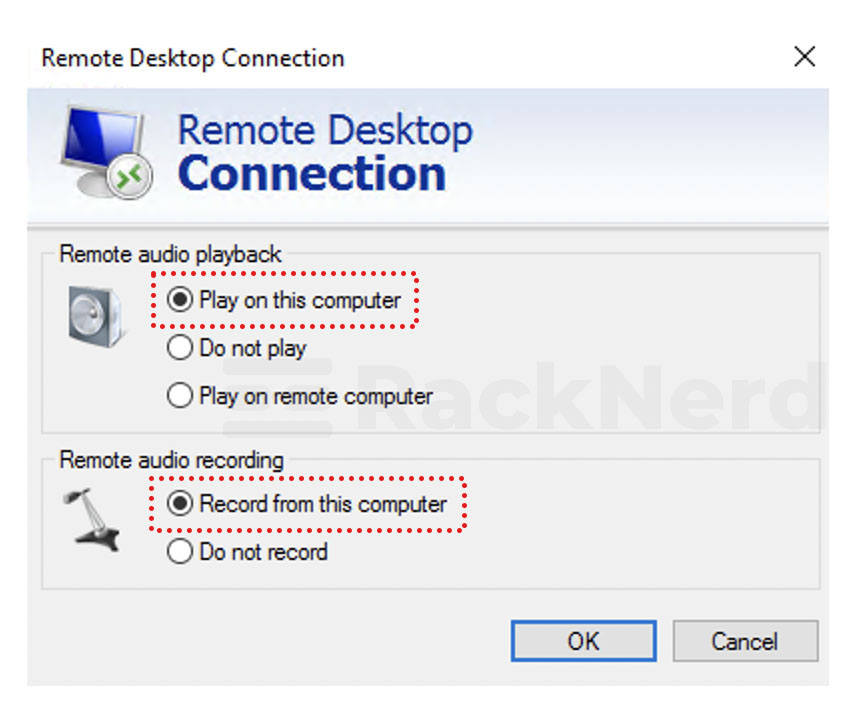
6. Finally, to save the changes click on “OK”.

Server Side Configuration
After enabling the microphone and sound in the Remote Desktop Application, you need to install the Remote Desktop Services on the Windows server. To know how to install Remote Desktop Services, follow the below steps,
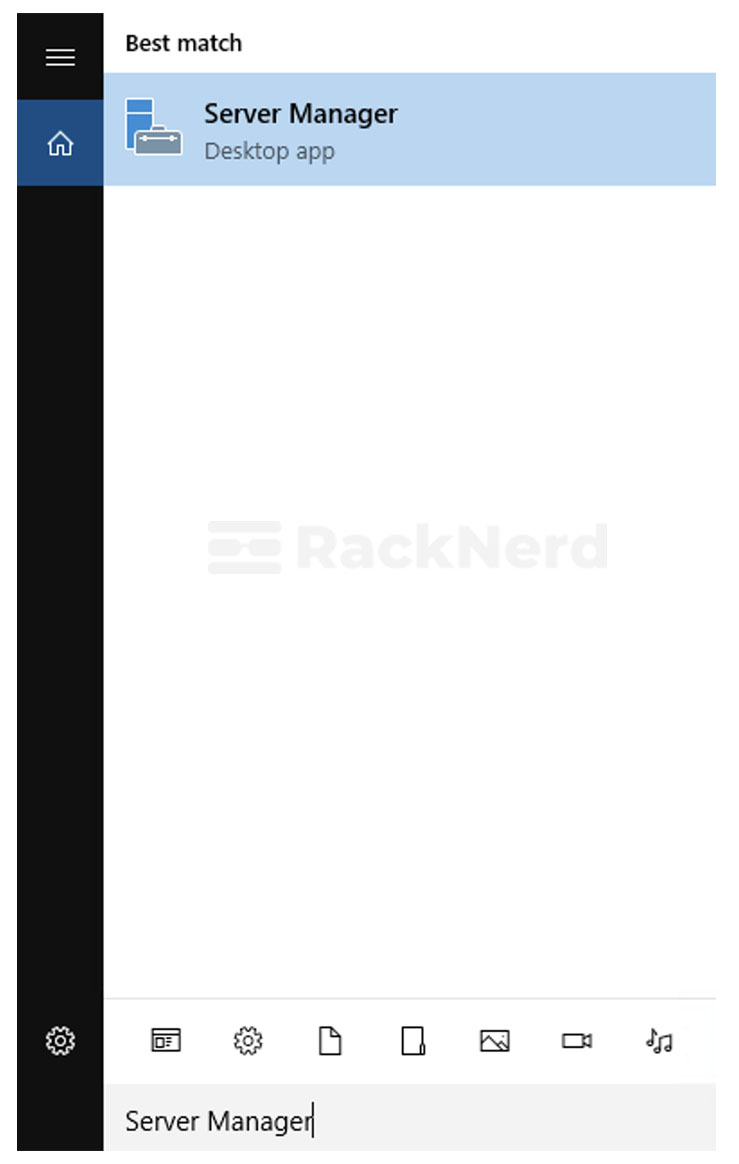
1. Connect to your remote windows server and open Server Manager.
2. To install the new components, click on the Add roles & features.

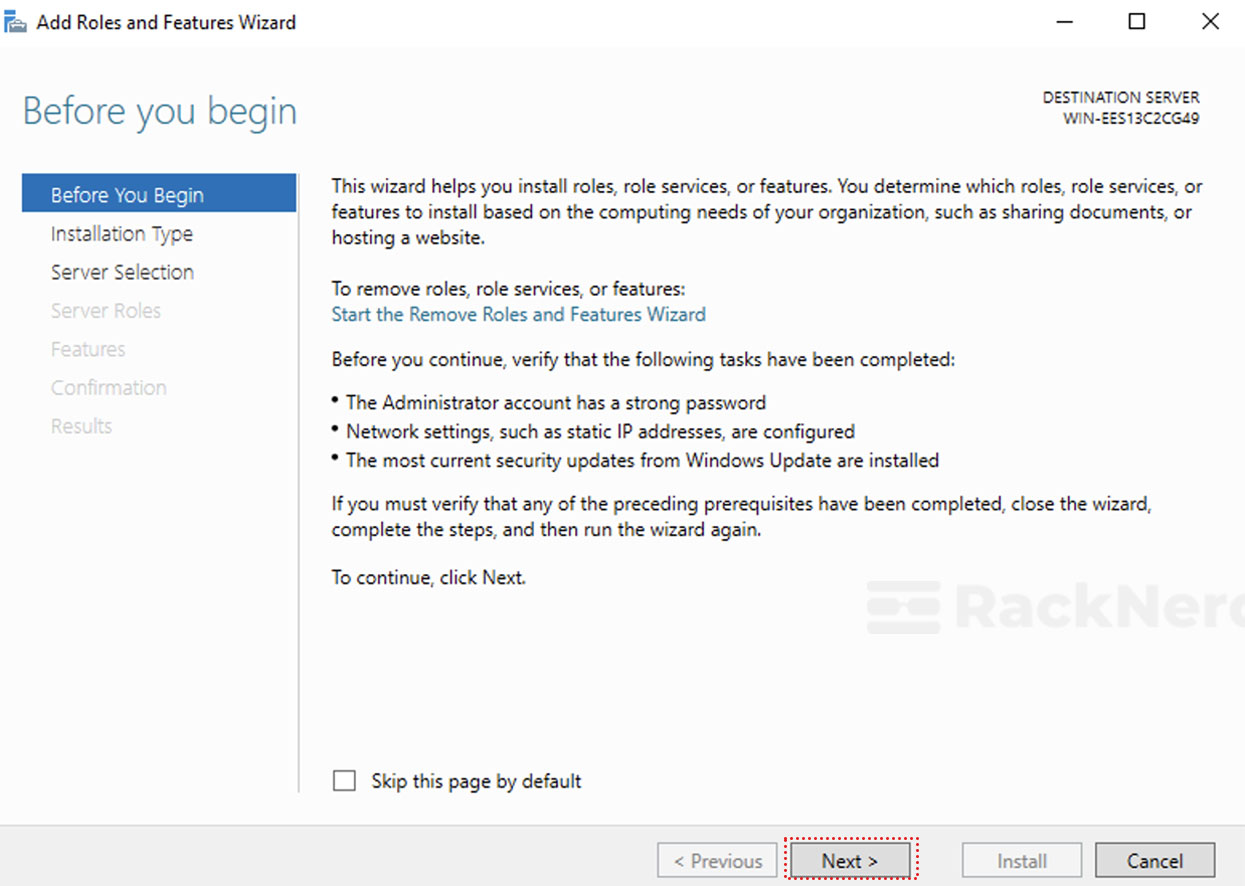
3. Before you begin, this is the step here you will learn about how this wizard will help you to install/remove the new features and roles → Click on Next.
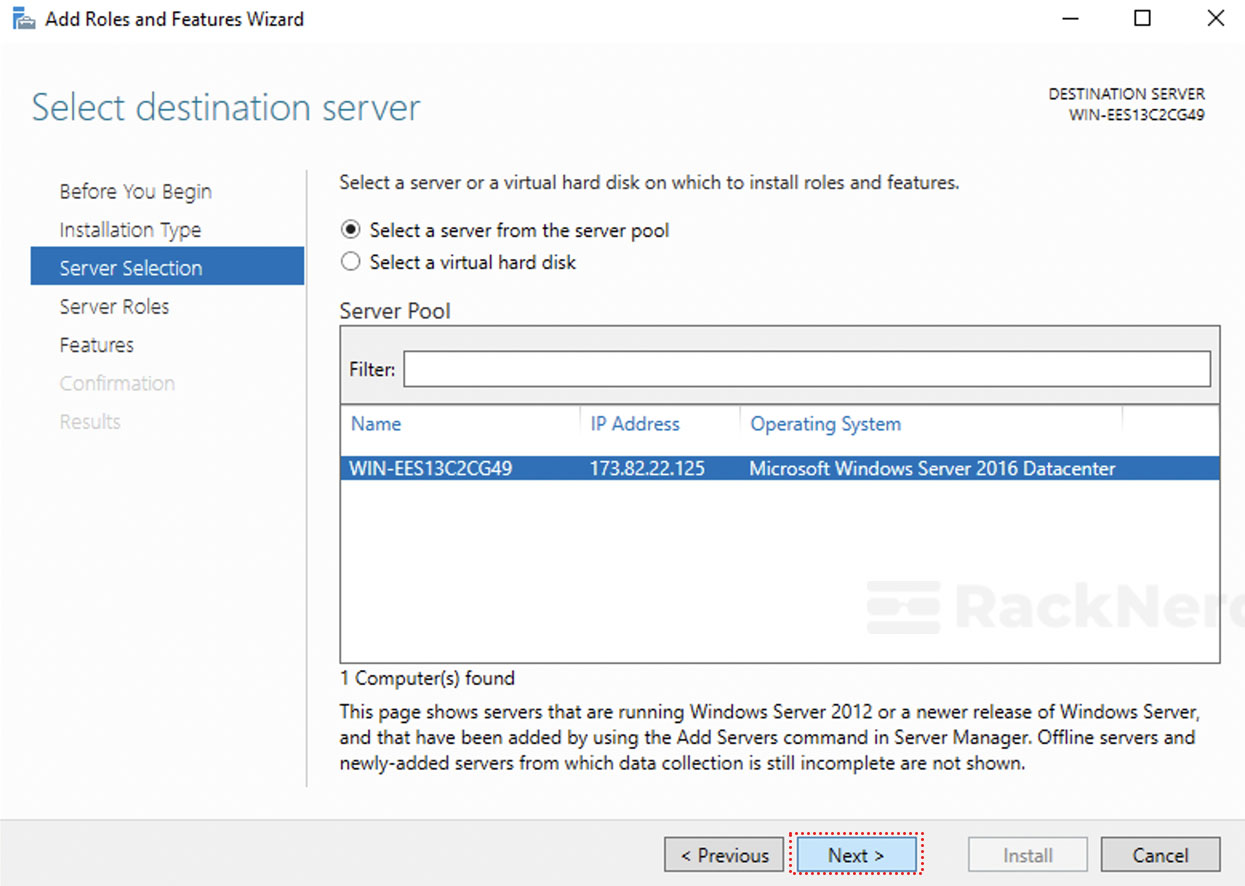
4. Server selection, in this step, you need to select the server. If you’re in the working group, you might have a list of servers in the network.
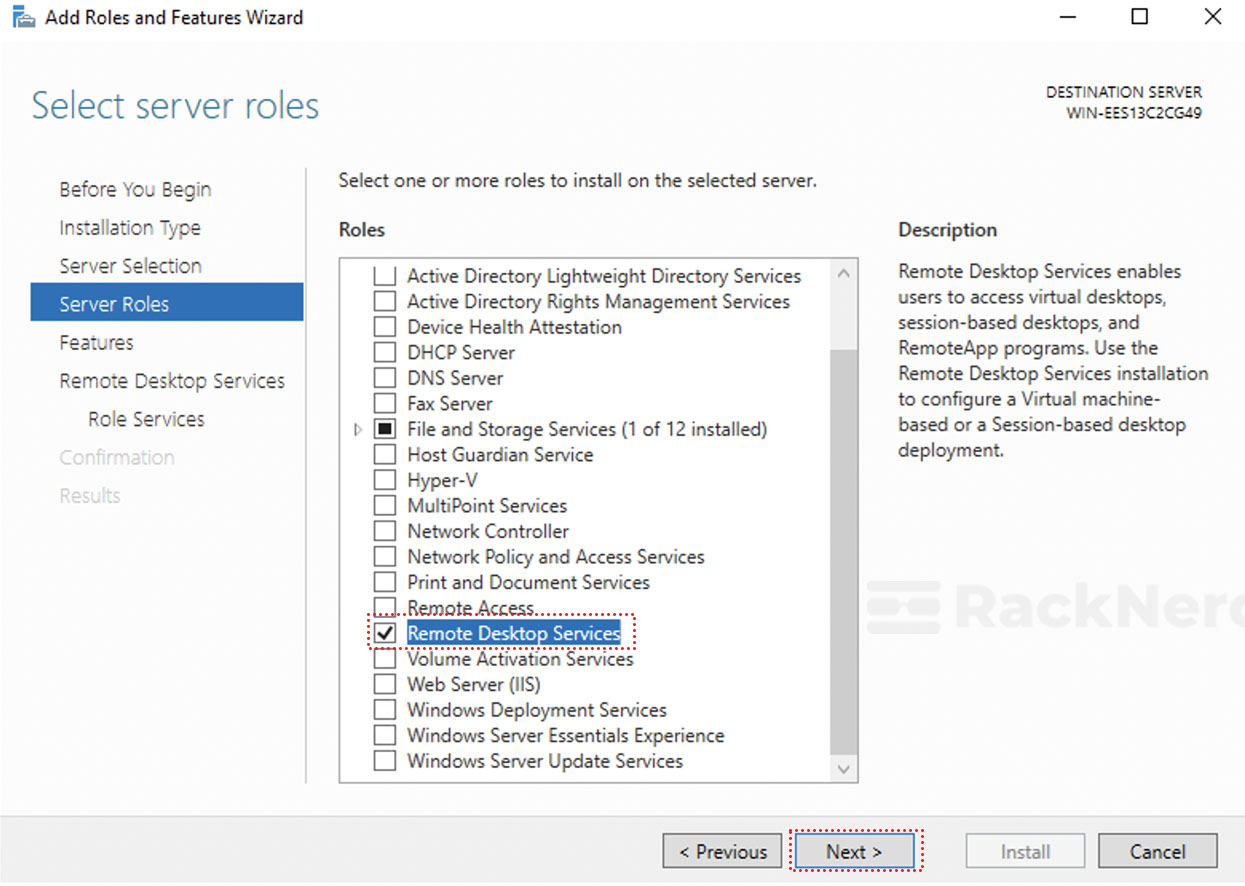
5. Server roles, select “Remote Desktop Services” → Click on Next.
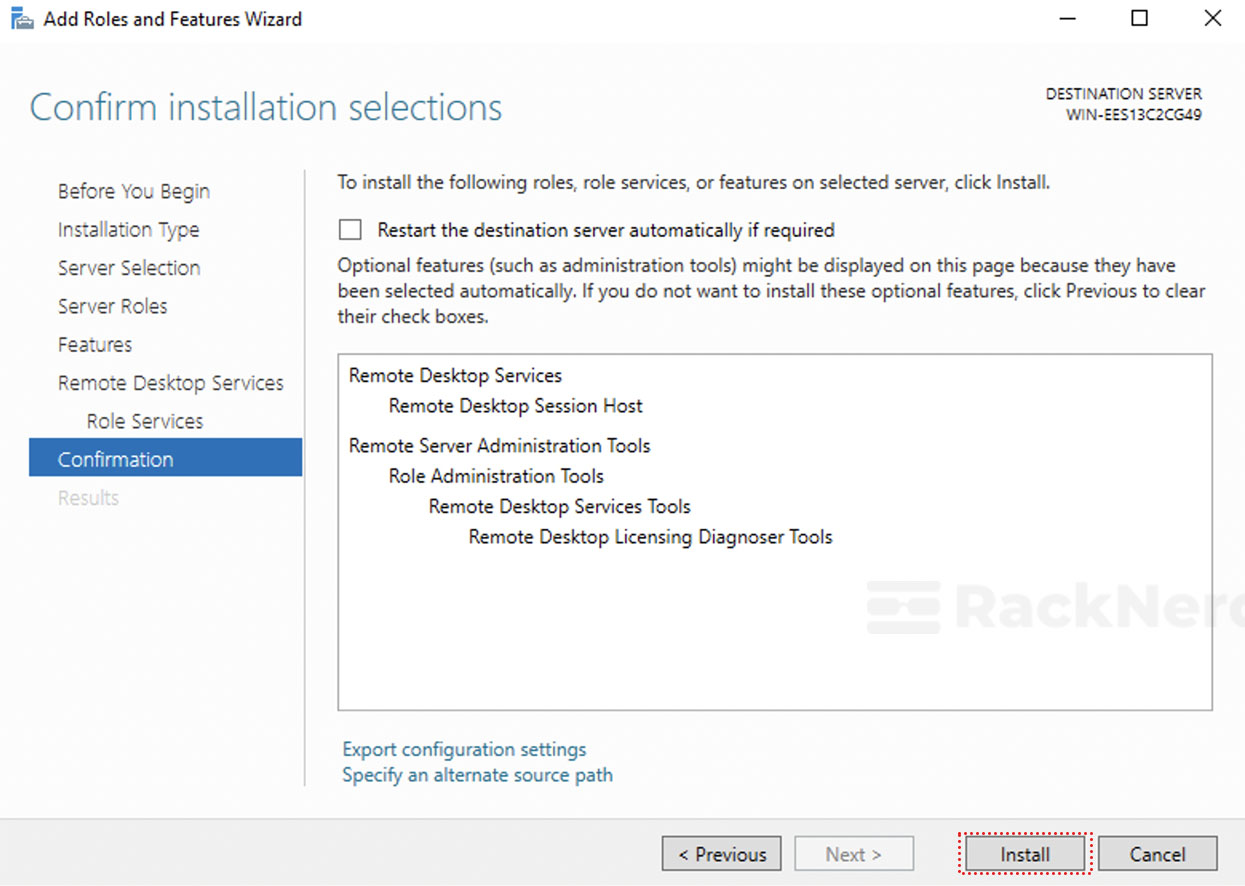
6. Confirmation, here you will get summary on installation components → Click on Install.
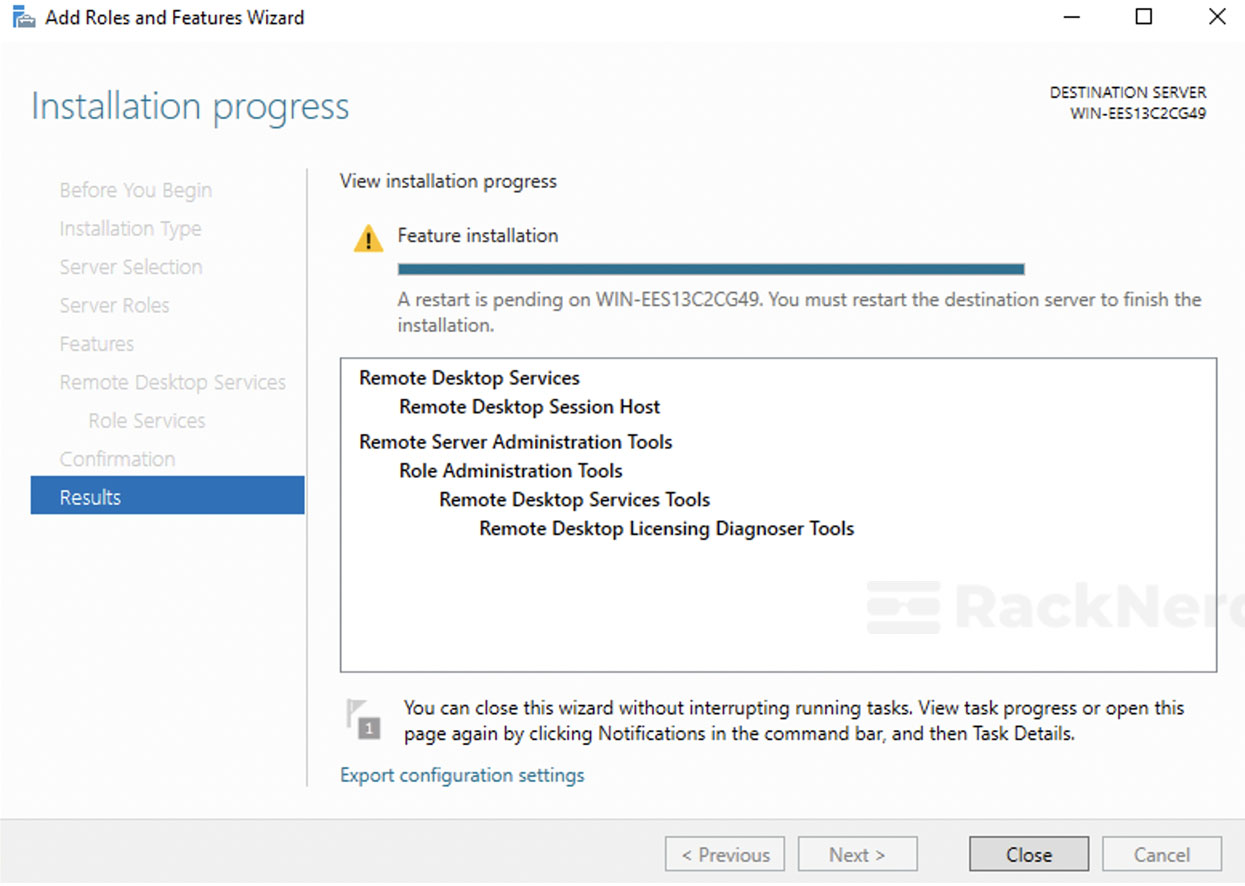
8. Congratulations! You have successfully installed Remote Desktop Services. To implement the changes properly, reboot the windows server.
Still, if your microphone or a sound is not working, the last steps you could follow is below:
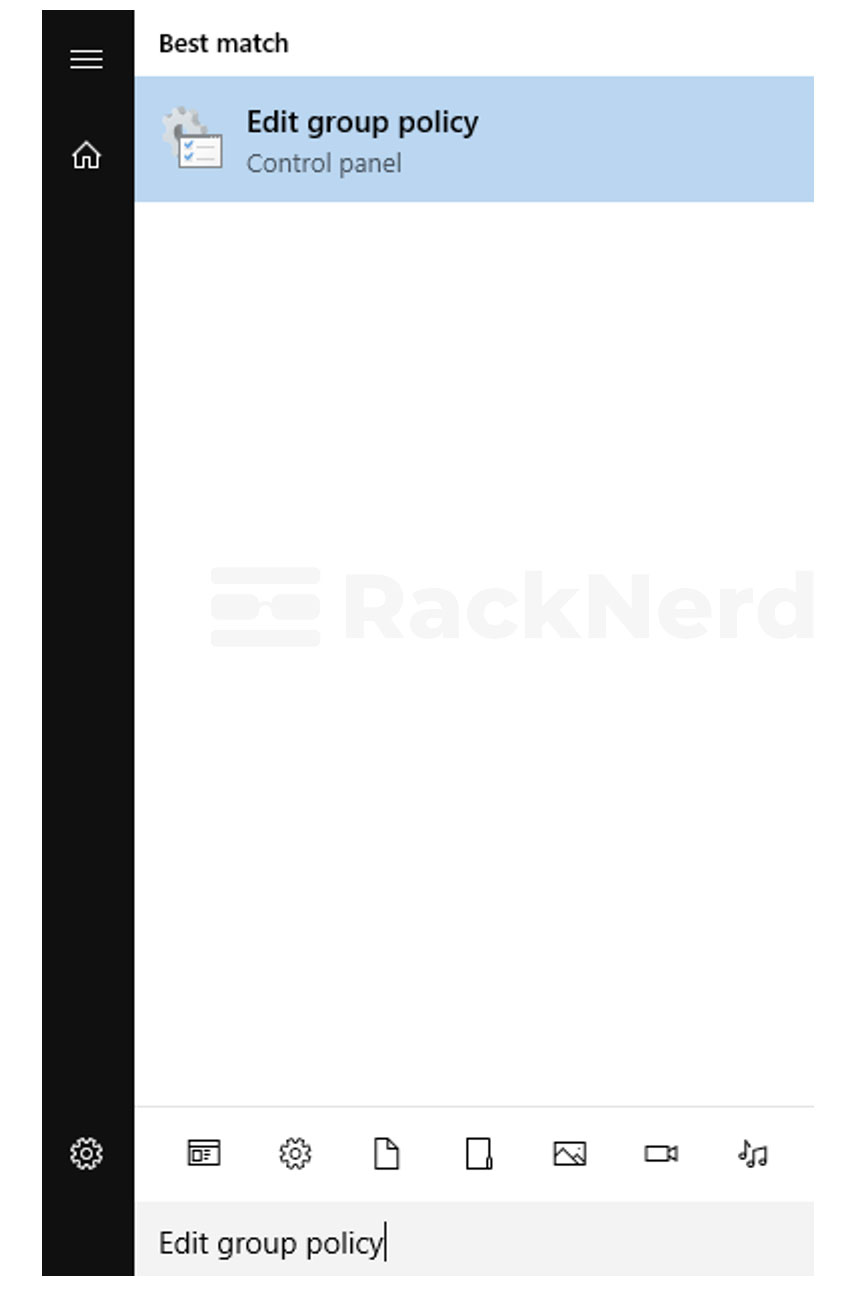
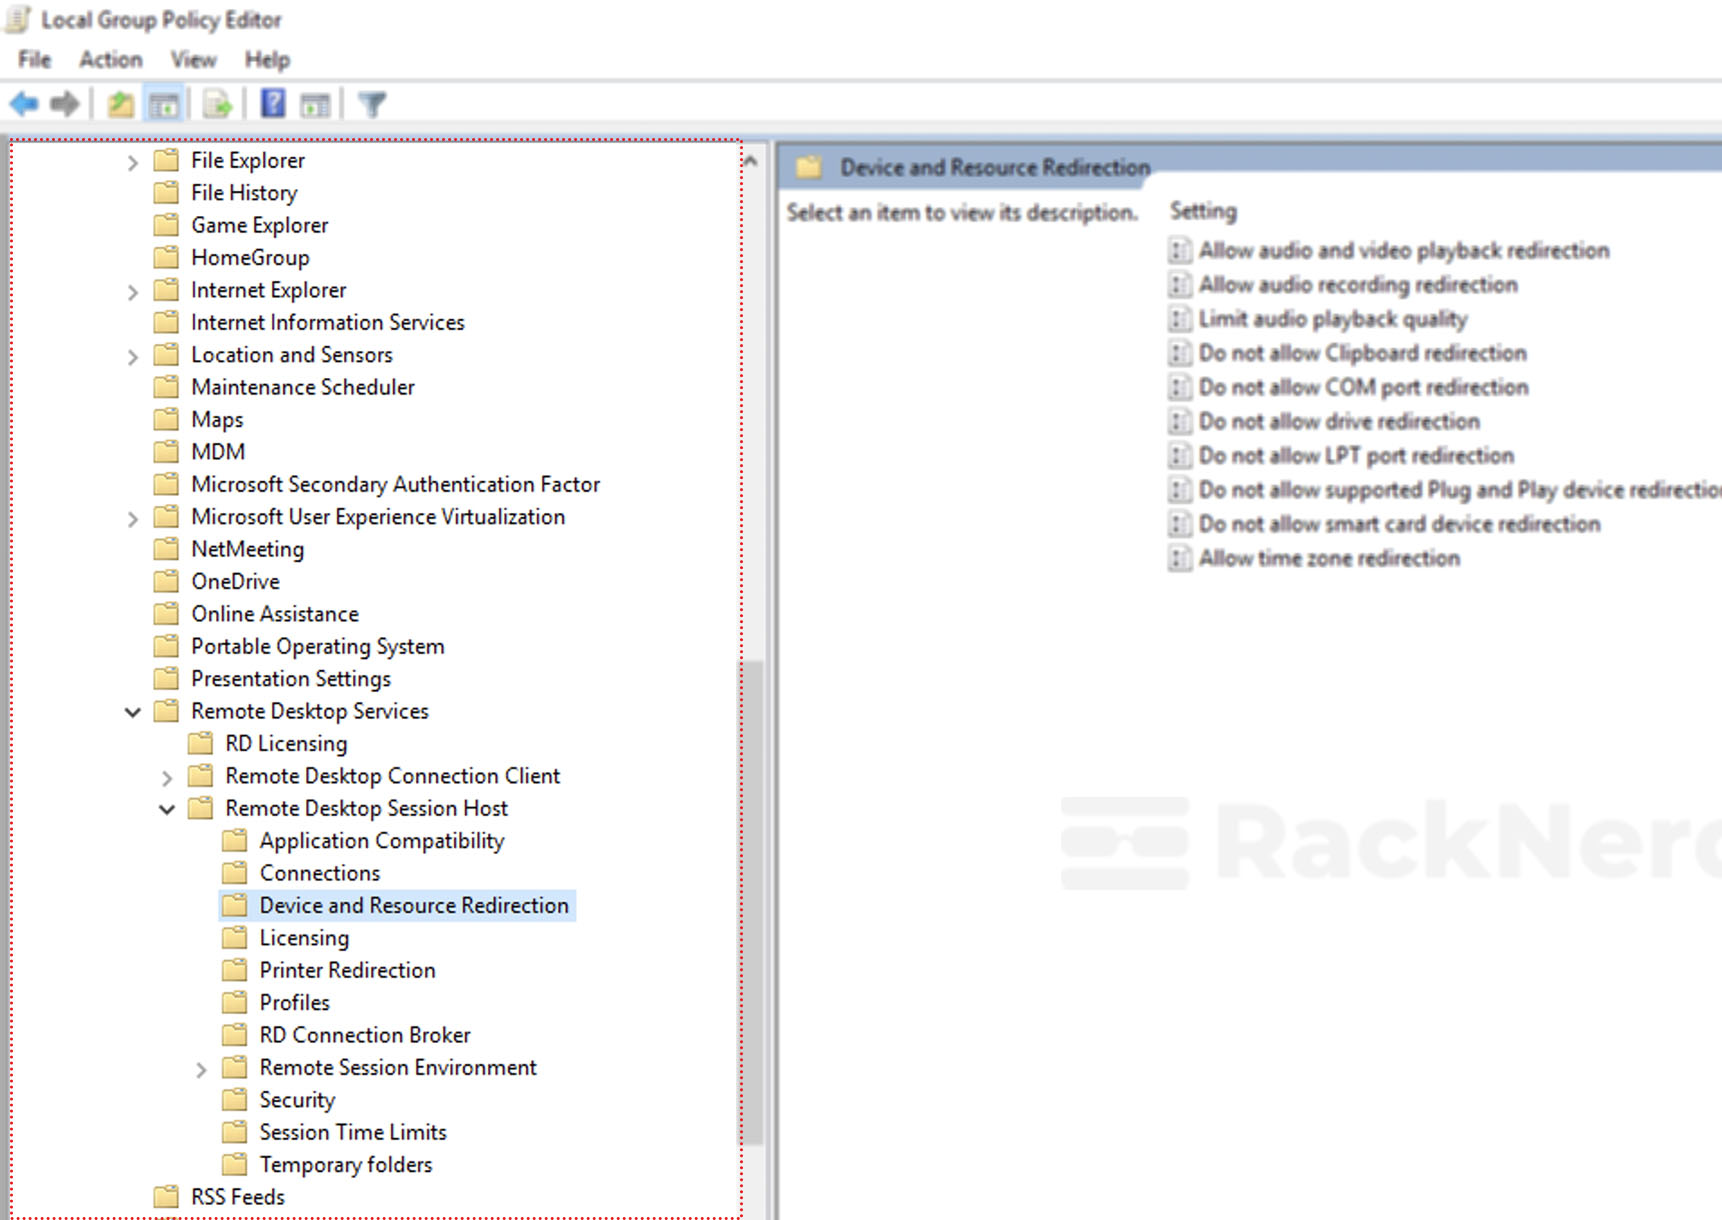
1. Login to your windows server and open “Edit Group Policy” (gpedit.exe).
2. Next, navigate to Computer Configuration → Administrative Templates → Windows Components → Remote Desktop Services → Remote Desktop Session Host → Device and Resource Redirection.
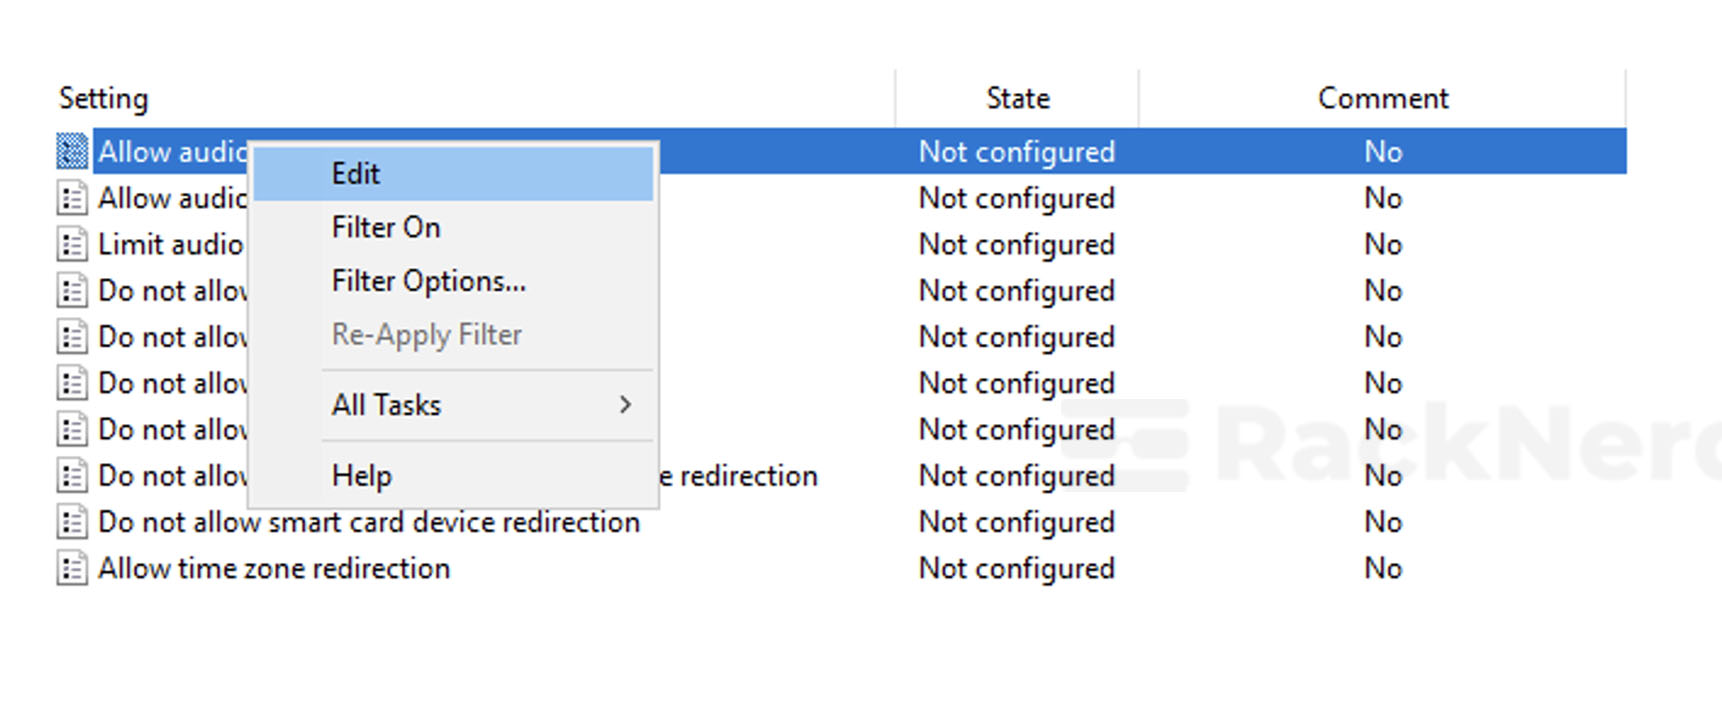
3. Double–click on Allow audio recording redirection or right–click on Allow audio recording redirection and click on Edit.
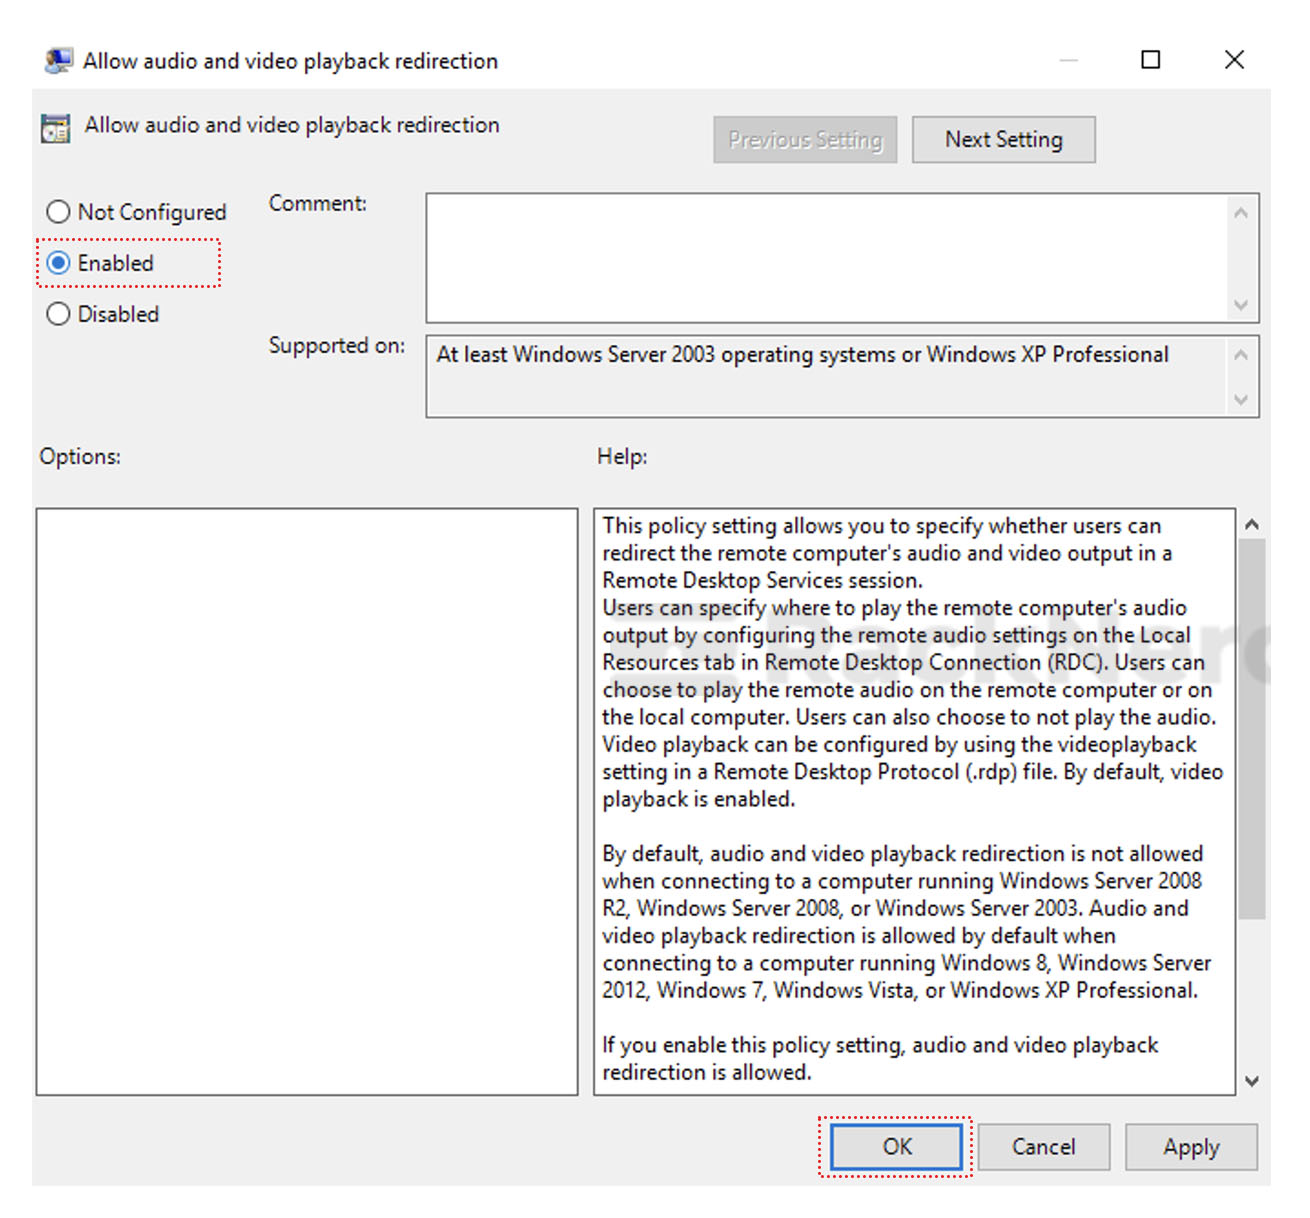
4. Select Enabled → Click on OK to save the configuration.
Looking for a Windows VPS with RDP, and full Administrator access? Take a look at RackNerd’s Windows VPS plans here: https://www.racknerd.com/windows-vps