How to Install myVestaCP on a VPS
Softaculous is a powerful auto-installer that simplifies the deployment of applications like WordPress, Joomla, and Magento. By integrating Softaculous with myVestaCP, you can install hundreds of applications with just a few clicks. This guide will walk you through the step-by-step process of installing myVestaCP on your VPS.
Prerequisites
Before proceeding, ensure that you have a VPS with Debian OS installed. myVestaCP officially supports Debian 12, but older versions are also supported. Your server should meet the following minimum requirements:
- 1 GB of RAM
- 1 CPU core
- 20 GB of storage
- A domain name pointed to your server’s IP address
- A hostname (e.g., server.your-domain.com)
If you don’t have a VPS yet, visit RackNerd.com for reliable hosting solutions. Now, let’s get started!
Step 1: Connect to Your Server via SSH
First, log in to your server via SSH using a terminal or an SSH client such as Bitvise SSH Client.
Run the following command to update your server’s software packages:
apt update -y && apt upgrade -yThis ensures that your system is running the latest software and security patches.

Step 2: Install myVestaCP
Before installing myVestaCP, ensure that cURL is installed:
apt install curl -yNext, download the myVestaCP installation script from the official repository:
curl -O http://c.myvestacp.com/vst-install-debian.shNow, run the installer with your preferred configuration. For a default installation, use:
bash vst-install-debian.shAlternatively, for a custom installation with NGINX, PHP-FPM, VSFTPD (without ClamAV), run:
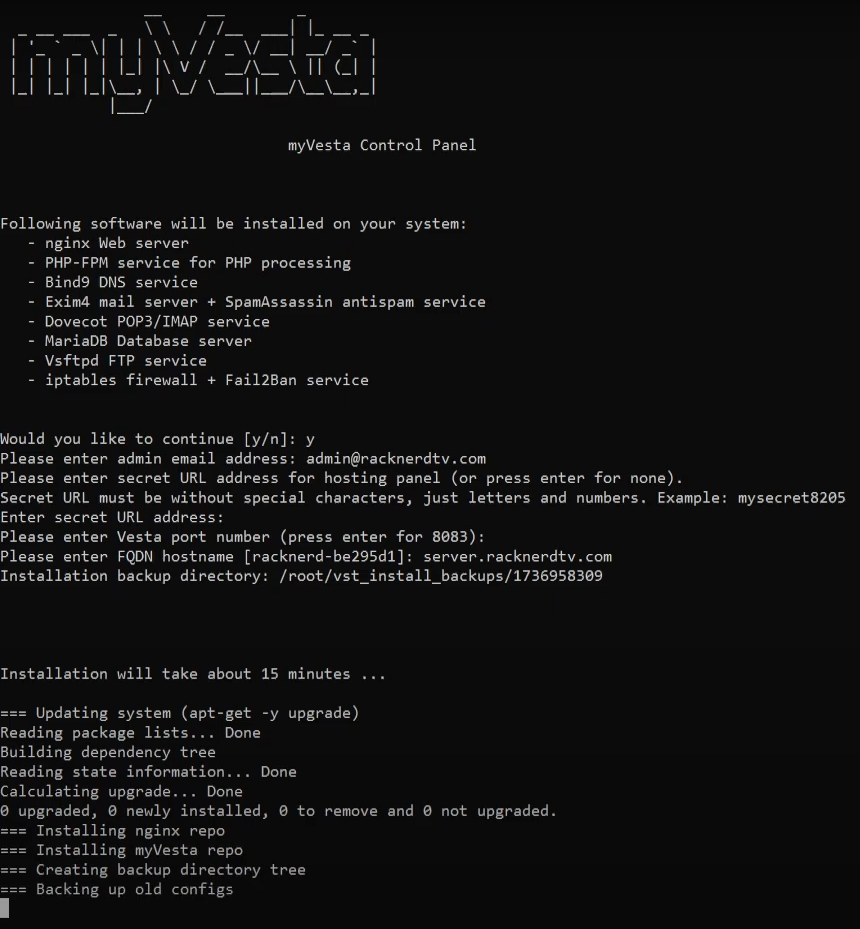
bash vst-install-debian.sh --apache no --nginx yes --phpfpm yes --vsftpd yes --proftpd no --named yes --mysql yes --mysql8 no --postgresql no --exim yes --dovecot yes --clamav no --spamassassin yes --iptables yes --fail2ban yes --quota no --force no --interactive yes --port 8083 --hostname no --lang enDuring installation, you will be prompted to enter:
- Your email address
- A secret URL (optional)
- Your server’s hostname (e.g., server.your-domain.com)
Step 3: Completing the Installation
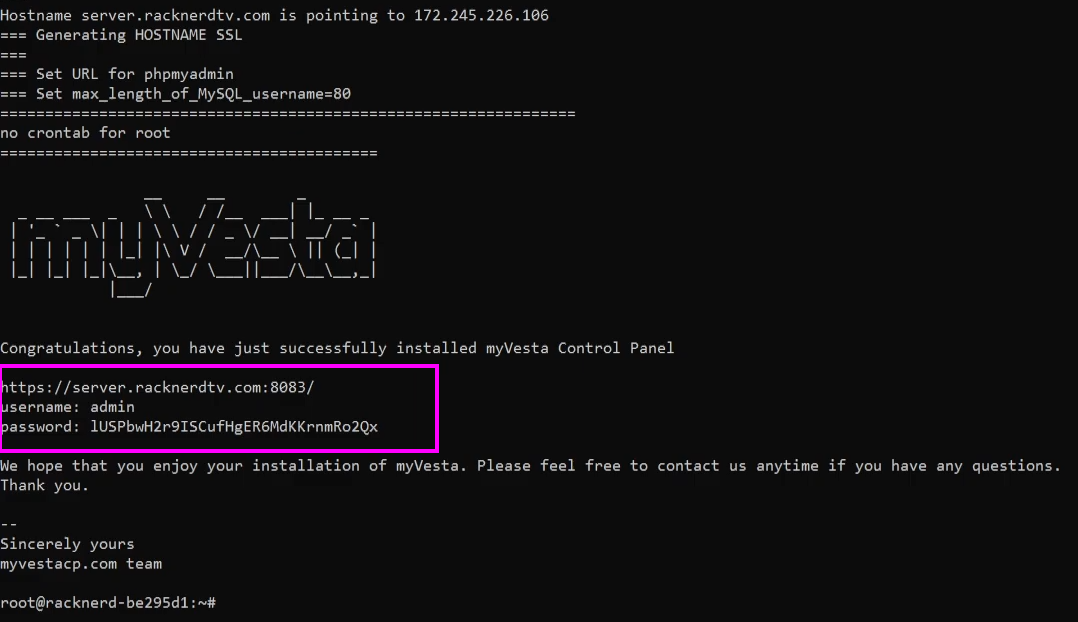
Once the installation is complete, you will receive a message displaying:
- Login URL
- Admin username (default: admin)
- Generated password
Be sure to copy and save these details securely.
Step 4: Accessing myVestaCP
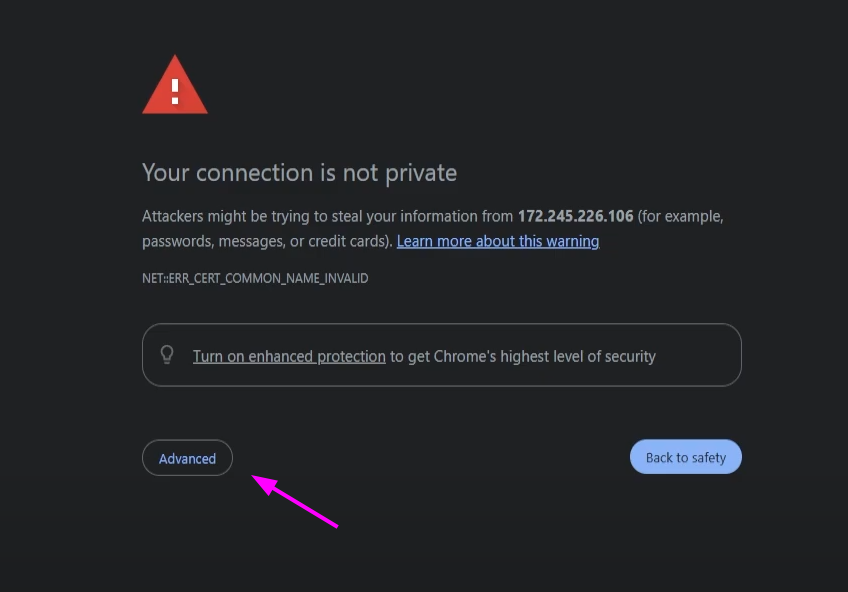
To log into myVestaCP, open a browser and go to:
https://your-server-ip:8083
If an SSL warning appears, click on Advanced > Continue to site.
At the login page, enter:
- Username: admin
- Password: (provided during installation)
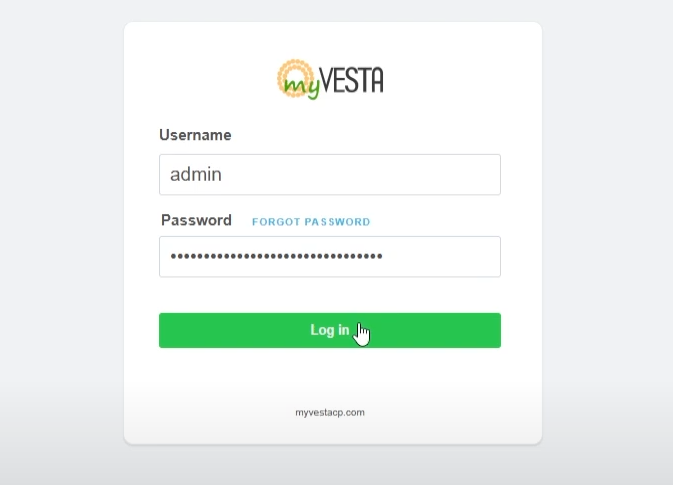
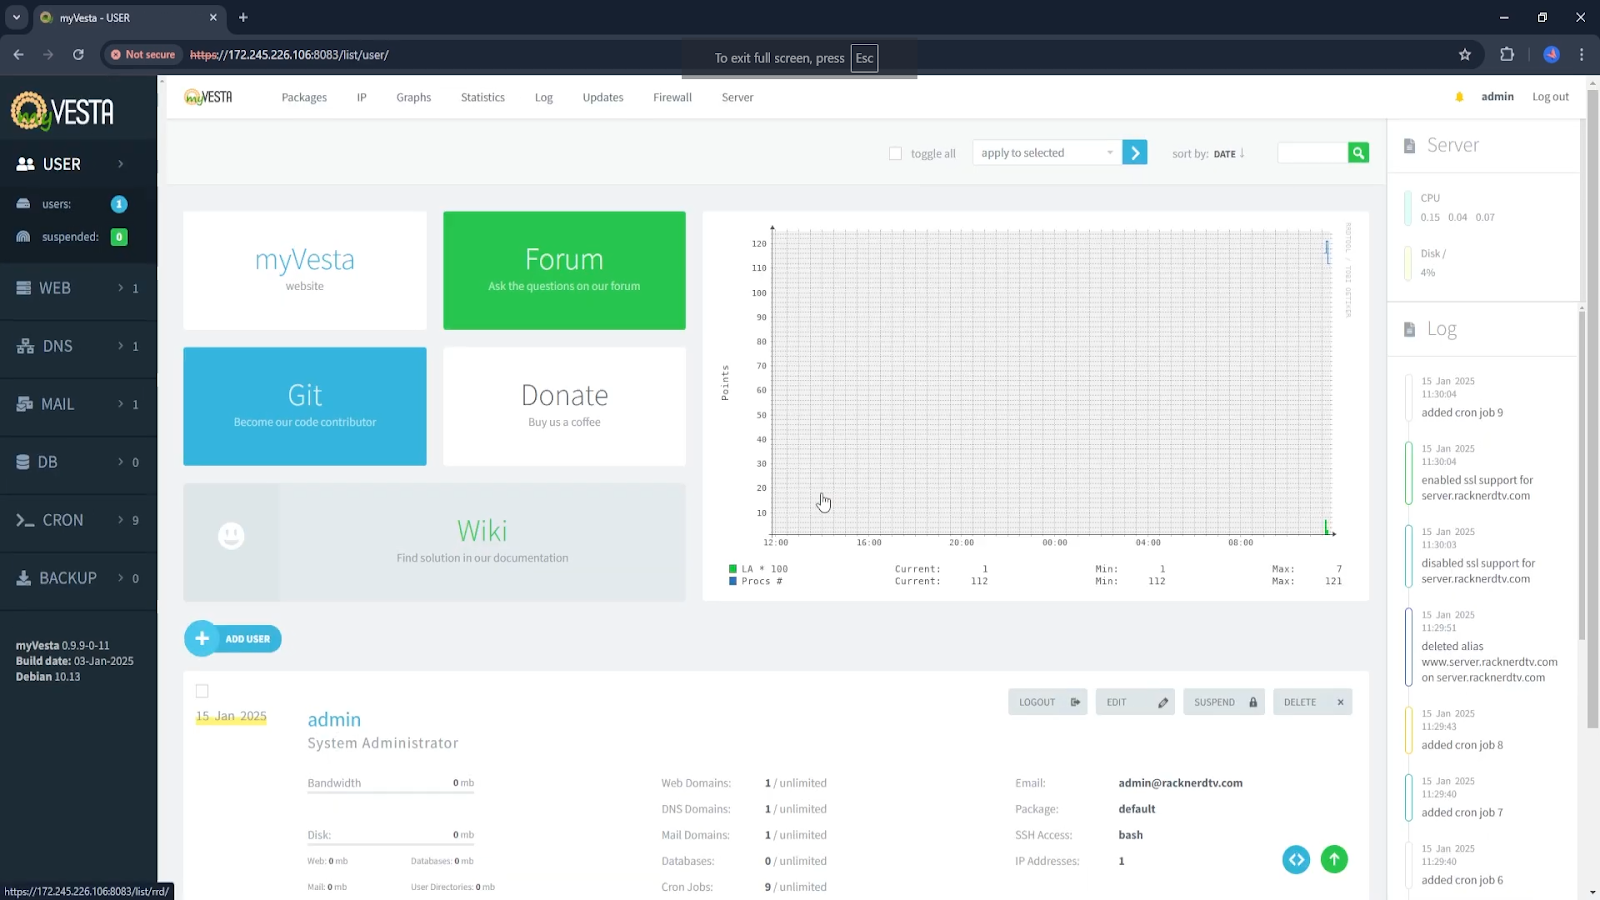
Once logged in, you will see the myVestaCP dashboard, where you can manage your websites, databases, emails, and DNS settings.
Troubleshooting Common Issues
Issue: SSL Certificate Not Installed Properly
- Ensure your domain and hostname are properly pointed to your server’s IP address.
- Run the following command to reinstall SSL:
v-update-host-certificate adminIssue: Installation Fails Due to Missing Packages
- Run:
apt update && apt upgrade -y- Restart your VPS and try reinstalling myVestaCP.
Conclusion
By following these steps, you have successfully installed myVestaCP on your VPS. This control panel simplifies server management, making it easy to host websites, manage databases, and configure emails.
For high-performance VPS hosting, check out RackNerd’s VPS plans to ensure a smooth and secure hosting experience.