Monitoring Your Server with ‘Zabbix’: Installation and Configuration Guide
Leave a comment on Monitoring Your Server with ‘Zabbix’: Installation and Configuration Guide
Introduction
Server monitoring is essential for maintaining the functionality, security, and stability of your IT infrastructure in today’s technology-driven world. Zabbix is a widely-used, open-source monitoring tool that helps you monitor networks, servers, and applications in real-time. In this guide, we will walk you through the process of installing and configuring Zabbix, so you can get started with server monitoring quickly and efficiently.
Why Use Zabbix?
Zabbix is a robust, enterprise-grade monitoring solution with a variety of features that make it ideal for both small businesses and large-scale enterprises. Here are a few key reasons why Zabbix stands out:
- Scalability: Zabbix can scale easily to monitor a vast number of servers, network devices, and applications.
- Customizable Dashboards: Zabbix provides customizable dashboards, giving you personalized views of your server’s metrics.
- Advanced Alerting: Zabbix supports a range of alerting options, including email, SMS, and custom script notifications.
- Open-source: As a free-to-use tool, Zabbix does not come with any licensing fees, making it an attractive option for cost-conscious businesses.
Now, let’s dive into the installation process.
Prerequisites
Before we begin, ensure that your server meets the following prerequisites:
- A Linux-based server (e.g., Ubuntu, CentOS, or Debian)
- Root access to the server
- A LAMP or LEMP stack (Linux, Apache/Nginx, MySQL/MariaDB, and PHP)
- At least 2 GB of RAM (Zabbix can be memory-intensive)
- Internet access to download Zabbix packages
In this guide, we will use Ubuntu 22.04 as the base operating system.
Step 1: Install the LAMP Stack
Before installing Zabbix, you must set up the LAMP stack (Linux, Apache, MySQL, and PHP). First, make sure your system is up-to-date:
sudo apt update
sudo apt upgrade
Now, install the LAMP stack:
sudo apt install apache2 mysql-server php php-mbstring php-gd php-xml php-bcmath php-ldap php-mysql -y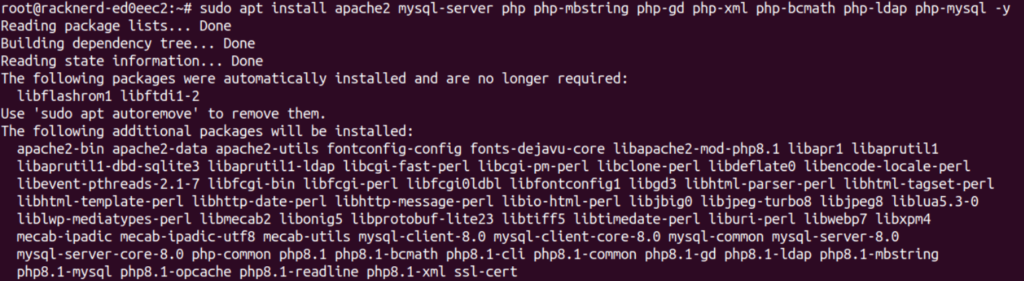
Once the installation is complete, start and enable MySQL and Apache services:
sudo systemctl start apache2
sudo systemctl enable apache2
sudo systemctl start mysql
sudo systemctl enable mysql
Verify that both services are running:
systemctl status apache2.service
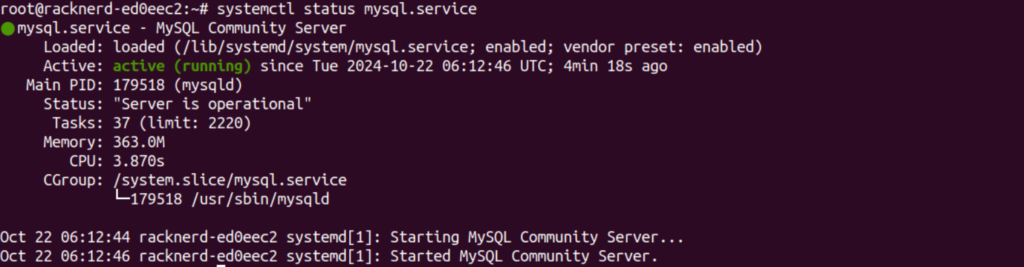
systemctl status mysql.service
To secure the MySQL installation, run:
sudo mysql_secure_installationFollow the prompts to secure your MySQL instance.
Step 2: Install and Configure Zabbix Server
1. Add the Zabbix Repository
First, download and install the Zabbix repository package:
wget https://repo.zabbix.com/zabbix/6.0/ubuntu/pool/main/z/zabbix-release/zabbix-release_6.0-2+ubuntu22.04_all.deb
sudo dpkg -i zabbix-release_6.0-2+ubuntu22.04_all.deb
sudo apt update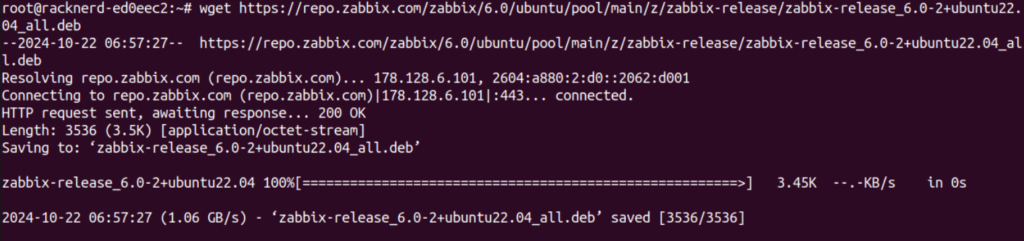
2. Install Zabbix Server, Frontend, and Agent
Next, install the necessary Zabbix packages:
sudo apt install zabbix-server-mysql zabbix-frontend-php zabbix-apache-conf zabbix-sql-scripts zabbix-agent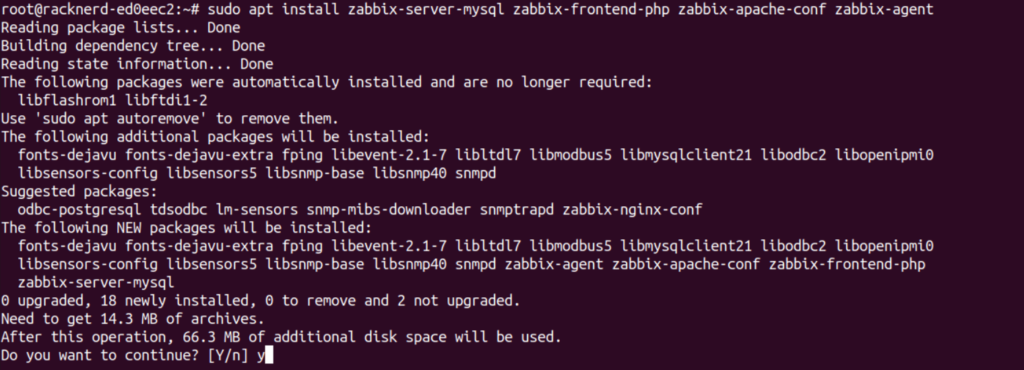
3. Create the Zabbix Database in MySQL
Access the MySQL CLI:
sudo mysql -uroot -pCreate the Zabbix database and user:
CREATE DATABASE zabbix CHARACTER SET utf8mb4 COLLATE utf8mb4_bin;
CREATE USER 'zabbix'@'localhost' IDENTIFIED BY 'your_password';
GRANT ALL PRIVILEGES ON zabbix.* TO 'zabbix'@'localhost';
FLUSH PRIVILEGES;
EXIT;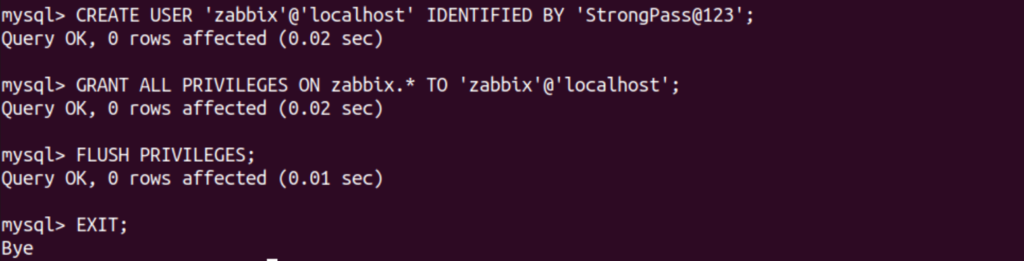
Make sure to replace 'your_password' with a secure password of your choice.
4. Import Zabbix’s Initial Schema
Import the Zabbix initial schema into the database:
zcat /usr/share/zabbix-sql-scripts/mysql/server.sql.gz | mysql --default-character-set=utf8mb4 -uzabbix -p zabbix5. Configure the Zabbix Server to Connect to MySQL
Edit the Zabbix server configuration file:
sudo vi /etc/zabbix/zabbix_server.confFind the DBPassword line and enter the password you created earlier.
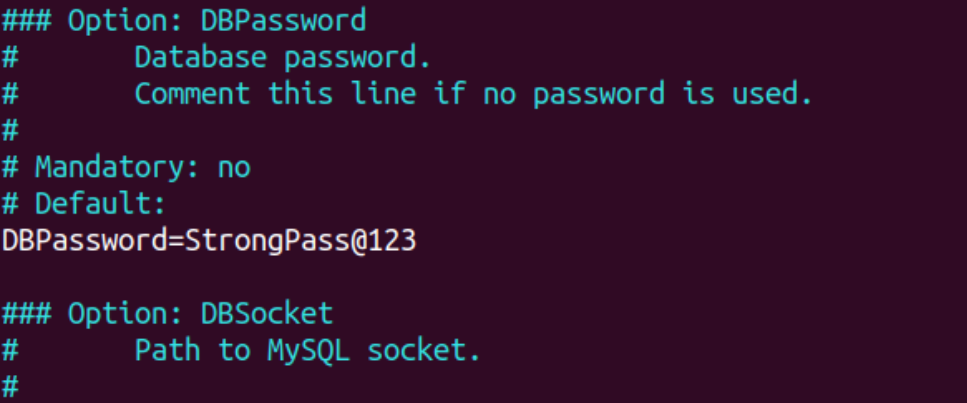
Save and exit the file.
Step 3: Configure PHP for Zabbix Frontend
Next, we need to configure PHP settings for the Zabbix frontend.
Open the Zabbix Apache configuration file:
sudo vi /etc/zabbix/apache.confAdd your preferred time zone:
php_value date.timezone Europe/LondonBe sure to replace “Europe/London” with your server’s actual time zone.
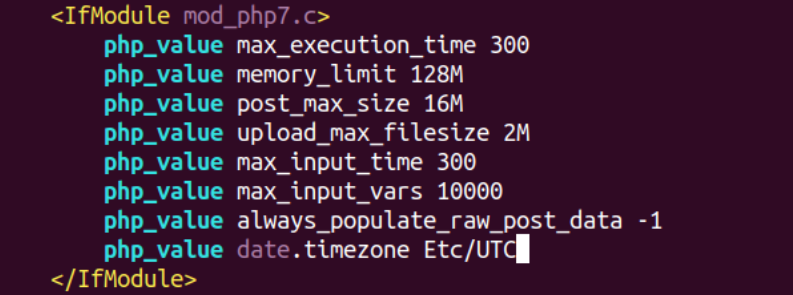
Save the file and restart Apache:
sudo systemctl restart apache2Step 4: Start and Enable Zabbix Server and Agent
Now, start the Zabbix server and agent, and enable them to start automatically on boot:
sudo systemctl start zabbix-server zabbix-agent
sudo systemctl enable zabbix-server zabbix-agent
Verify that the services are running:
sudo systemctl status zabbix-server zabbix-agent
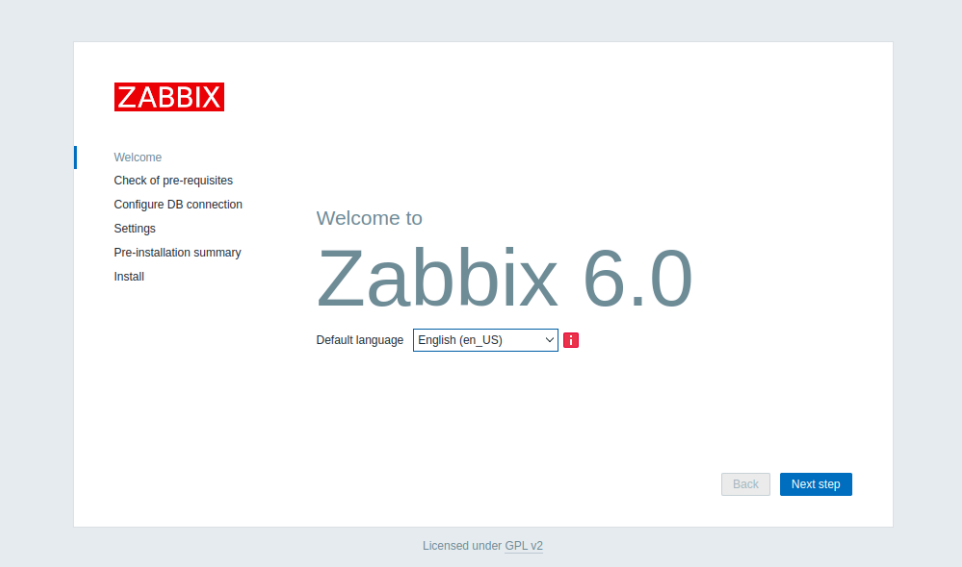
Step 5: Configure Zabbix Frontend
You can now access the Zabbix frontend through a web browser. Open your browser and go to:
http://<your_server_ip>/zabbixYou will be prompted to input your database details, such as the Database Name, User, and Password. Enter the values you configured earlier.
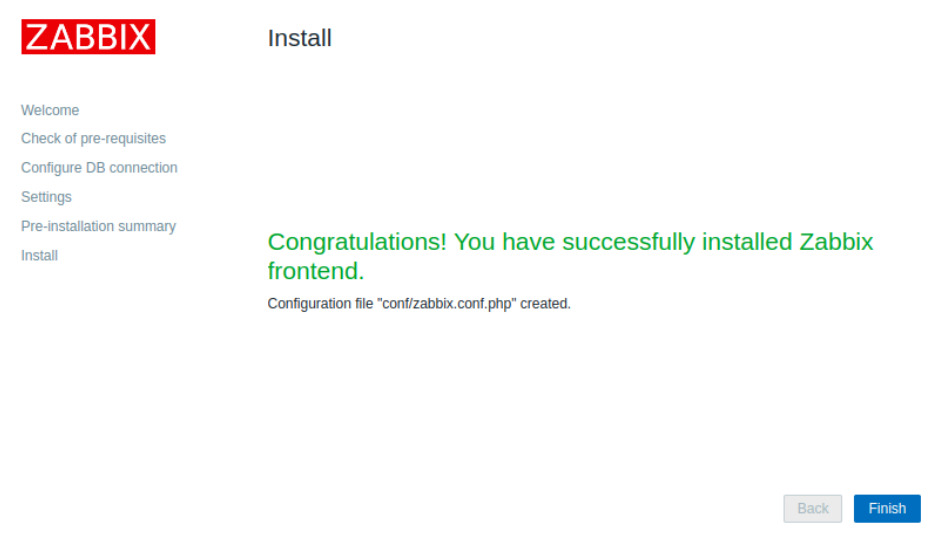
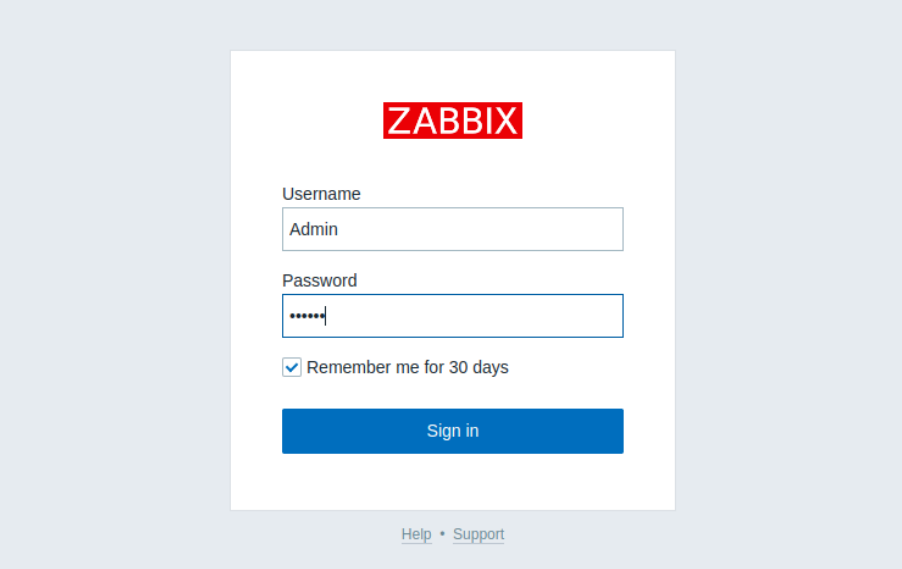
Once the setup is complete, press Finish. You’ll be redirected to the Zabbix login page. Use the default credentials:
- Username:
Admin - Password:
zabbix
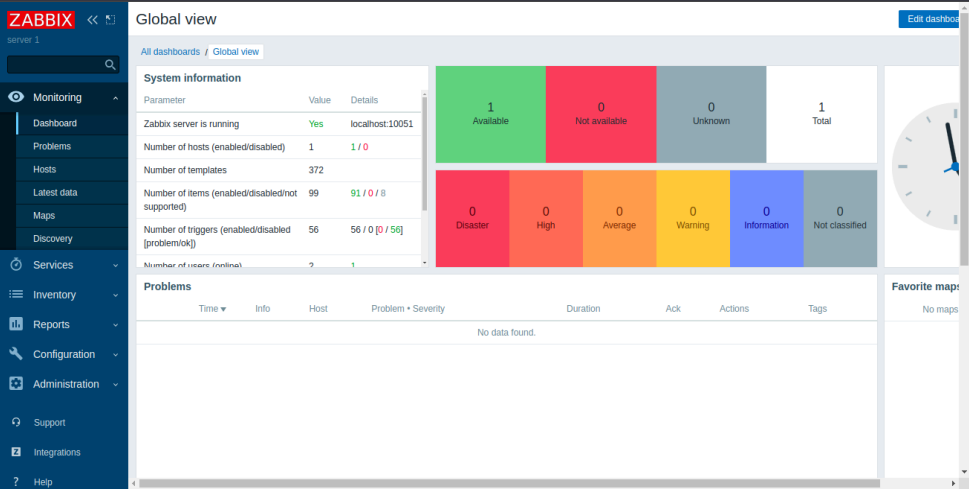
Congratulations, your Zabbix installation is now complete, and you can begin monitoring your server.
Conclusion
Zabbix is a powerful and flexible solution for monitoring your IT infrastructure. By following this tutorial, you’ve successfully installed and configured Zabbix, enabling you to monitor the health and performance of your servers. With Zabbix’s real-time monitoring, alerting capabilities, and customizable dashboards, you can stay ahead of any potential issues and ensure your servers are running smoothly. Whether you’re monitoring a small setup or a large-scale enterprise environment, Zabbix provides the tools you need to maintain peak performance and stability.