How to Install Free AutoSSL for Your Domain with LEMP Stack on AlmaLinux OS
Leave a comment on How to Install Free AutoSSL for Your Domain with LEMP Stack on AlmaLinux OS
Keeping your website secure is more important than ever. Whether you’re running a personal blog or managing multiple client sites, SSL certificates are essential for protecting sensitive information and establishing trust with visitors.
In this guide, we’ll walk you through how to install a Free AutoSSL certificate for your domain using Let’s Encrypt by CertBot on a LEMP Stack (Linux, Nginx, MariaDB, PHP) with AlmaLinux OS. By the end, your site will automatically use HTTPS — at no cost and with zero manual renewal needed.
What is AutoSSL?
AutoSSL, short for Automated SSL, is a feature that automatically issues and renews SSL certificates for your domain. It ensures the connection between your website and visitors remains encrypted and secure.
We’ll use Let’s Encrypt by CertBot, a trusted and free SSL provider widely used across the hosting industry. This approach not only eliminates the need for paid certificates but also handles automatic renewal — saving you time and money.
Benefits of Using AutoSSL
- Free encryption: No cost for certificates or renewals.
- Improved SEO: Search engines like Google prioritize HTTPS-enabled sites.
- Visitor trust: Builds credibility by displaying a secure padlock in browsers.
- Automatic renewal: Certificates renew automatically before expiration.
- Data protection: Prevents data interception and ensures secure communication.
Prerequisites
Before you start, make sure you have the following:
- A VPS or dedicated server running AlmaLinux OS.
- A working LEMP stack installed (Linux, Nginx, MariaDB, PHP).
- A registered domain name pointed to your VPS IP.
- SSH access with root or sudo privileges.
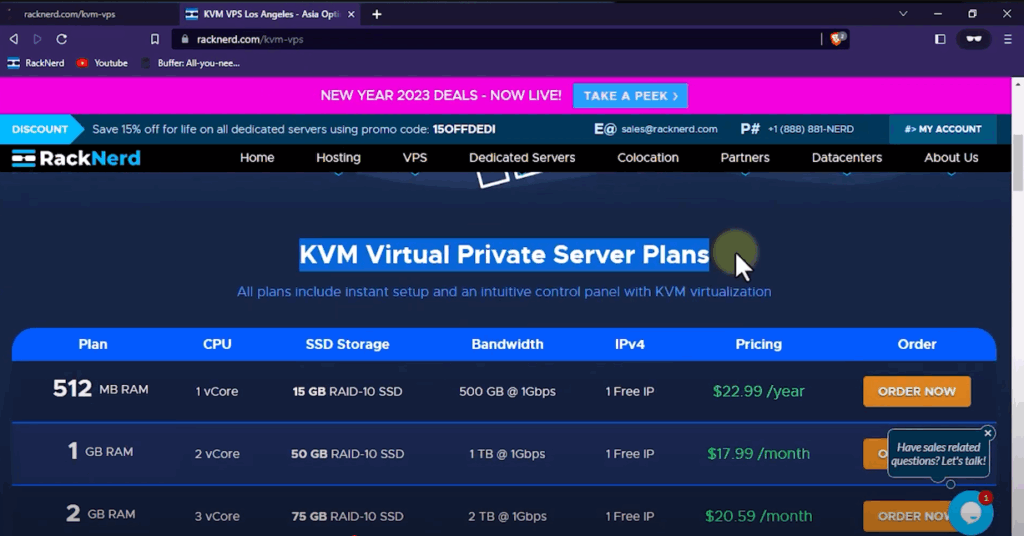
If you don’t have a VPS yet, check out RackNerd.com for affordable and reliable VPS hosting plans with SSD RAID-10 storage and 24/7 expert support.
Step-by-Step: Install Free AutoSSL on AlmaLinux (LEMP Stack)
Step 1: Connect to Your Server via SSH
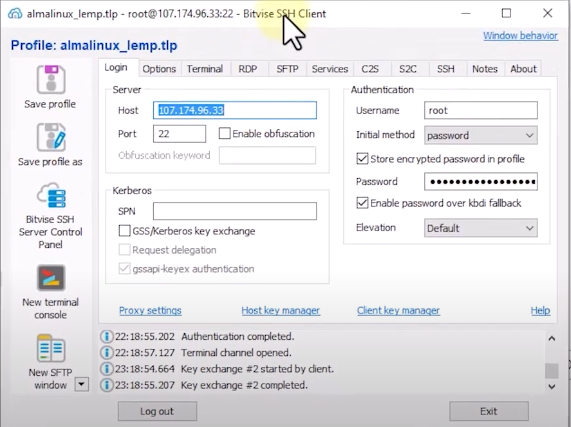
Use your preferred SSH client to access your server:
- Windows: Bitvise or PuTTY
- macOS/Linux: Terminal
ssh root@your-server-ip
Step 2: Update System Packages
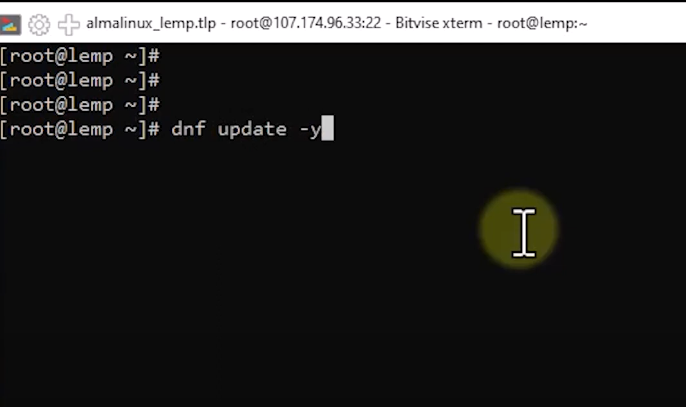
Once logged in, always update your system packages first:
dnf update -y
This ensures all dependencies are up to date.
Step 3: Verify Your Domain’s DNS Configuration
Before installing SSL, confirm that your domain is properly pointed to your VPS.
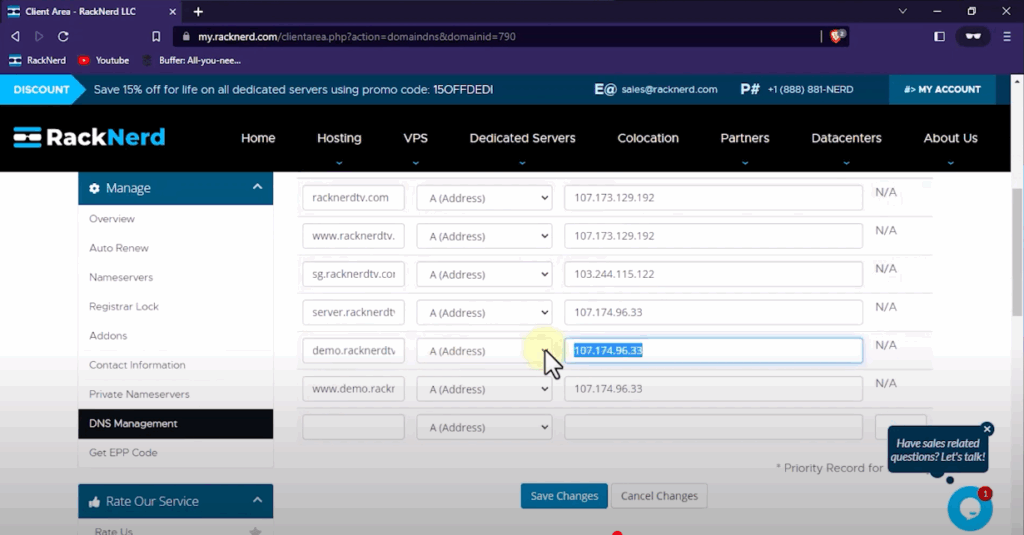
At your domain registrar’s DNS settings, ensure the following records exist:
| Record Type | Host | Value (Destination) |
| A Record | @ | Your Server IP |
| A Record | www | Your Server IP |
For this example, we’ll use the subdomain demo.racknerdtv.com. Replace it with your own domain during setup.
Step 4: Install CertBot for Nginx
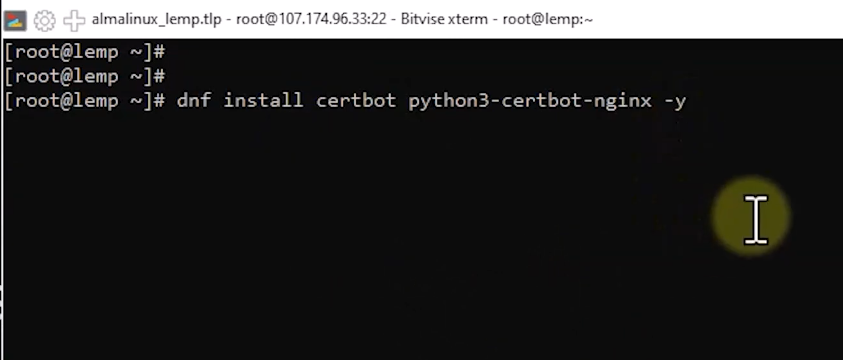
Install CertBot and its Nginx plugin using:
dnf install certbot python3-certbot-nginx -y
This tool automates the process of obtaining, installing, and renewing SSL certificates from Let’s Encrypt.
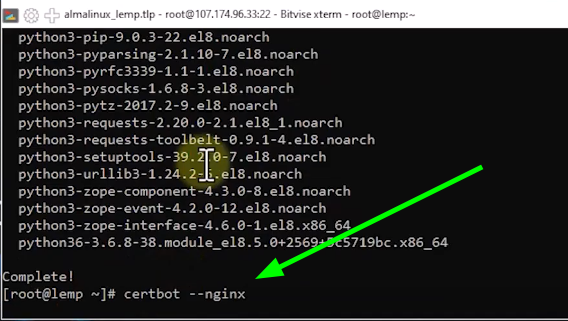
Step 5: Generate and Install Your SSL Certificate
Run the CertBot command for Nginx:
certbot –nginx
The wizard will prompt you for:
- Your email address for renewal notifications
- Agreement to the Let’s Encrypt terms of service
- The domain name(s) to secure
Follow the on-screen prompts, and CertBot will automatically:
- Verify your domain ownership
- Configure your Nginx server blocks
- Enable HTTPS for your website
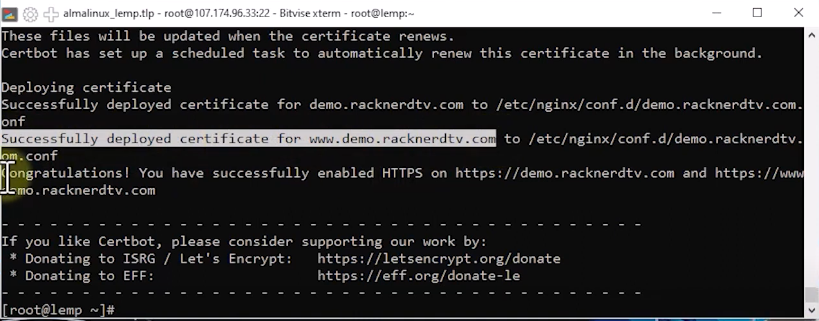
Step 6: Verify SSL Installation
Once CertBot completes, open your browser and visit your site using:
If everything went well, you’ll see the secure padlock icon in your browser’s address bar — confirming that SSL is active.
If your domain previously showed an insecure connection, it should now load securely with HTTPS enabled.
Step 7: Automatic SSL Renewal
CertBot automatically renews certificates before they expire, so you don’t need to set up manual cron jobs.
You can verify the renewal schedule with:
systemctl list-timers | grep certbot
This ensures SSL stays valid year-round without maintenance.
Quick Reference Table
| Step | Command / Action | Purpose |
| Step 1 | ssh root@your-server-ip | Connect to your AlmaLinux server |
| Step 2 | dnf update -y | Update all system packages |
| Step 3 | Check A Records | Ensure domain points to your server IP |
| Step 4 | dnf install certbot python3-certbot-nginx -y | Install CertBot |
| Step 5 | certbot –nginx | Generate and install SSL certificate |
| Step 6 | Visit https://yourdomain.com | Verify SSL installation |
| Step 7 | Auto-renew via CertBot | Keep SSL valid automatically |
FAQs
❓ What is the difference between SSL and AutoSSL?
SSL encrypts communication between users and your site. AutoSSL automates the process — issuing, installing, and renewing SSL certificates automatically.
❓ Do I need to manually renew the SSL certificate?
No. CertBot automatically handles renewals before expiration.
❓ Can I use this method for multiple domains?
Yes. During the CertBot setup, you can include multiple domains or subdomains separated by commas.
❓ Will this work on Apache instead of Nginx?
Yes, but you’ll need to install the Apache plugin instead:
dnf install python3-certbot-apache -y
❓ What happens if I change servers or IP addresses?
You’ll need to reissue your SSL certificate using CertBot once your new DNS records propagate.
Conclusion
Congratulations! You’ve successfully installed a Free AutoSSL certificate using Let’s Encrypt by CertBot on a LEMP stack running AlmaLinux OS.
Your website is now encrypted, secure, and automatically renewed — ensuring your visitors always connect safely.
At RackNerd, we believe in making web hosting easier, faster, and more secure. Explore more tutorials, hosting tips, and affordable VPS solutions at RackNerd.com/kvm-vps.