How to Install FFmpeg on Ubuntu Server
Introduction
FFmpeg is a powerful, open-source multimedia framework used for recording, converting, and streaming audio and video. It’s an indispensable tool for developers, system administrators, and multimedia enthusiasts, thanks to its support for almost every digital format and codec. In this tutorial, we’ll guide you step by step through the installation of FFmpeg on an Ubuntu server, whether you’re using it for media conversion, streaming, or editing.
What is FFmpeg?
FFmpeg is an extremely versatile tool that can be used for various multimedia tasks:
- Conversion: Convert multimedia files between different formats (e.g., AVI to MP4).
- Streaming: Handle the encoding and decoding of audio and video streams for live streaming.
- Editing: Edit, trim, and merge audio and video files.
- Recording: Record audio and video from various sources.
Installation
Step 1: Update Your Linux Server
Before installing any software, it’s important to update your server to ensure that all packages are current. Run the following commands:
sudo apt update
sudo apt upgrade -y
Step 2: Install FFmpeg from Default Repositories
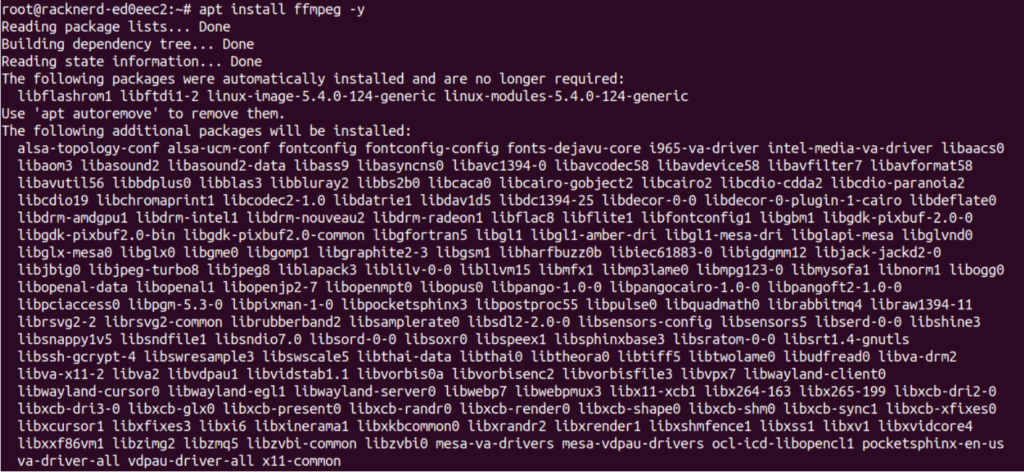
FFmpeg is available in the default Ubuntu and Debian repositories. To install FFmpeg from the official repositories, simply run:
sudo apt install ffmpeg -y
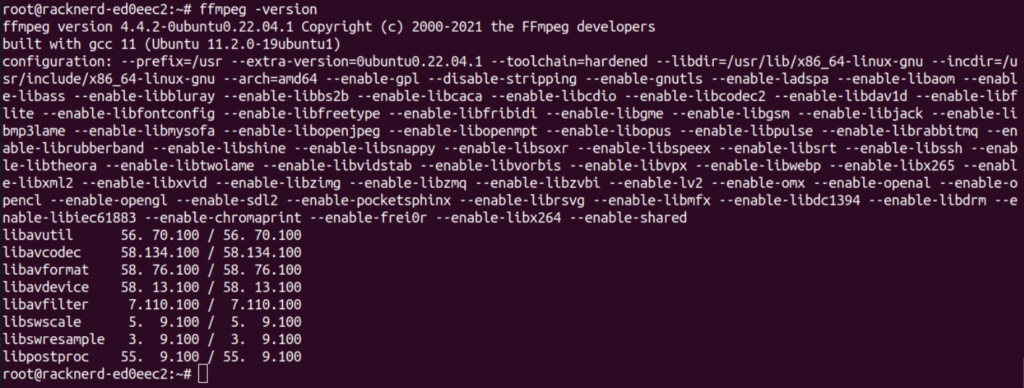
After installation, verify that FFmpeg is installed successfully by checking its version:
ffmpeg -versionYou should see the version information for FFmpeg, confirming that the installation was successful.

Installing FFmpeg from Source
If you prefer to compile FFmpeg from source, follow these steps to ensure you have the latest version and support for additional codecs and libraries.
Install Dependencies
Before compiling FFmpeg, you’ll need to install the required build tools and libraries. Run the following command to install them:
sudo apt install build-essential yasm pkg-config libavcodec-dev libavformat-dev \
libavfilter-dev libavdevice-dev libx264-dev libx265-dev -y
Download the FFmpeg Source Code
You can download the latest FFmpeg source code either from the official website or by using the following commands:
cd /usr/local/src
sudo wget https://ffmpeg.org/releases/ffmpeg-snapshot.tar.bz2
sudo tar xvjf ffmpeg-snapshot.tar.bz2
cd ffmpeg
Compile and Install FFmpeg
Now, you’re ready to configure and compile FFmpeg. Run the following commands to set up FFmpeg with support for popular codecs like libx264 and libx265:
sudo ./configure --enable-gpl --enable-libx264 --enable-libx265
sudo make
sudo make install
Depending on your server’s hardware, the compilation process may take some time.
Once the installation is complete, verify the installation again by checking the version:
ffmpeg -versionStep 3: Testing FFmpeg
To ensure that FFmpeg is operating correctly, you can test its functionality by converting a multimedia file. For example, to convert an MP4 file to AVI, use the following command:
ffmpeg -i input.mp4 output.aviIf FFmpeg processes the file without any errors, your installation is complete and working properly.
Conclusion
Installing FFmpeg on an Ubuntu server is a straightforward process, whether you install it from the default repositories or compile it from source. With FFmpeg installed, you can now perform a variety of multimedia tasks such as streaming, media conversion, and editing. To get the most out of FFmpeg, explore its extensive options and features. Don’t forget to keep your server updated for the latest features and security enhancements.
