Deploy a Just Cause 2 Multiplayer Game Server
Leave a comment on Deploy a Just Cause 2 Multiplayer Game Server
If you want to install Just Cause 2 on your VPS server, you will need a RackNerd VPS server or a dedicated server with terminal access. Below are the steps and libraries required to install it.
Please note that in order to proceed, you must have a Steam account and purchase both Just Cause 2 and its Multiplayer Mod.
Installation Prerequisites for Just Cause 2 Game Server
Add the following iptables firewall rules:
iptables -I INPUT -m state --state NEW -m udp -p udp --sport 10999 --dport 1025:65355 -j ACCEPT
iptables -I INPUT -m state --state NEW -m udp -p udp --dport 7777 -j ACCEPT
iptables -I INPUT -m state --state NEW -m udp -p udp --dport 7778 -j ACCEPT
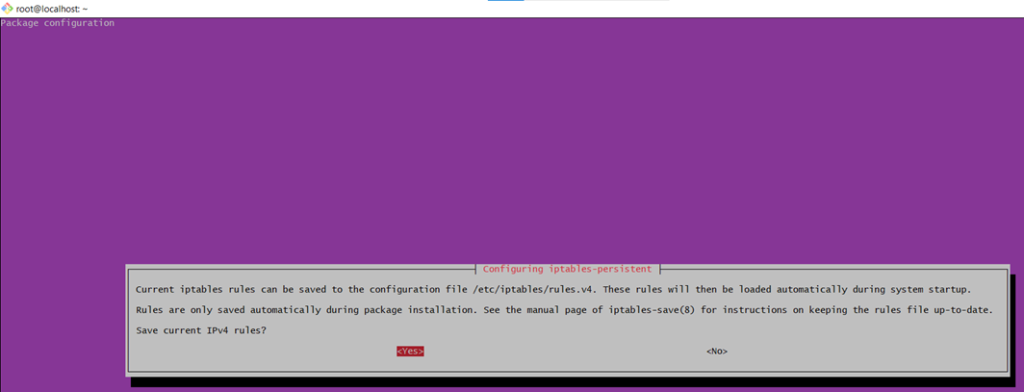
Next, proceed to run iptables-persistent. When prompted, type in “yes” for IPv4 and “no” for IPv6, as your appropriate responses.
dpkg-reconfigure iptables-persistent

How to Install Just Cause 2 Game Server
Make sure you are in the correct directory, then access the SteamCMD prompt:
./steamCMD
Log in as anonymous:
login anonymous
To install JC2 in the Steam user’s home directory, run this command:
force_install_dir ./jc2mp-server
Now, download and validate Just Cause 2:
app_update 261140 validateIf the download is successful, it should reflect like the below screenshot:

Quit SteamCMD:
quitConfigure Just Cause 2 Multiplayer (JC2-MP) Game Server
Prior to configuring JC2-MP, it is important to create a duplicate of the default config file.
cd .steam/steamcmd/jc2mp-server/
cp default_config.lua config.lua
Using your preferred text editor, open the config.lua file. We use nano. So, within this file, you will find explanations for the server options. It is recommended that you, at the very least, set a server name and an access password.
nano config.lua
Before starting up the server, symlink a library file:
ln -s ~/Steam/linux32/libstdc++.so.6 libstdc++.so.6
Now, it’s time to setup a startup script for JC2. Run this command to open nano editor and copy the following content in the screenshot below:
nano startjc2.sh
To make the script executable, use the following command:
chmod +x startjc2.shStart the server
JC2 Multiplayer is now installed and configured. You can execute the startjc2.sh script to launch the server.
./startjc2.sh

To disconnect from the screen session that is running the server console, you can simply press the key combination Control+A followed by Control+D.

To re-attach to the screen console, run the following command:
screen -rCongratulations! Now you have your own Just Cause 2 server, ready for your to enjoy along with friends! To access the server, your users can simply open the server list, locate your server’s name, and click on “Connect”.
Conclusion
And that’s it! You’ve successfully installed Just Cause 2 on your VPS server and configured it for multiplayer gameplay. By following the steps outlined in this post, you should now have a fully functioning Just Cause 2 server that you and your friends can enjoy.
If you’re looking for a fast and reliable VPS server to host your gaming adventures, consider RackNerd VPS. With a 99.999% uptime guarantee, you can trust RackNerd to keep your server online and accessible to players. By running the game on a dedicated VPS server, you can reduce the load on your own PC, ensuring smooth gameplay without performance hits.
RackNerd VPS provides a seamless hosting solution, allowing you to create and manage your own gaming environment effortlessly. Say goodbye to worrying about hardware limitations or internet connection issues on your personal computer. With RackNerd VPS, you can focus on the excitement of playing Just Cause 2 with your friends, while enjoying a reliable and high-performance server.
We hope that this guide, combined with the excellent services of RackNerd VPS, will enhance your gaming experience and provide you with hours of entertainment. If you have any questions or need further assistance, don’t hesitate to reach out. Happy gaming!
