CloudBeaver – A lightweight database management system. How to dockerize?
Leave a comment on CloudBeaver – A lightweight database management system. How to dockerize?
Introduction
The modern web stack has a huge dependency on the DBMS system due to its scalability and reliability. Applications that have huge data handling needs always rely on database systems.
So there is a need for a system to manage DBMS effectively. We have numerous database management systems available on the market.
Let’s look at CloudBeaver, which is a lightweight database management system. We can simply dockerize it and use it.
CloudBeaver as database client
By using CloudBeaver, it is possible to do data management, user management, database management and integration with other stacks.
The docker image is available in docker host and we can make use of it for easy installation.
How to install CloudBeaver?
Install docker and docker compose on the host machine and ensure it’s completed.
#docker -v

Create a directory called CloudBeaver or use any custom directory where you wish to install it.
Create docker compose file with below content.
vi docker-compose.yml
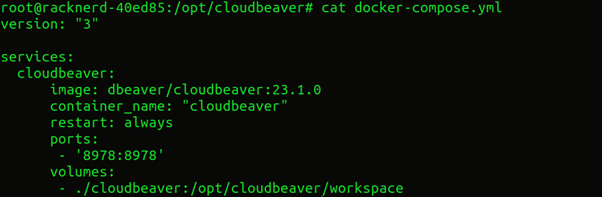
Version: Version of the Docker Compose file format being used. It’s version “3” here.
Services: This defines the service named “cloudbeaver.”.
CloudBeaver Configuration:
Image: Specifies the Docker image “cloudbeaver” service.
The image “dbeaver/cloudbeaver:23.1.0” is used to refer to version 23.1.0 of the CloudBeaver application.
Container Name: Sets the name of the container to “cloudbeaver”.
Restart: Configures the restart policy for the container. The value “always” ensures that the container automatically restarts.
Ports: maps port 8978 on the host machine to port 8978 in the container.
This allows access to the CloudBeaver application running inside the container via port 8978 on the host.
Volumes: Mounts a local directory “./cloudbeaver” into the container at “/opt/cloudbeaver/workspace”. This allows persistent storage of the CloudBeaver workspace data outside the container.
Time to start the container. Use the below command.
#docker-compose up -d
![]()
Verify it’s up and running. Use the below command.
#docker ps –filter “name=cloudbeaver”

How to use CloudBeaver?
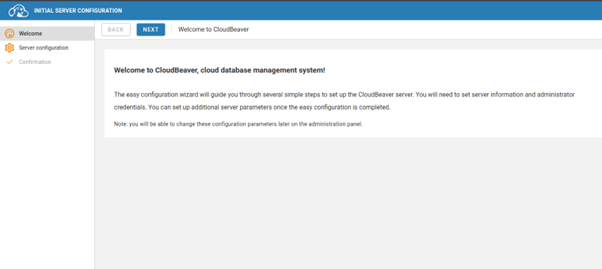
Just go to the browser and type your server IP along with port 8978. Iie. IP:8978. You will be able to see CloudBeaver. Click on next and configure it.
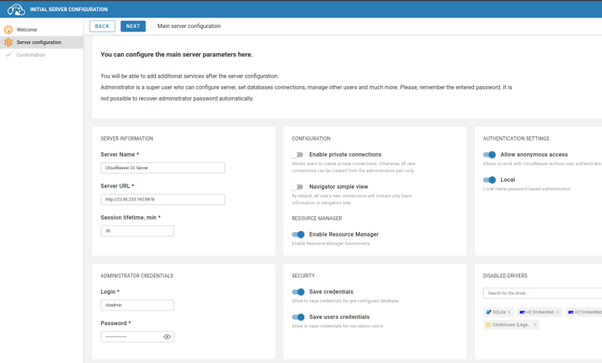
You will be able to set admin logins and many more setups on the next page.
On the last page, click on finish. You are done!
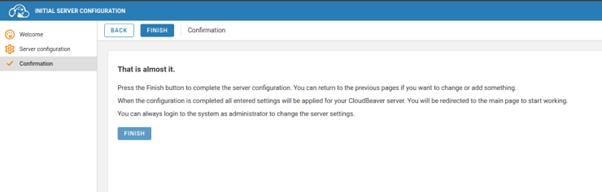
Then you will be redirected to the login page again. Just login and configure your database settings in ‘Connection Management’.
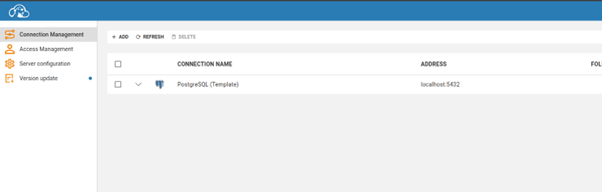
Click on “Connection” at the top.
- From the drop-down, select Add.
- In the search bar, type “PostgreSQL” to find the PostgreSQL database driver.
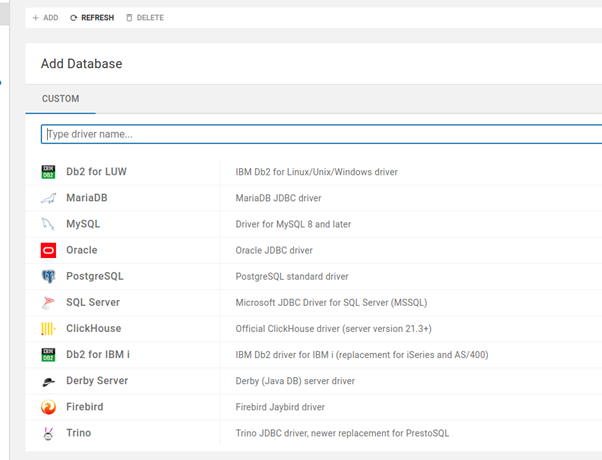
- Click on “PostgreSQL”. Enter the necessary information. Username and password.
- Click on “Test Connection” to verify that the connection is working.
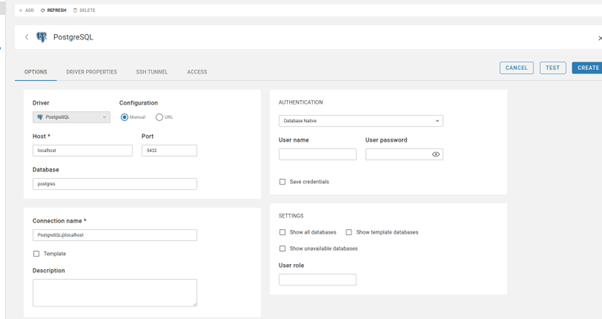
- Once the test is successful, click on Create and finish connection.
Conclusion
This is how we can dockerize CloudBeaver database client on the host and set it up. Installation is easy and not time-consuming. It’s stable and easy to use.