Automatically Install WordPress with LOMP or OpenLiteSpeed (One-Line Code)
Leave a comment on Automatically Install WordPress with LOMP or OpenLiteSpeed (One-Line Code)
When it comes to hosting WordPress, performance and efficiency are everything. While the classic LEMP or LAMP stacks are reliable, there’s a lightweight alternative that’s taking the hosting world by storm — LOMP, powered by OpenLiteSpeed.

In this guide, we’ll show you how to install WordPress with the LOMP stack (Linux, OpenLiteSpeed, MariaDB/MySQL, and LS-PHP) using just one line of code. Yes, you read that right — one command to install everything automatically, including WordPress and LiteSpeed Cache.
What is LOMP?
LOMP stands for Linux, OpenLiteSpeed, MariaDB, and PHP for LiteSpeed (LS-PHP). It’s a modern, high-performance web stack designed to deliver faster load times and efficient server performance.
OpenLiteSpeed is the open-source version of LiteSpeed Web Server — known for its speed, stability, and built-in caching capabilities. When paired with WordPress, it creates a streamlined hosting environment that’s both fast and resource-efficient.
Why Use LOMP Instead of LEMP or LAMP?
If you’ve used Nginx or Apache before, you’ll appreciate how OpenLiteSpeed simplifies web hosting while delivering better performance. Here’s why LOMP stands out:
- Blazing-fast performance: OpenLiteSpeed handles concurrent requests efficiently, ensuring quick load times.
- One-line installation: The official installer automates everything — from web server setup to WordPress deployment.
- Built-in caching: Includes LiteSpeed Cache plugin for optimized WordPress performance.
- Lightweight and stable: Uses less memory while handling high traffic smoothly.
- Official support: Uses the official LiteSpeed Technologies one-click installer (not a third-party script).
If you’re running a VPS from RackNerd or any other provider, LOMP gives you the perfect mix of power, simplicity, and performance.
Prerequisites
Before you begin, make sure you have:
- A Linux-based VPS (we’ll use AlmaLinux OS in this tutorial).
- Root SSH access to your server
- A domain name pointed to your VPS IP (optional but recommended).
- Basic familiarity with SSH commands.
👉 Don’t have a VPS yet? Order one from RackNerd.com — offering affordable, high-performance VPS plans with SSD RAID-10 storage and 24/7 support.
Step-by-Step: Install WordPress with LOMP (One-Line Command)
Step 1: Connect to Your Server via SSH
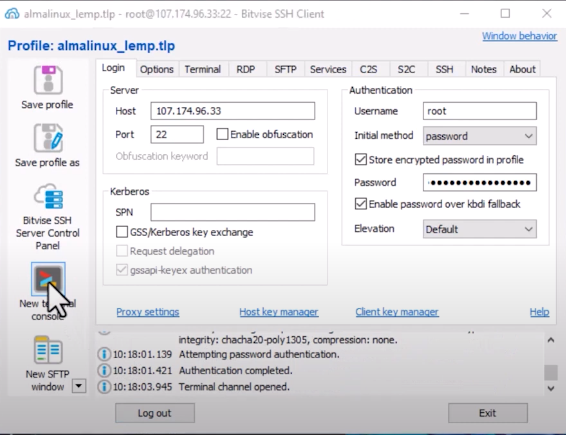
Use your preferred SSH client to access your VPS.
- Windows: Bitvise or PuTTY
- macOS/Linux: Terminal
ssh root@your-vps-ip
Step 2: Update Your System
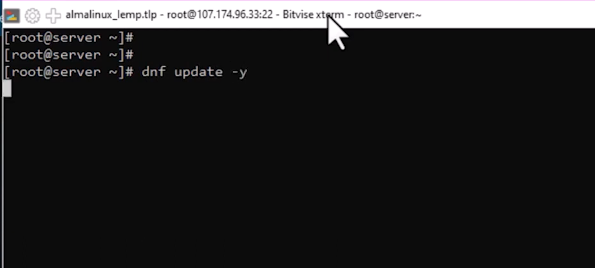
Once logged in, update your server packages to ensure everything is up to date:
dnf update -y
This process may take a few minutes, depending on your internet speed.
Step 3: Run the One-Line Installation Script
Now comes the exciting part — installing OpenLiteSpeed, MariaDB, PHP (LS-PHP), and WordPress all in one go.
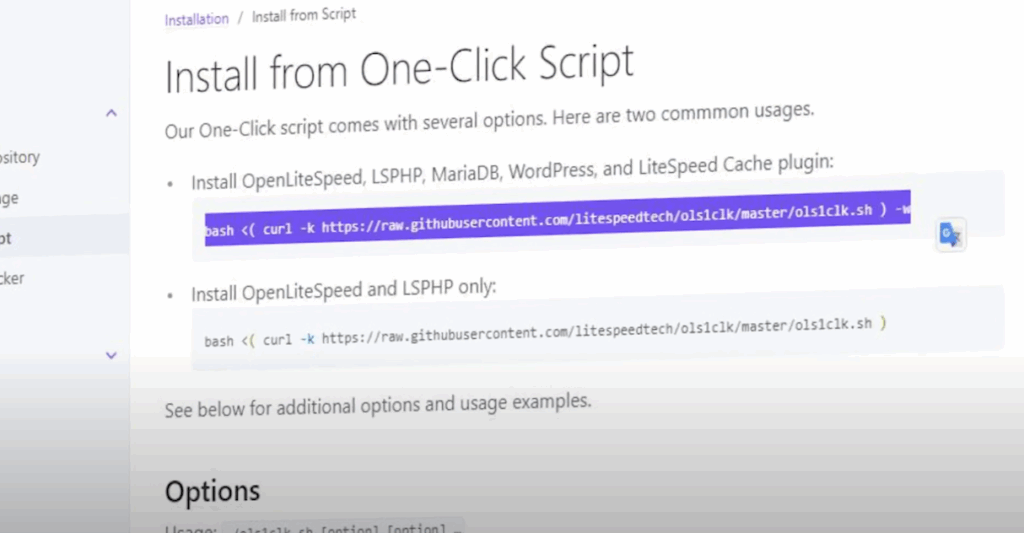
Run the official LiteSpeed one-click installation script:
bash <( curl -k https://raw.githubusercontent.com/litespeedtech/ols1clk/master/ols1clk.sh ) -w
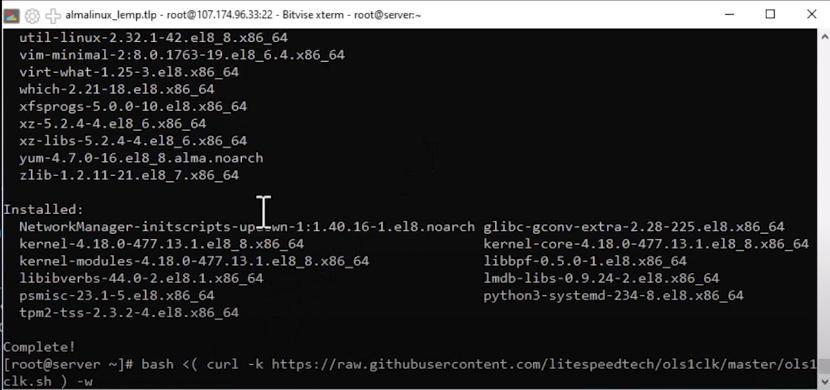
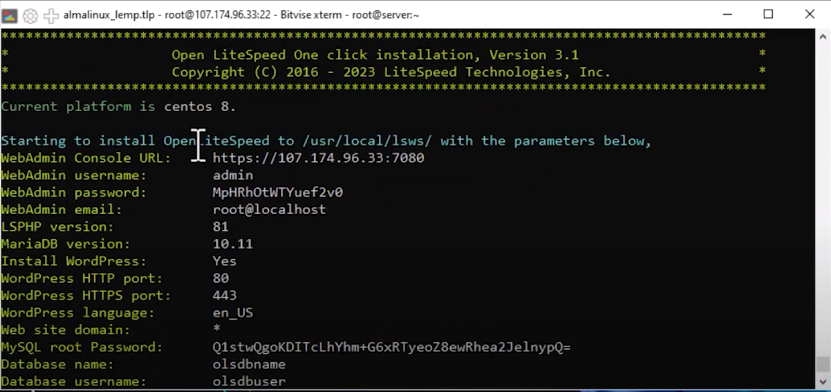
This command automatically downloads and runs the OLS1CLK (OpenLiteSpeed One-Click) installer.
When prompted by the on-screen wizard:
- Select the option to install OpenLiteSpeed, LS-PHP, MariaDB, WordPress, and LiteSpeed Cache.
- Provide the requested information (database password, WordPress admin credentials, etc.).
- Save your credentials securely — you’ll need them later to log in.
Step 4: Verify OpenLiteSpeed Installation
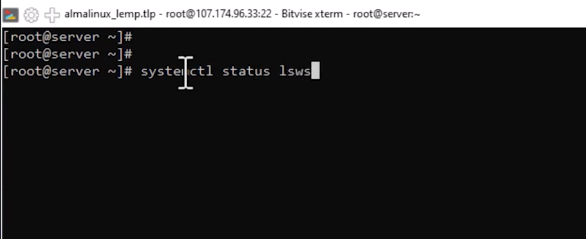
Once the installer finishes, check if the OpenLiteSpeed web server is active:
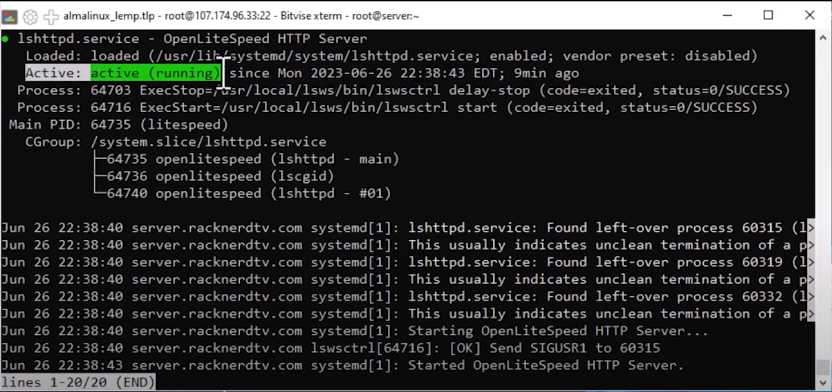
systemctl status lsws
If the status shows active (running), you’re good to go.
Step 5: Enable OpenLiteSpeed Service
Make sure OpenLiteSpeed starts automatically on reboot:
systemctl enable –now lsws
Step 6: Allow Firewall Ports for OpenLiteSpeed
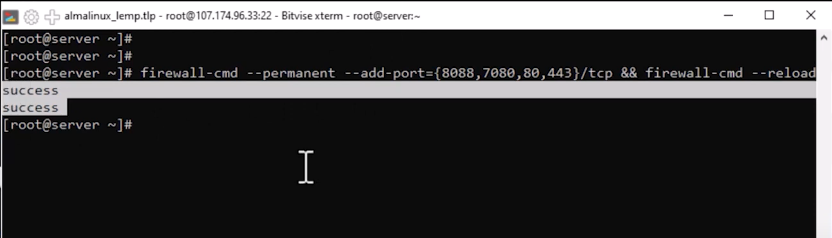
To make your website accessible, open the required ports in your firewall:
firewall-cmd –permanent –add-port={8088,7080,80,443}/tcp && firewall-cmd –reload
If you’re using another firewall, use its equivalent commands or reach out in the comments for help.
Step 7: Access the Admin Panel and WordPress Installer
Now that your LOMP stack is up and running:
- Access the OpenLiteSpeed WebAdmin Console at
http://your-server-ip:7080
(default username: admin)
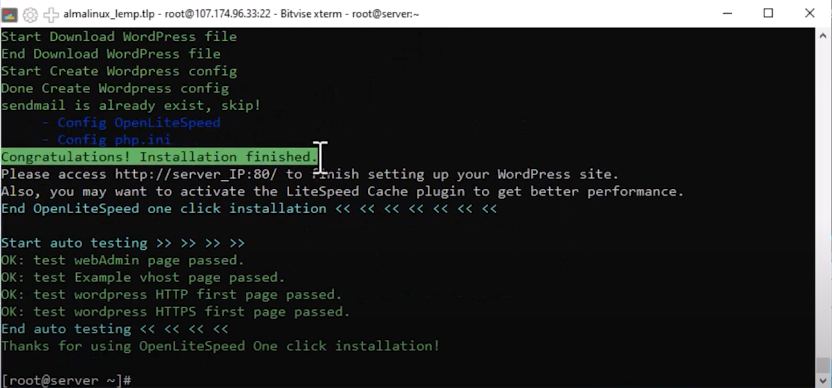
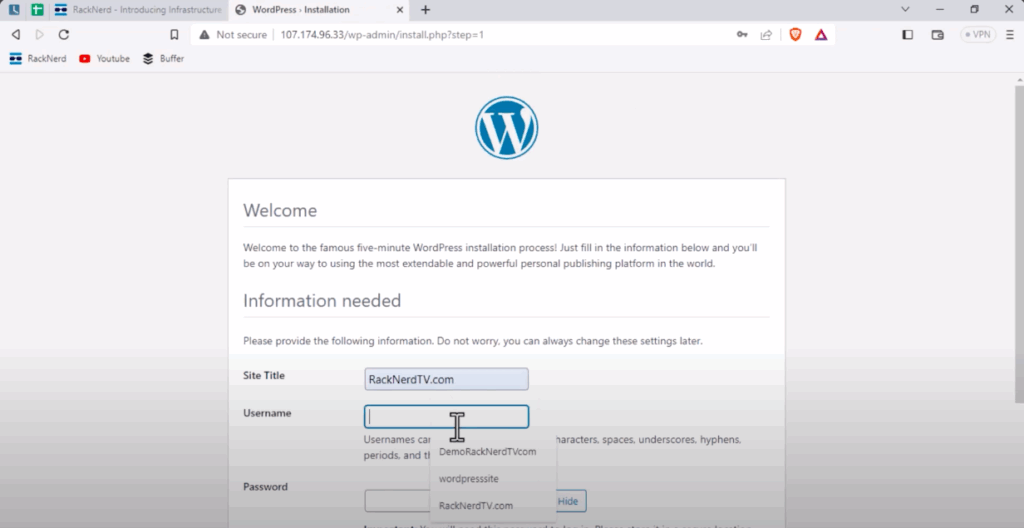
- Complete your WordPress setup by visiting
http://your-server-ip:80
Here you’ll be asked to create your WordPress admin account, choose a password, and set your site title.
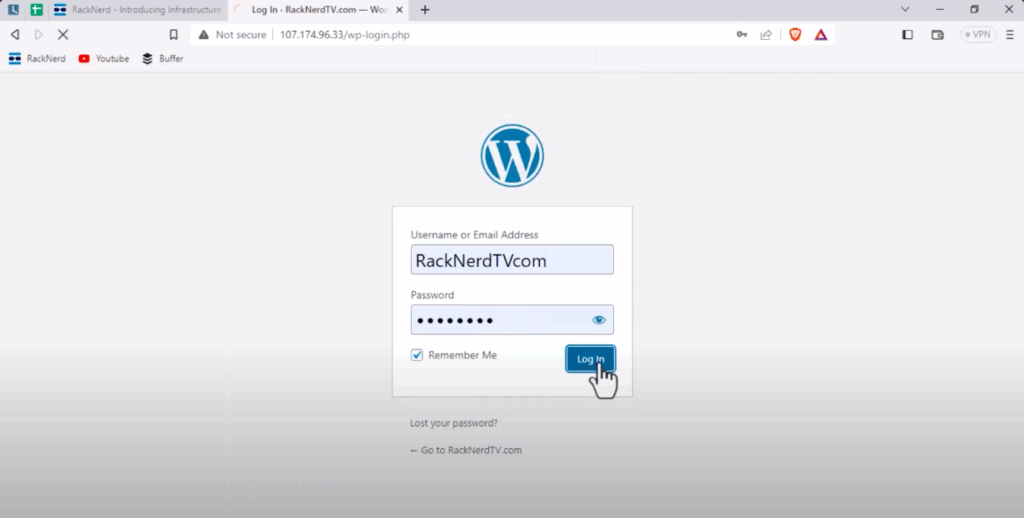
Once done, you can log in to your WordPress dashboard at:
http://your-server-ip/wp-admin
Step 8: Confirm LiteSpeed Web Server
To confirm your website is running on LiteSpeed, check the response headers in your browser’s developer tools — you should see:
Server: LiteSpeed
Congratulations! You’ve just installed WordPress using LOMP with OpenLiteSpeed — all with a single command.
Quick Reference Table
| Step | Command / Action | Purpose |
| Step 1 | ssh root@your-vps-ip | Connect to your VPS |
| Step 2 | dnf update -y | Update system packages |
| Step 3 | One-line installer | Install OpenLiteSpeed, MariaDB, LS-PHP, and WordPress |
| Step 4 | systemctl status lsws | Check OpenLiteSpeed status |
| Step 5 | systemctl enable –now lsws | Enable service on startup |
| Step 6 | firewall-cmd –permanent –add-port={8088,7080,80,443}/tcp && firewall-cmd –reload | Allow web ports |
| Step 7 | Access http://server-ip:7080 | Manage OpenLiteSpeed console |
| Step 8 | Access http://server-ip:80 | Complete WordPress installation |
FAQs
❓ What is the difference between LOMP and LEMP?
LOMP uses OpenLiteSpeed as the web server, while LEMP uses Nginx. OpenLiteSpeed is faster in dynamic content handling and includes built-in caching via LiteSpeed Cache.
❓ Is the one-line installer safe?
Yes. It’s the official OpenLiteSpeed script from LiteSpeed Technologies’ GitHub repository, not a third-party script.
❓ Can I use this installer on other Linux distributions?
Yes. It supports most CentOS, AlmaLinux, and Debian-based distributions.
❓ How do I log in to the OpenLiteSpeed admin panel?
Visit http://your-server-ip:7080 and use the credentials provided during installation.
❓ Can I secure the server with SSL?
Yes. You can install Let’s Encrypt SSL easily using CertBot after setup. Check out our related tutorial: How to Install Free AutoSSL for Your Domain with LEMP Stack on AlmaLinux OS.
Conclusion
You’ve just learned how to automatically install WordPress using the LOMP stack and OpenLiteSpeed — all with a single line of code.
This modern setup provides incredible performance, easy management, and built-in caching, making it one of the best choices for WordPress hosting today.
At RackNerd, we make it easy to host high-performance websites. Explore our VPS plans optimized for WordPress, LEMP, and LOMP stacks — with full root access and 24/7 expert support.