How to Install Free AutoSSL for Your Domain with LOMP Stack
Leave a comment on How to Install Free AutoSSL for Your Domain with LOMP Stack
Securing your website with HTTPS is one of the most important steps you can take to protect your visitors and improve trust in your site. In this guide, you’ll learn how to install a free AutoSSL certificate using CertBot powered by Let’s Encrypt for a website running on the LOMP stack (Linux, OpenLiteSpeed, MariaDB, PHP).
By the end of this tutorial, your website will be served securely over HTTPS using an automatically renewable SSL certificate — all at no cost.
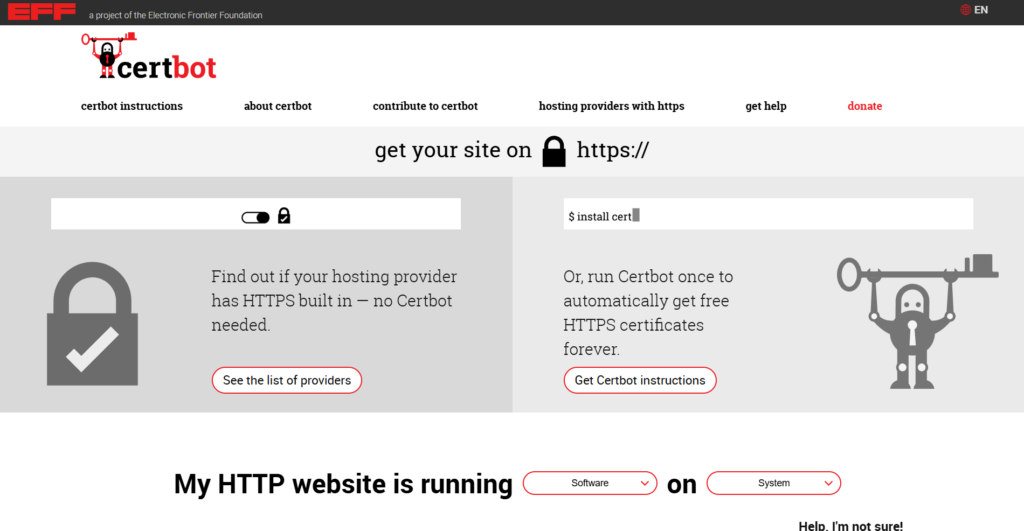
What Is CertBot AutoSSL?
CertBot is a free, open-source tool that simplifies the process of obtaining and installing SSL certificates from Let’s Encrypt, a widely trusted certificate authority.
SSL certificates encrypt the connection between your website and its visitors. This ensures that sensitive information — such as login credentials, personal data, or payment details — is protected from interception.
CertBot’s AutoSSL feature makes SSL management even easier by automating certificate issuance and renewal. Once configured, your certificate will renew automatically before it expires, so you never have to worry about manually renewing it.
Using CertBot with an OpenLiteSpeed-powered LOMP stack provides several benefits:
- Secure HTTPS connections for your website
- Automatic SSL certificate renewal
- Improved visitor trust and browser security indicators
- Better SEO performance since HTTPS is a ranking factor
- Completely free SSL certificates from Let’s Encrypt
If you’re hosting your website on a VPS, tools like CertBot make it easy to secure your domain without paying for commercial SSL certificates.
Prerequisites
Before proceeding with this tutorial, make sure the following requirements are met:
- A VPS server running a LOMP stack (Linux, OpenLiteSpeed, MariaDB, PHP)
- A domain name already pointed to your server
- A website installed on your server (such as WordPress)
- SSH access to your server with root or sudo privileges
👉 Don’t have a VPS yet? You can deploy one quickly at https://racknerd.com
This guide assumes you already have a working LOMP stack environment with your website properly configured and accessible via your domain.
Step-by-Step: Install Free AutoSSL with CertBot on OpenLiteSpeed
Step 1: Verify Your Website Does Not Yet Have SSL
Before installing the SSL certificate, open your website in a browser and check whether HTTPS is already active.
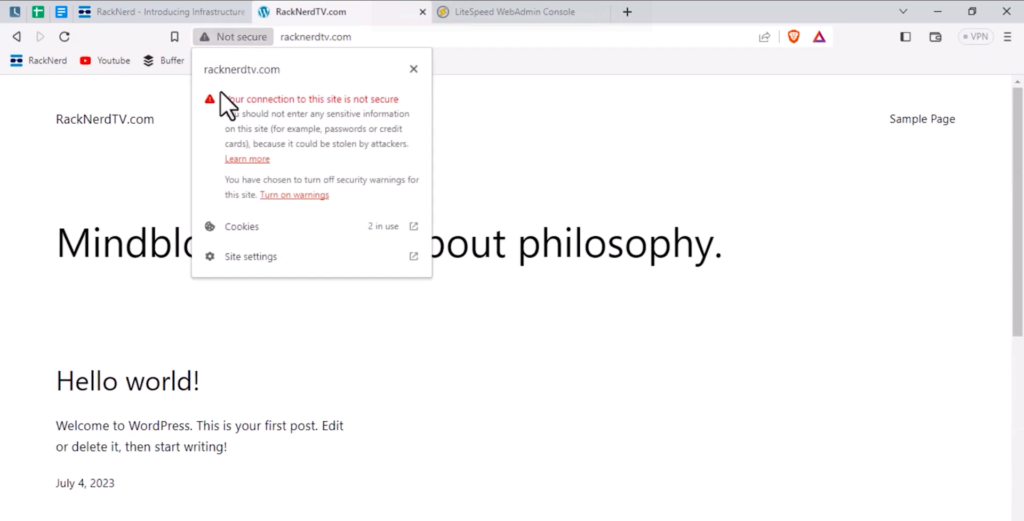
If your website loads using http:// instead of https://, or the browser shows a “Not Secure” warning, it means SSL has not yet been installed.
This confirms that the next steps will correctly install and activate your SSL certificate.
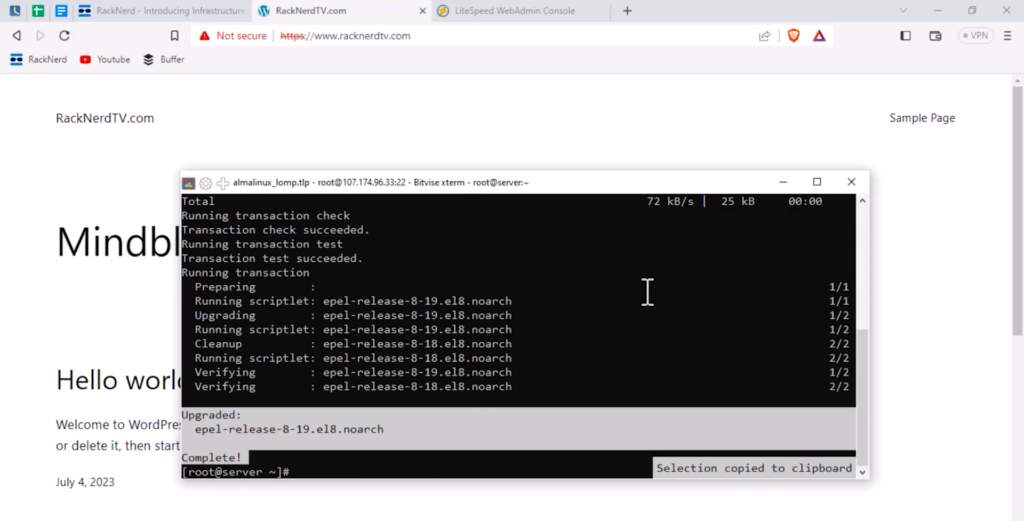
Step 2: Update Your Server Packages
Next, connect to your VPS using SSH and update your system packages to ensure everything is up to date.
Run the following command:
dnf update -y
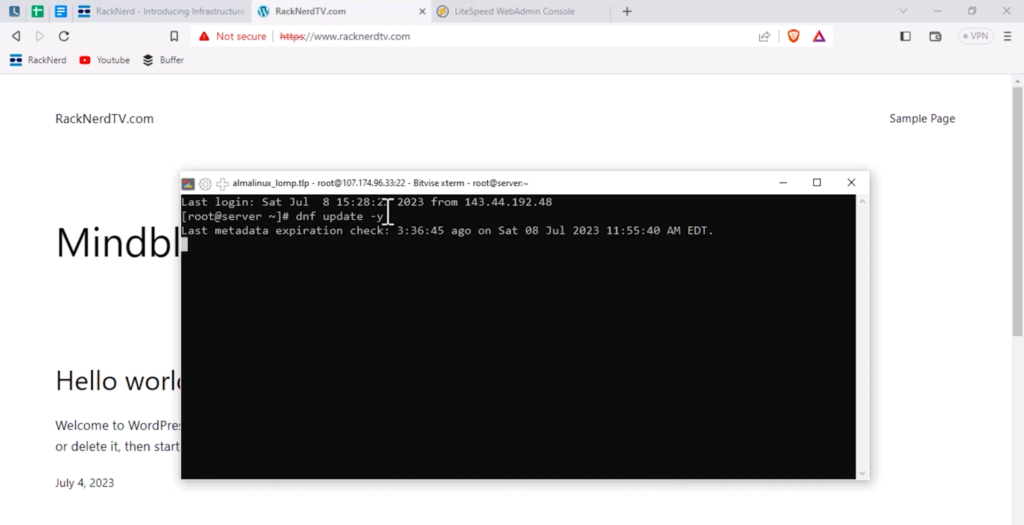
This command updates all installed packages on your system to their latest versions.
Depending on your server and package updates available, this step may take a few moments to complete.
Step 3: Install CertBot
After updating your system, install CertBot by running the following command:
dnf install certbot -y
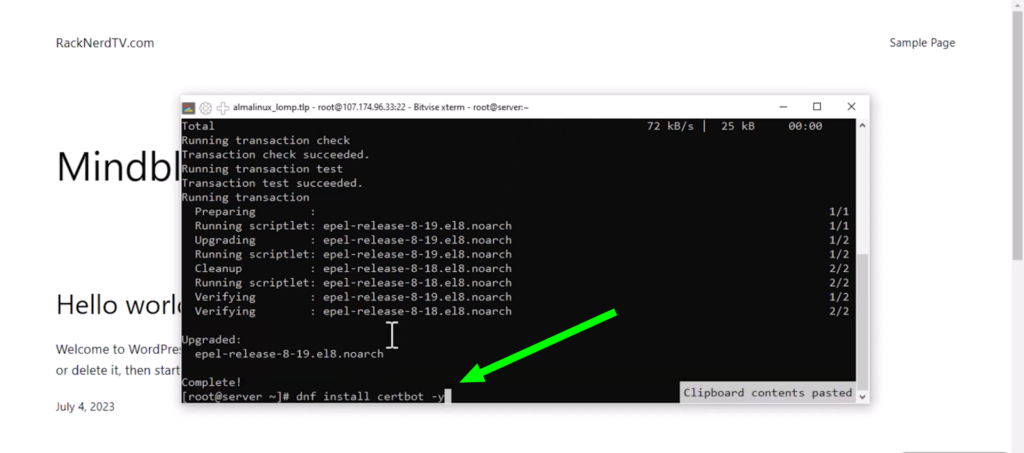
This command installs the CertBot client that will communicate with Let’s Encrypt to generate and manage your SSL certificates.
Once installed, you’re ready to generate the SSL certificate for your domain.
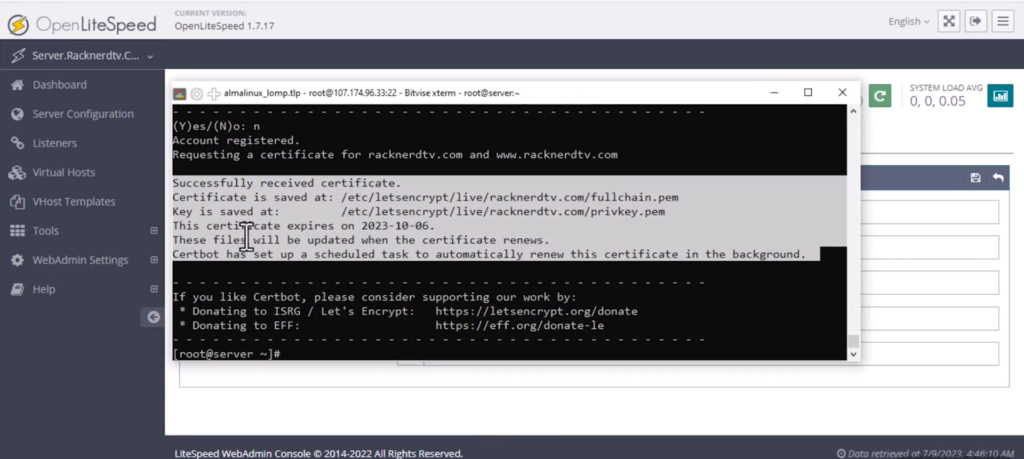
Step 4: Generate an SSL Certificate for Your Domain
Now it’s time to generate your SSL certificate using CertBot.
Run the following command and replace the example domain with your own domain name:
certbot certonly --webroot -w /usr/local/lsws/wordpress -d yourdomain.com,www.yourdomain.com
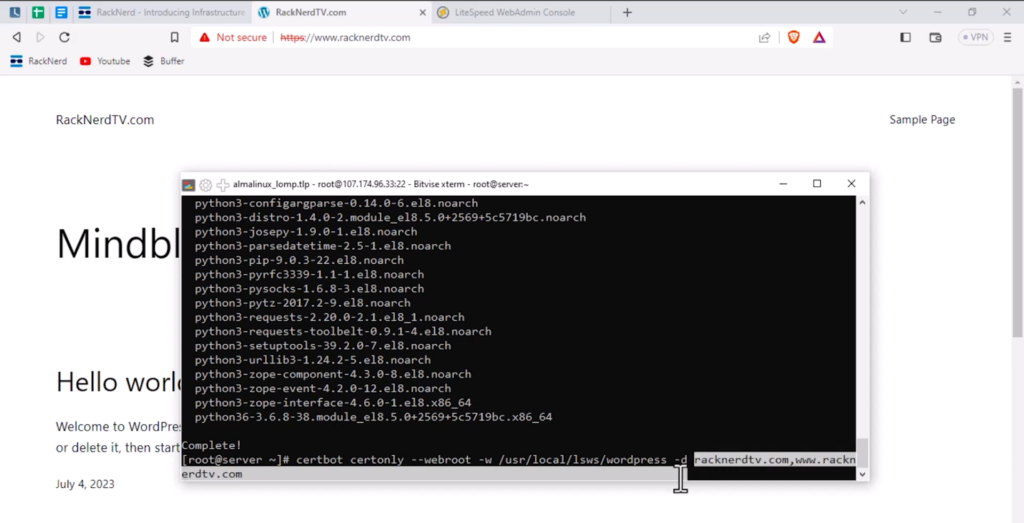
This command tells CertBot to generate an SSL certificate using the webroot method, which verifies your domain by placing validation files inside your website directory.
Here is what each option means:
- certonly – generates the certificate without automatically configuring the server
- –webroot – verifies domain ownership through the website directory
- -w – specifies the website root directory
- -d – defines the domain names that should be included in the certificate
After running this command, CertBot will launch an interactive setup wizard. Follow the prompts to complete the certificate generation process.
Once finished, CertBot will display the location of your generated certificate files.
Step 5: Access the OpenLiteSpeed WebAdmin Panel
After generating the certificate, the next step is to configure OpenLiteSpeed to use it.
Open your browser and navigate to the OpenLiteSpeed WebAdmin interface using your server’s IP address and port 7080.
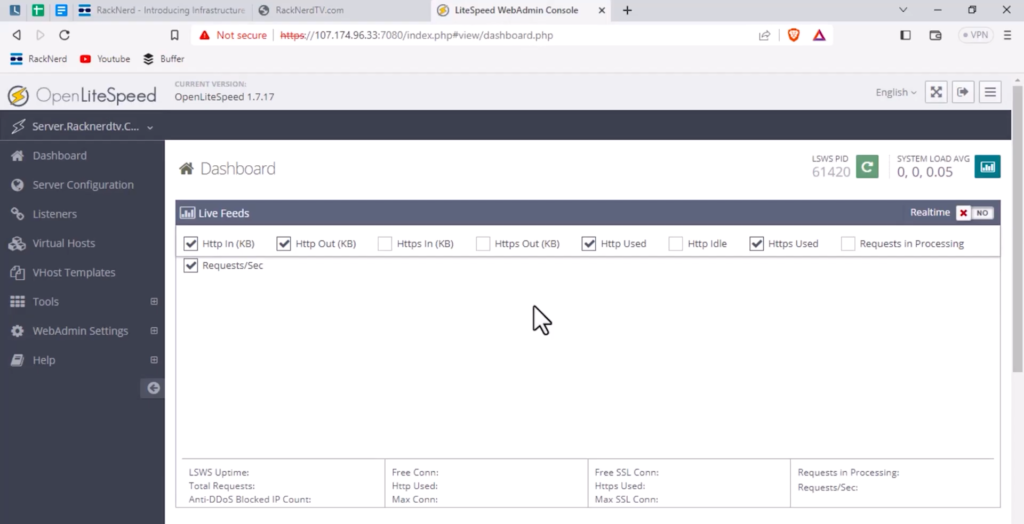
For example:
http://your-server-ip:7080
Log in to the WebAdmin dashboard using your administrator credentials.
Step 6: Configure SSL in Your Virtual Host
Inside the WebAdmin panel, navigate to the Virtual Hosts section and select the virtual host for your website.
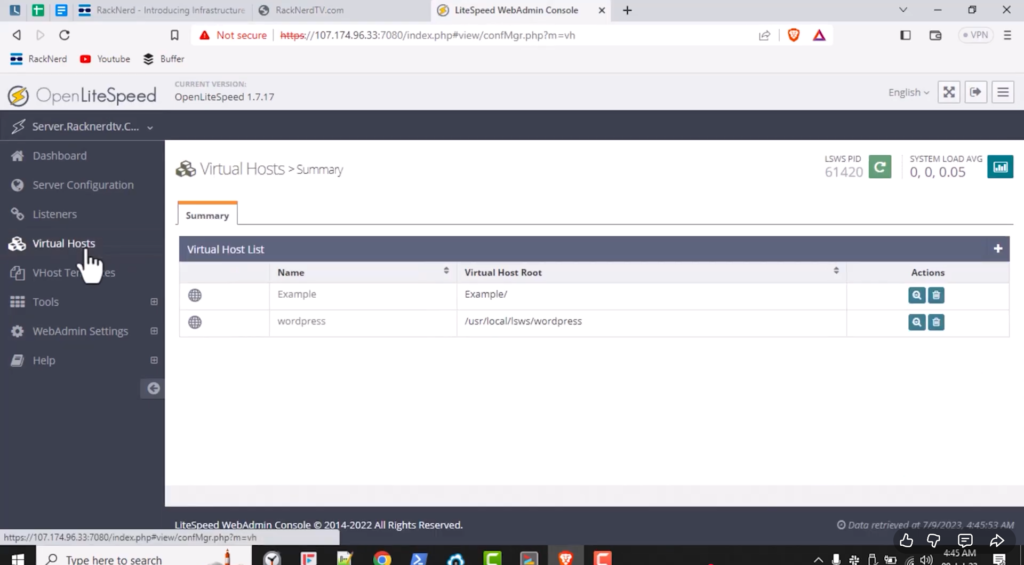
For example, if your site is named wordpress, open the corresponding virtual host configuration.
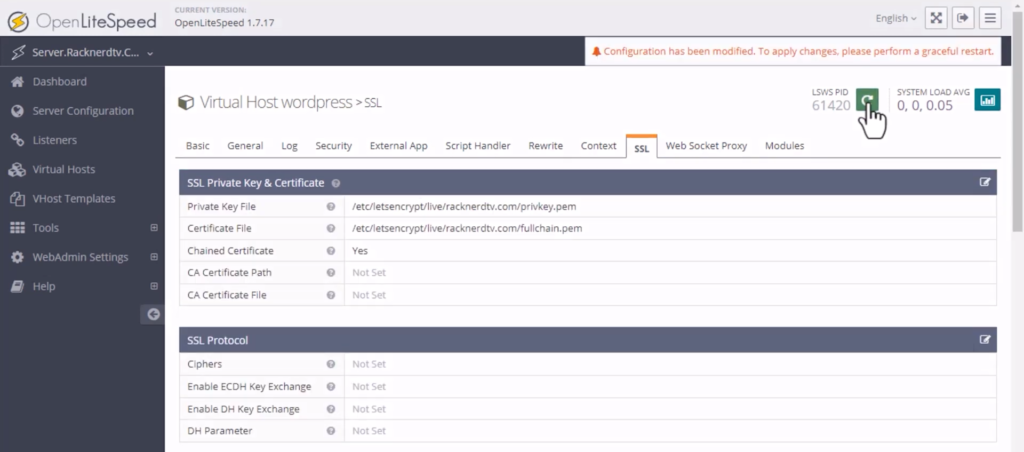
Next, open the SSL tab.
In this section, you will need to provide the paths to the SSL certificate files generated by CertBot earlier.
Paste the following paths into the corresponding fields:
- SSL Certificate File
- Private Key File
You can locate these paths in the output displayed when CertBot generated the certificate.
Once added, enable the Chained Certificate option by selecting Yes, since Let’s Encrypt certificates use chained authentication.
Save the configuration changes.
Step 7: Restart OpenLiteSpeed
After saving the SSL configuration, restart the OpenLiteSpeed server so the new settings take effect.
You can restart the server directly from the WebAdmin interface or from your server terminal.
Once the restart is complete, OpenLiteSpeed will begin serving your website using the installed SSL certificate.
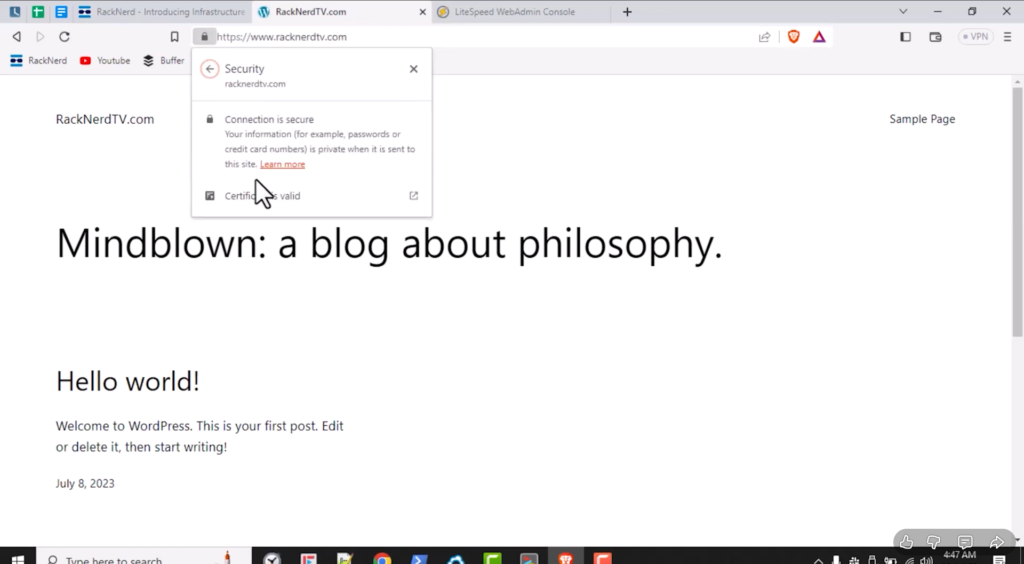
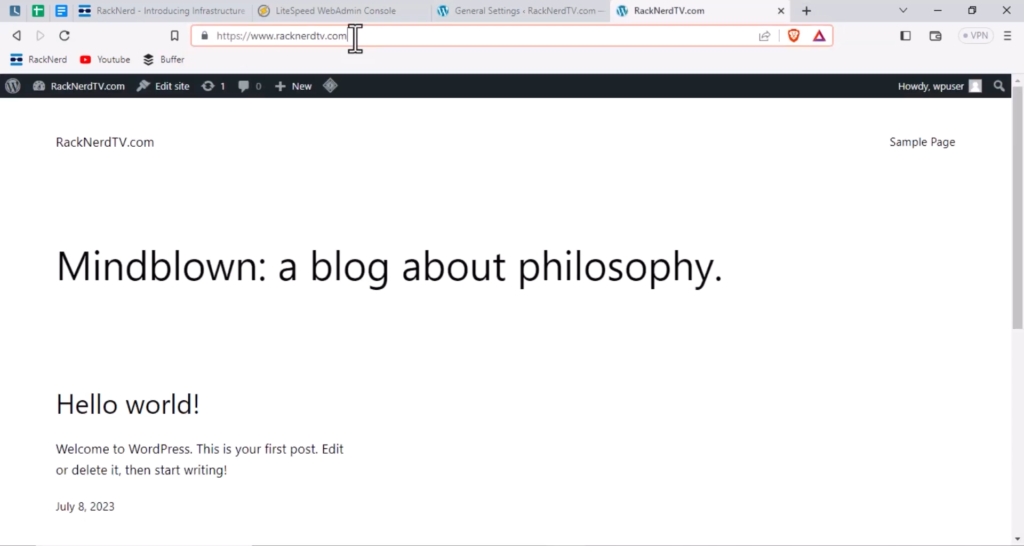
Step 8: Test Your Website with HTTPS
Now open your website in your browser again.
This time, access it using:
https://yourdomain.com
If everything was configured correctly, your browser should now display the secure padlock icon, indicating that the SSL certificate is active and your website is securely served over HTTPS.
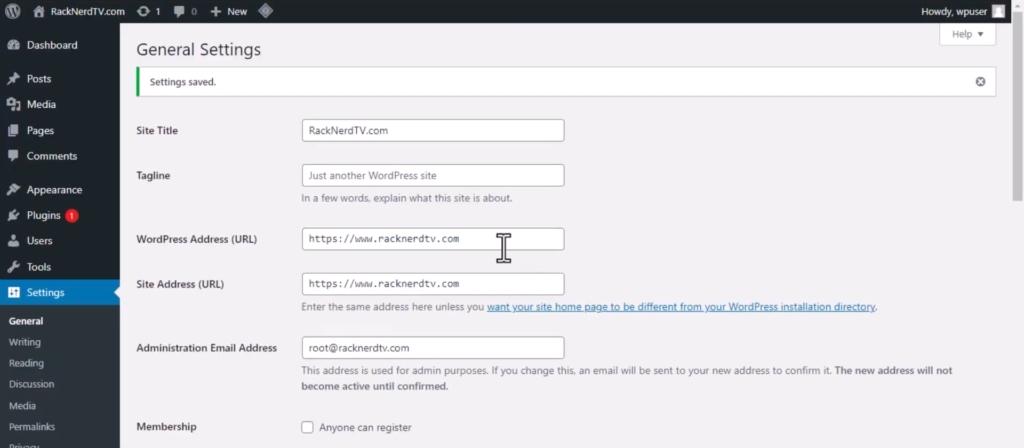
Step 9: Update Your Website Settings to Use HTTPS
If your website is powered by a CMS like WordPress, make sure the website’s settings are configured to use HTTPS.

For example, in WordPress you should update:
- WordPress Address (URL)
- Site Address (URL)
Both should begin with https://.
This ensures that all website traffic is served securely.
Quick Reference Table
| Step | Command / Action | Purpose |
|---|---|---|
| Step 1 | Verify website without SSL | Confirm HTTPS is not active |
| Step 2 | dnf update -y | Update system packages |
| Step 3 | dnf install certbot -y | Install CertBot |
| Step 4 | Run CertBot command | Generate SSL certificate |
| Step 5 | Access http://server-ip:7080 | Open OpenLiteSpeed WebAdmin |
| Step 6 | Configure SSL paths | Add certificate and private key |
| Step 7 | Restart OpenLiteSpeed | Apply SSL configuration |
| Step 8 | Visit https://yourdomain.com | Verify SSL is active |
FAQs
❓ Is Let’s Encrypt SSL really free?
Yes. Let’s Encrypt provides completely free SSL certificates that are trusted by all major browsers. CertBot allows you to easily generate and manage these certificates.
❓ Do I need to manually renew the SSL certificate?
No. CertBot automatically renews certificates before they expire, so your website remains secure without manual intervention.
❓ Can I install SSL for multiple domains?
Yes. CertBot allows you to include multiple domains in a single certificate by specifying additional -d parameters in the command.
❓ What happens if my SSL certificate expires?
If automatic renewal fails or is not configured properly, browsers will display a security warning for visitors. Using CertBot with auto-renewal prevents this from happening.
❓ Does HTTPS improve SEO?
Yes. Google considers HTTPS a ranking signal, so enabling SSL may improve your website’s search engine performance.
Conclusion
Congratulations! You’ve successfully installed Free AutoSSL using CertBot and Let’s Encrypt for your website running on the LOMP stack with OpenLiteSpeed.
By enabling HTTPS, your website now provides secure, encrypted communication for visitors, improving trust, security, and overall user experience.
With CertBot handling certificate renewal automatically, you can focus on managing your website without worrying about SSL expiration.
At RackNerd, we make hosting powerful, reliable, and easy to manage. If you’re looking for high-performance VPS hosting for projects like OpenLiteSpeed, WordPress, or custom web applications, explore our hosting solutions at: