How to Install X-Ray Panel on a Linux Server
Leave a comment on How to Install X-Ray Panel on a Linux Server
Xray is a powerful proxy tool used for VPN services, offering enhanced privacy and security. It supports various protocols like VLESS, VMess, Shadowsocks, and more. In this guide, we’ll walk you through the process of installing the Xray panel on an Ubuntu server.
Step-by-Step Guide on Installing Xray Panel on a Linux Server
Here we use an Ubuntu 22.04 server for installation. Make sure you have a valid domain name (for SSL).
Step 1 – Update Your System
Update all the System Packages to make sure your Ubuntu server is up-to-date. (This may take a few minutes to complete).
sudo apt update && sudo apt upgrade -y
Step 2 – Install Required Dependencies
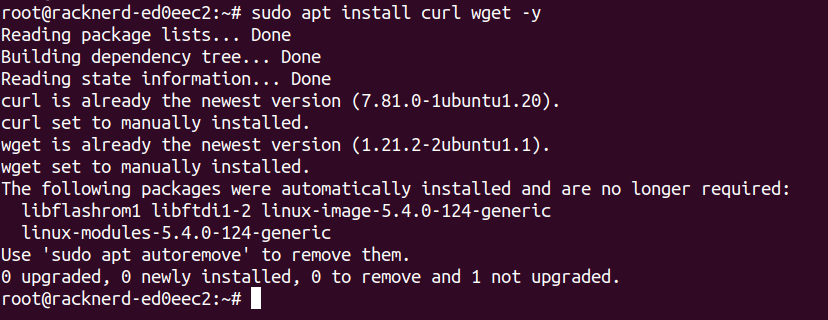
Install necessary packages such as curl and wget:
sudo apt install curl wget -y
Step 3 – Download and Install Xray
You can install Xray using the official script:
bash <(curl -Ls
https://raw.githubusercontent.com/XTLS/Xray-install/main/install-release.sh)

After installation, Xray will be set up as a system service.
Step 4 – Configure Xray
Edit the Xray configuration file located at ‘/etc/xray/config.json’. Use the following basic configuration as a template:
{
“log”: { “loglevel”: “info”
},
“inbounds”: [
{
“port”: 443, “protocol”: “vless”, “settings”: {
“clients”: [{“id”: “your-uuid-here”}], “decryption”: “none”
},
“streamSettings”: { “network”: “ws”, “wsSettings”: { “path”: “/xray”
}
}
}
],
“outbounds”: [{“protocol”: “freedom”}]
}
Replace ‘your-uuid-here’ with a valid UUID. You can generate one using:
uuidgen
Then save and exit the file.
Step 5 – Set Up a Domain and SSL Certificate
NOTE: If you already have a domain with valid SSL, skip this step.
To secure the connection, use Let’s Encrypt SSL:
sudo apt install certbot -y
certbot certonly –standalone -d yourdomain.com
Then, update the Xray configuration to use the SSL certificate by modifying “/etc/xray/config.json” as follows:
{
“inbounds”: [
{
“port”: 443, “protocol”: “vless”, “settings”: {
“clients”: [{“id”: “your-uuid-here”}], “decryption”: “none”
},
“streamSettings”: { “network”: “ws”,
“security”: “tls”, “tlsSettings”: { “certificates”: [
{
“certificateFile”: “/etc/letsencrypt/live/yourdomain.com/fullchain.pem”,
“keyFile”: “/etc/letsencrypt/live/yourdomain.com/privkey.pem”
}
]
},
“wsSettings”: { “path”: “/xray”
}
}
}
]
}
Replace ‘yourdomain.com’ with your actual domain. Save the file and restart Xray for the changes to take effect.
Step 6 – Restart and Enable Xray
Once configured, restart the Xray service and enable it on boot:
sudo systemctl restart xray
sudo systemctl enable xray
Please ensure your firewall allows necessary ports like 80 and 443.
Step 7 – Verify Installation
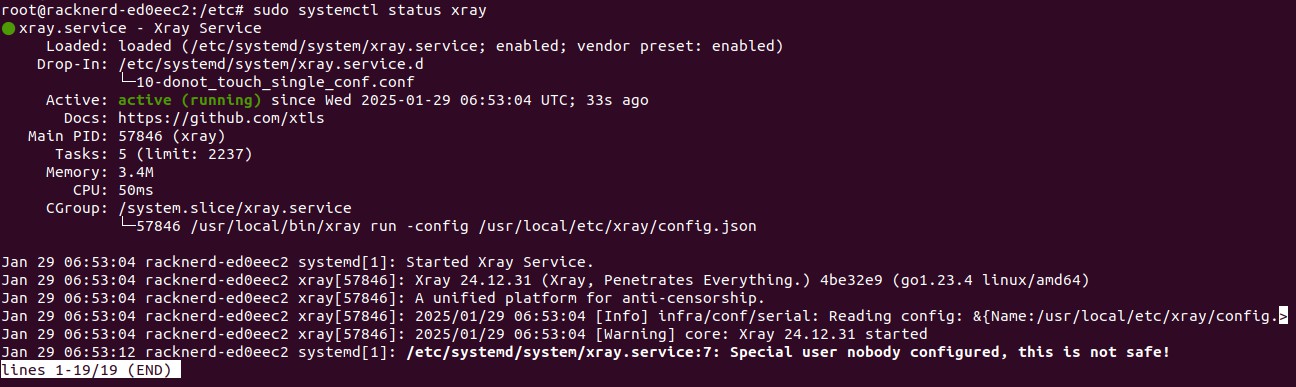
Check if Xray is running correctly:
sudo systemctl status xray
You can now use a client application to connect to your Xray server.
Conclusion
By setting up the Xray panel on your Linux server, you’ve created a robust and secure proxy solution that enhances online privacy and circumvents restrictions. With support for multiple protocols and encryption, Xray provides a flexible and efficient way to manage your network
traffic. Now that your server is up and running, you can further optimize configurations, monitor performance, and integrate additional security measures to ensure a seamless experience