How to Order a Shared Hosting Package at RackNerd
Leave a comment on How to Order a Shared Hosting Package at RackNerd
Looking for affordable, reliable, and DDoS-protected web hosting backed by 24/7 support? RackNerd’s shared hosting plans might be exactly what you need. Whether you’re launching your first website or managing multiple domains, our hosting solutions are built for speed, stability, and scalability — all at competitive prices.

In this guide, we’ll walk you through how to order a shared hosting package from RackNerd, step-by-step.
Why Choose RackNerd Shared Hosting?
Before we dive into the ordering process, here’s a quick overview of what you get with RackNerd’s shared hosting:
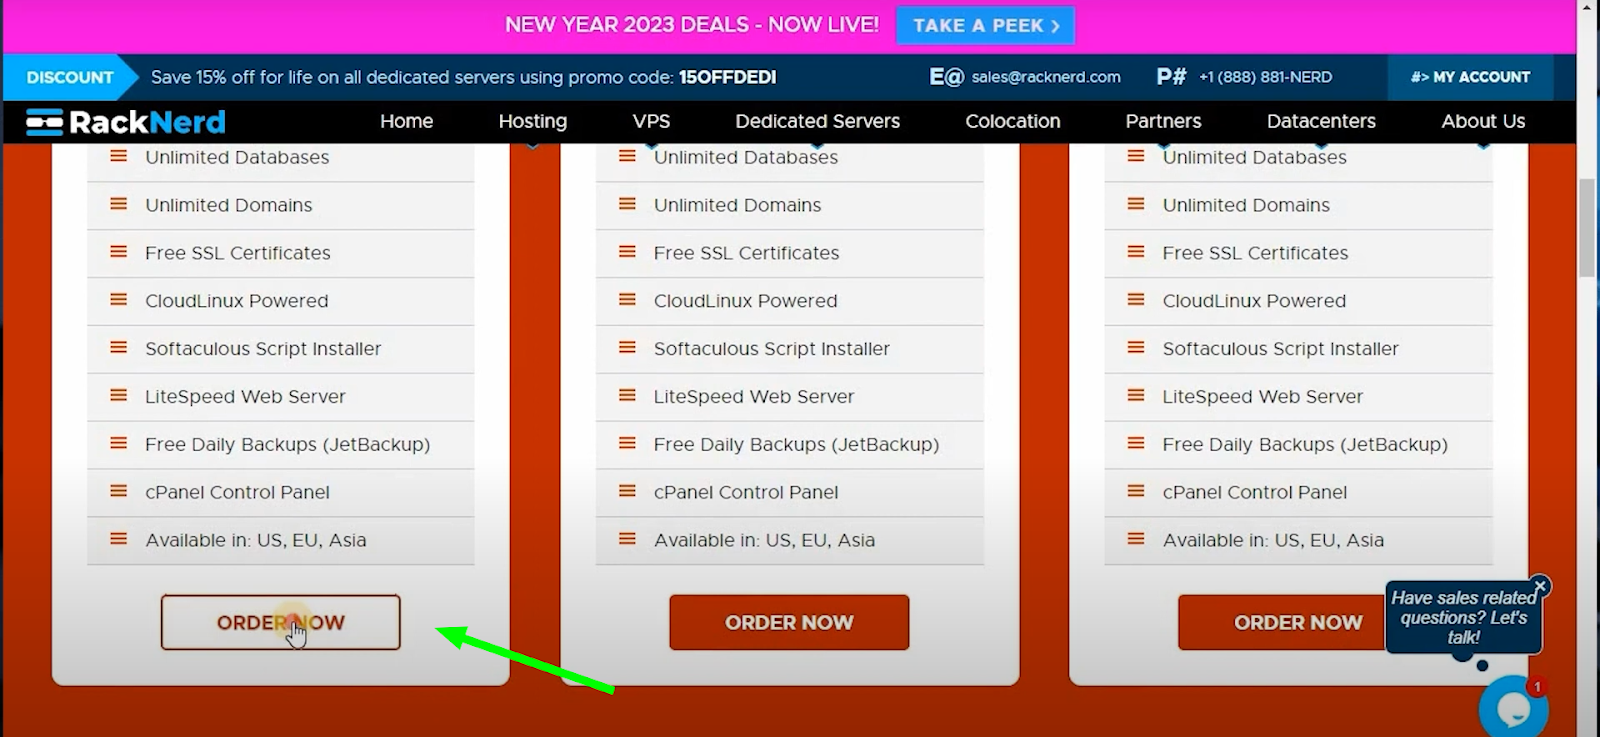
- Free SSL Certificates (powered by Let’s Encrypt)
- DDoS Protection
- JetBackup Daily Backups
- LiteSpeed Web Server & CloudLinux
- Softaculous One-Click App Installer
- Automatic Activation
- 24/7 Technical Support with 10-Minute Average Response Time
- Free cPanel-to-cPanel Website Migrations
Now let’s get started with how to place your order.
Step 1: Browse RackNerd’s Shared Hosting Plans
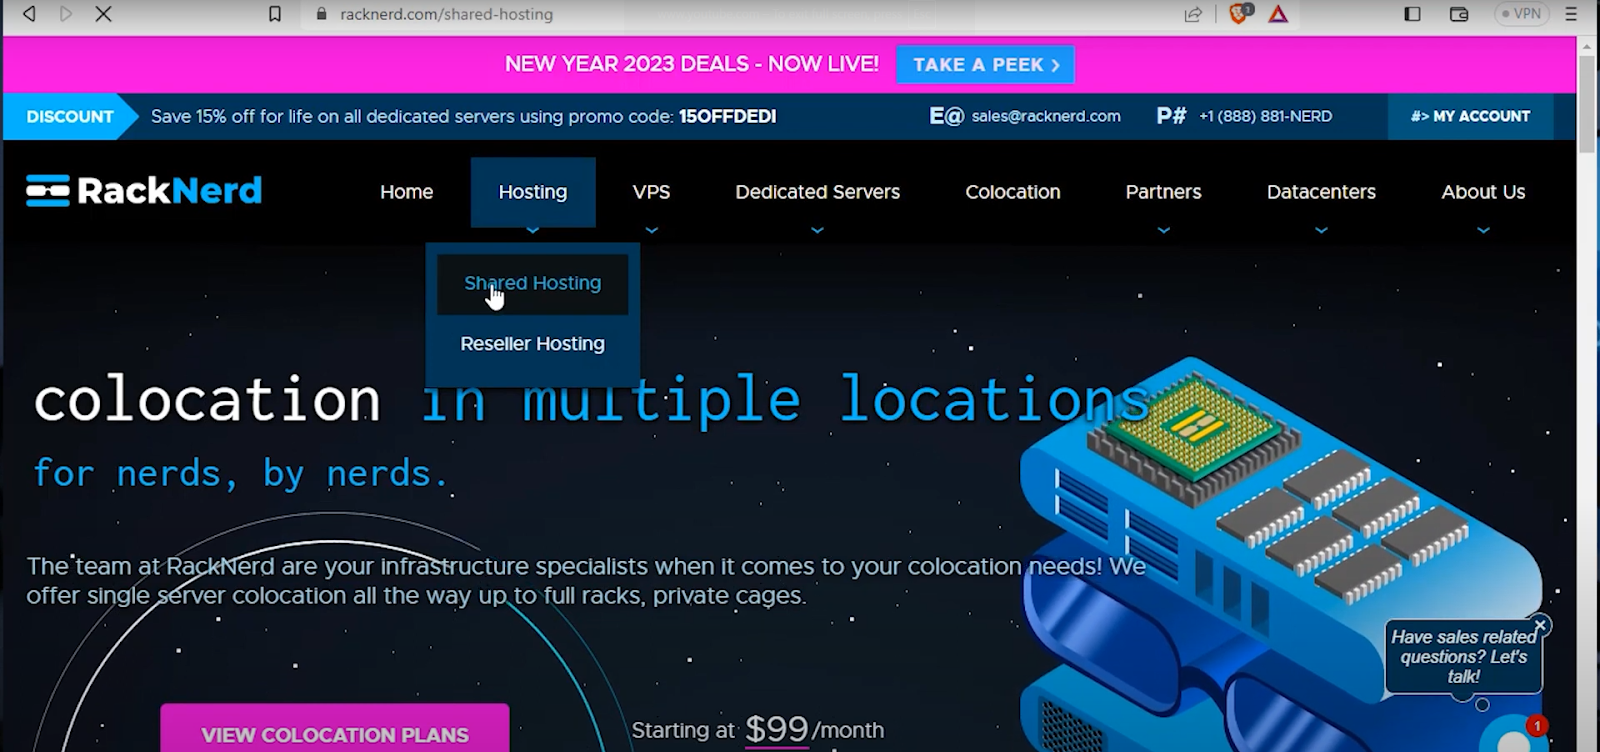
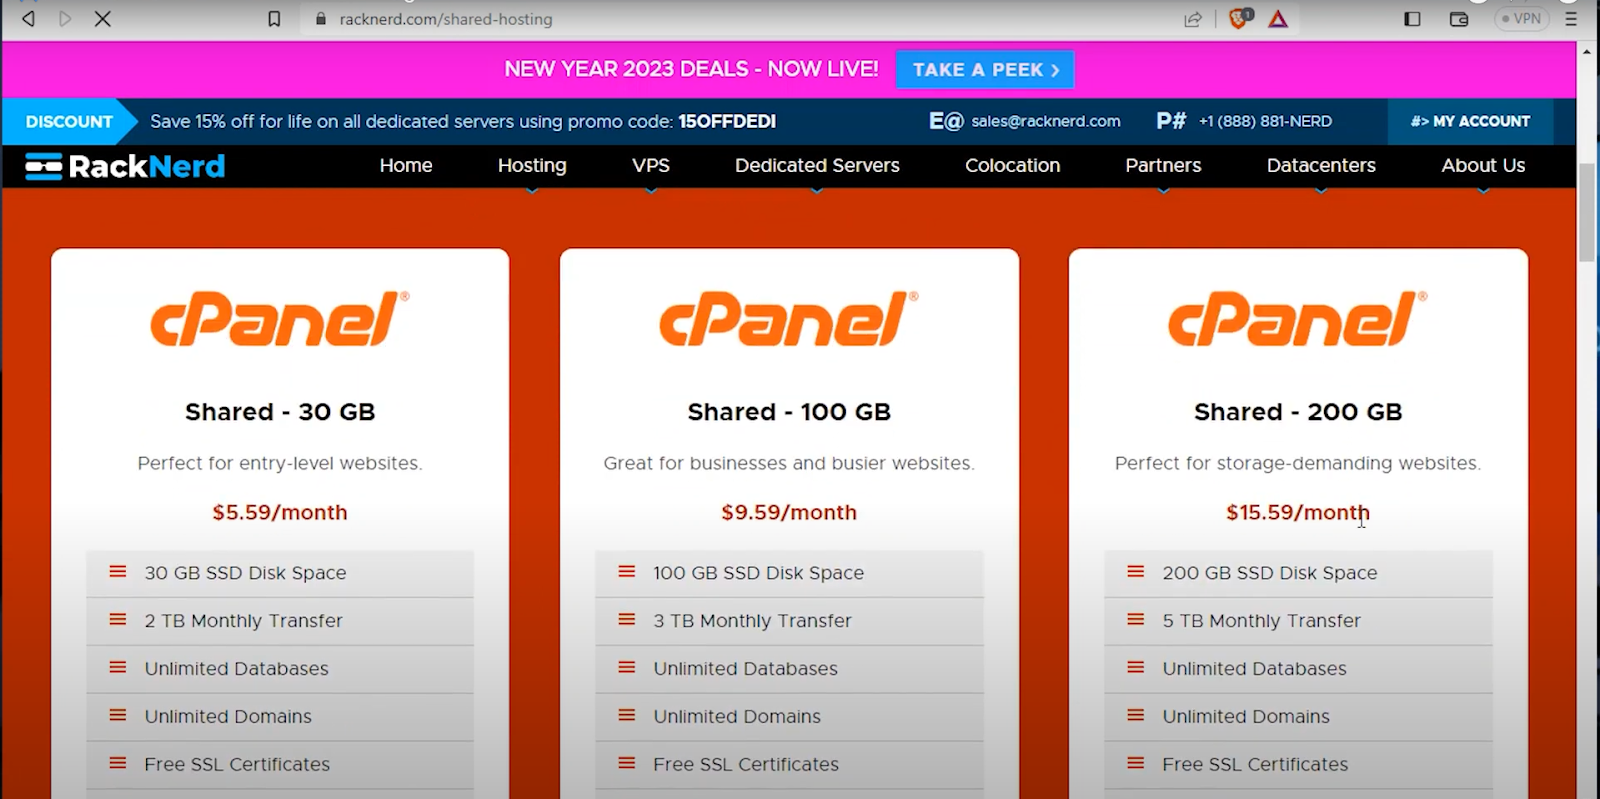
Visit our Shared Hosting Page. You’ll see three different plan options tailored to a variety of needs:
- Shared – 30 GB Plan
Perfect for small or entry-level websites.
- 30 GB SSD storage
- 2 TB monthly bandwidth
- Unlimited domains & databases
- $5.59/month
- 30 GB SSD storage
- Shared – 100 GB Plan
Ideal for small businesses or growing sites.
- 100 GB SSD storage
- 3 TB monthly bandwidth
- $9.59/month
- 100 GB SSD storage
- Shared – 200 GB Plan
Great for high-storage or content-heavy sites.
- 200 GB SSD storage
- 5 TB monthly bandwidth
- $15.59/month
All three plans include the same high-performance features and are available in U.S., Europe, and Asia datacenter locations.
- 200 GB SSD storage
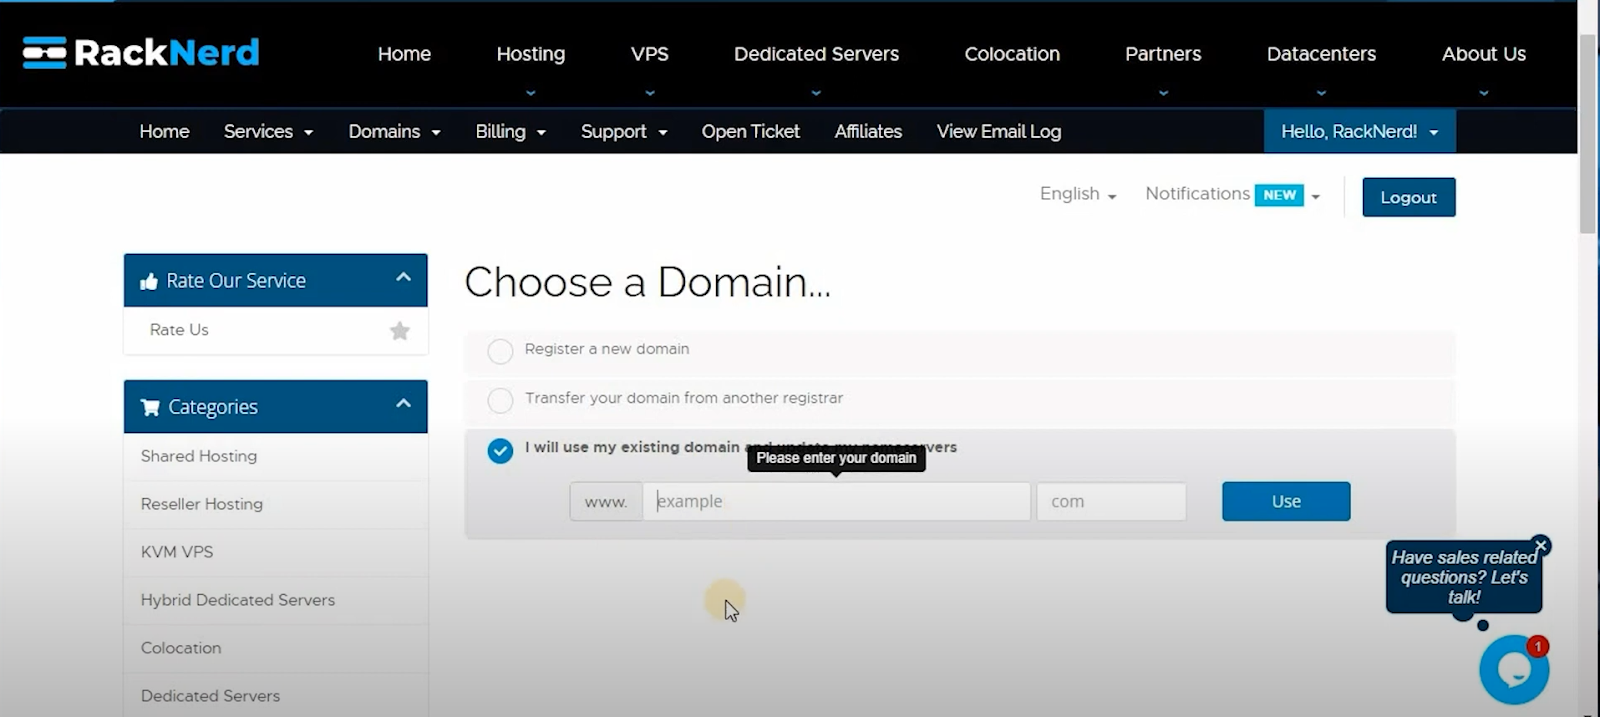
Step 2: Select a Plan and Choose Your Domain
Click the “Order Now” button for the plan that best fits your needs. You’ll be redirected to the shopping cart. Here, you’ll need to choose a domain:
- Register a new domain through RackNerd
- Transfer your domain from another registrar
- Use an existing domain and update nameservers later
Enter your domain name, select the extension (like .com, .net, etc.), and proceed.
💡 Tip: If the domain is already hosted in your account, you may receive an error — try using a different extension or domain name to proceed.
Step 3: Configure Hosting Preferences
On the next page, you’ll confirm the hosting package details and select additional preferences:
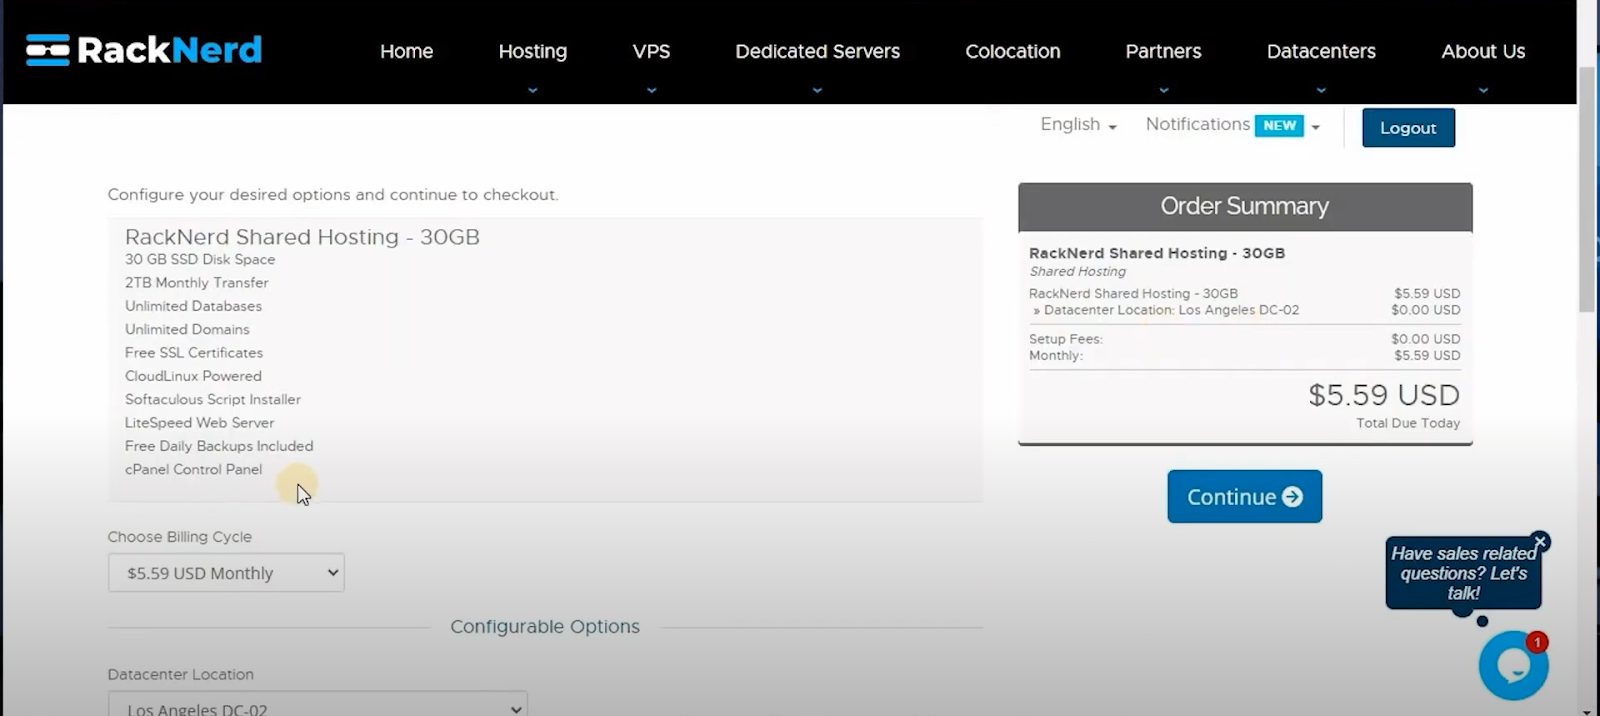
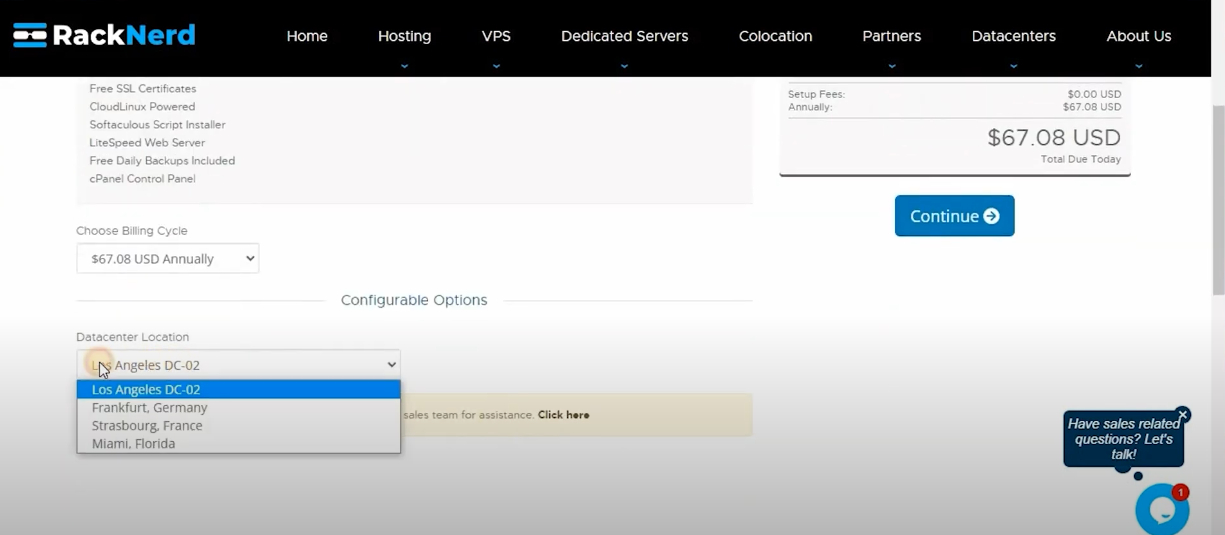
- Billing Cycle — Monthly, Annually, Biennially, or Triennially
- Datacenter Location — Choose a location closest to your visitors
- Optional Add-ons — Add any notes or special requests in the order form
Click “Continue” to proceed to checkout.
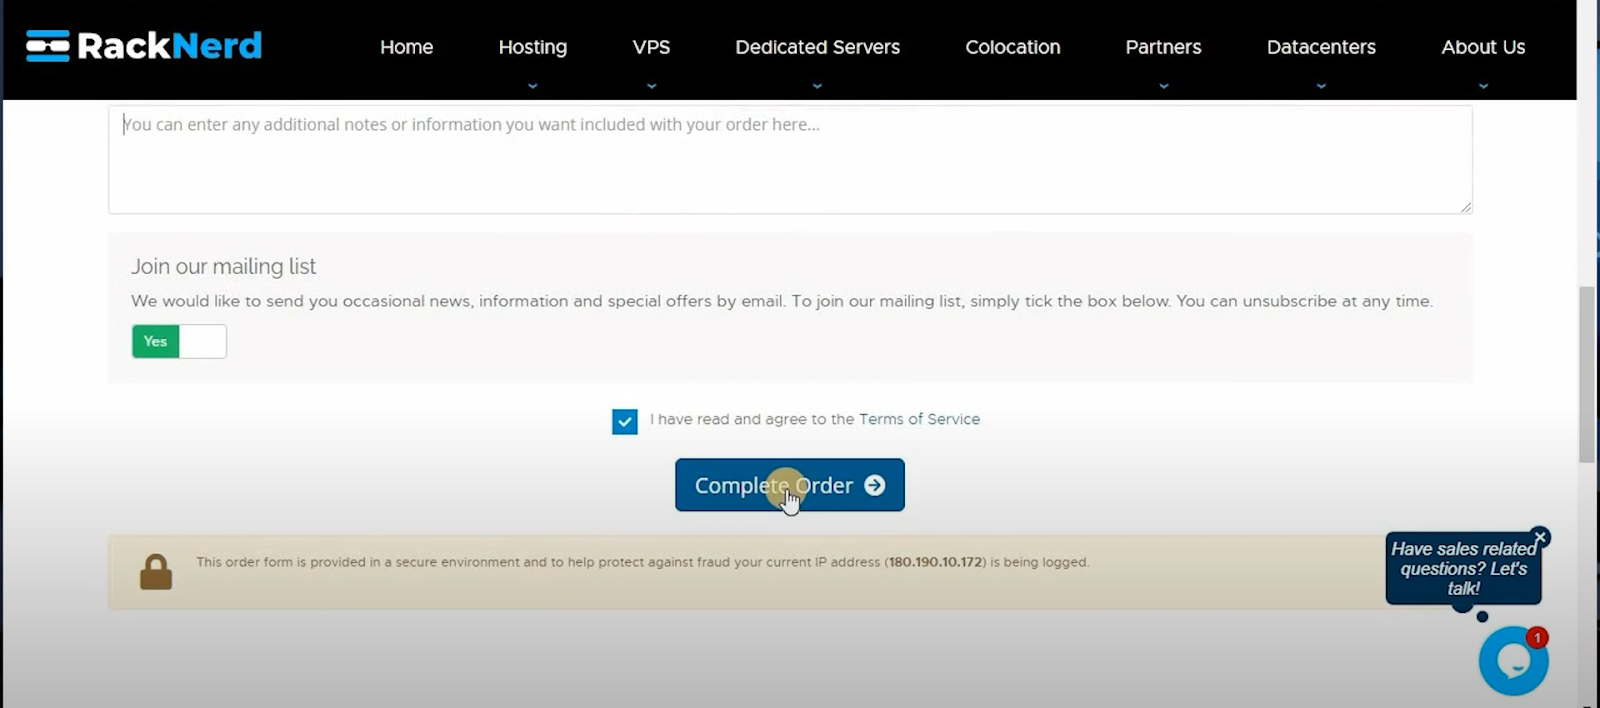
Step 4: Review & Complete Checkout
Now you’re at the review page:
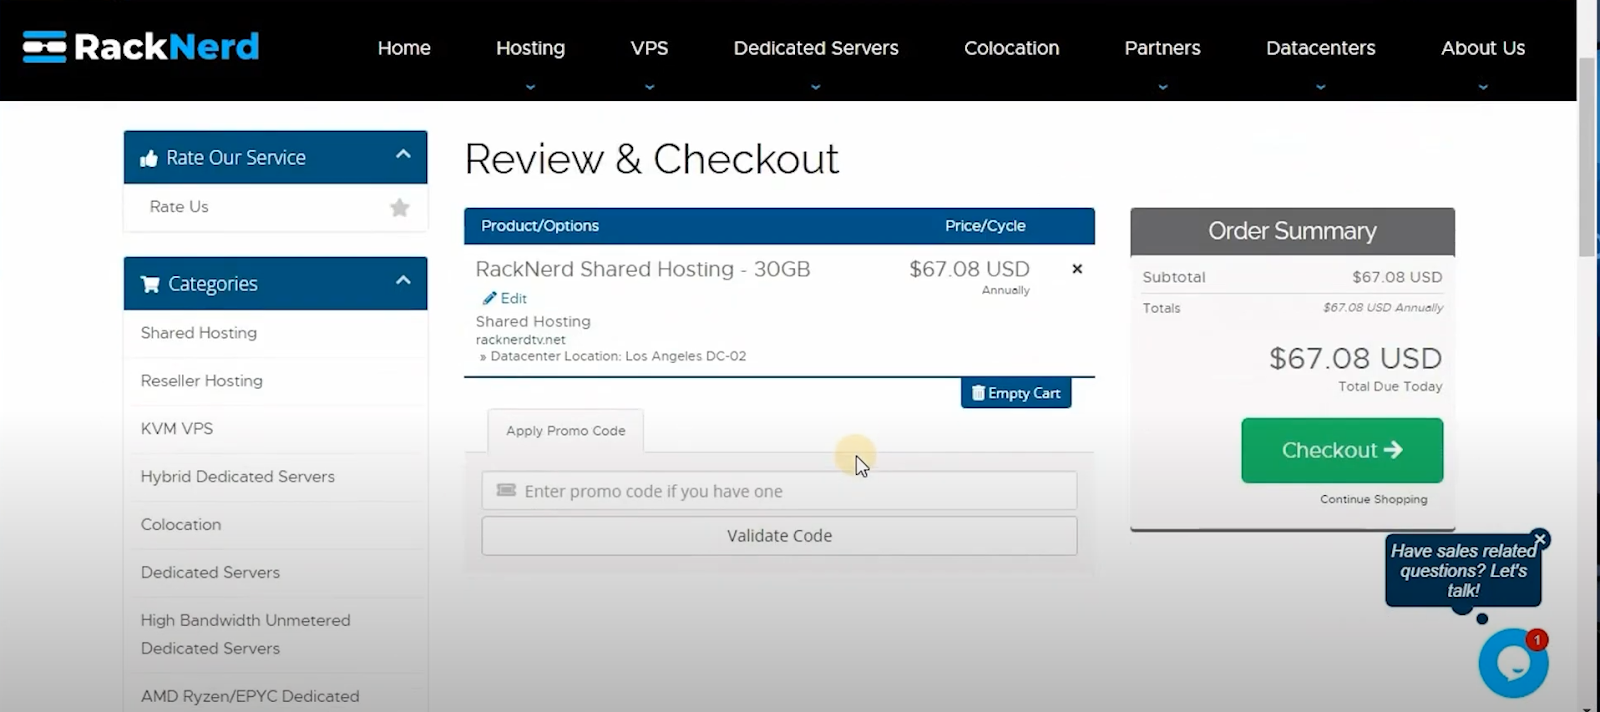
- New users will need to fill in billing details to create an account.

- Select your preferred payment method: PayPal, credit card, cryptocurrency, wire transfer, etc.
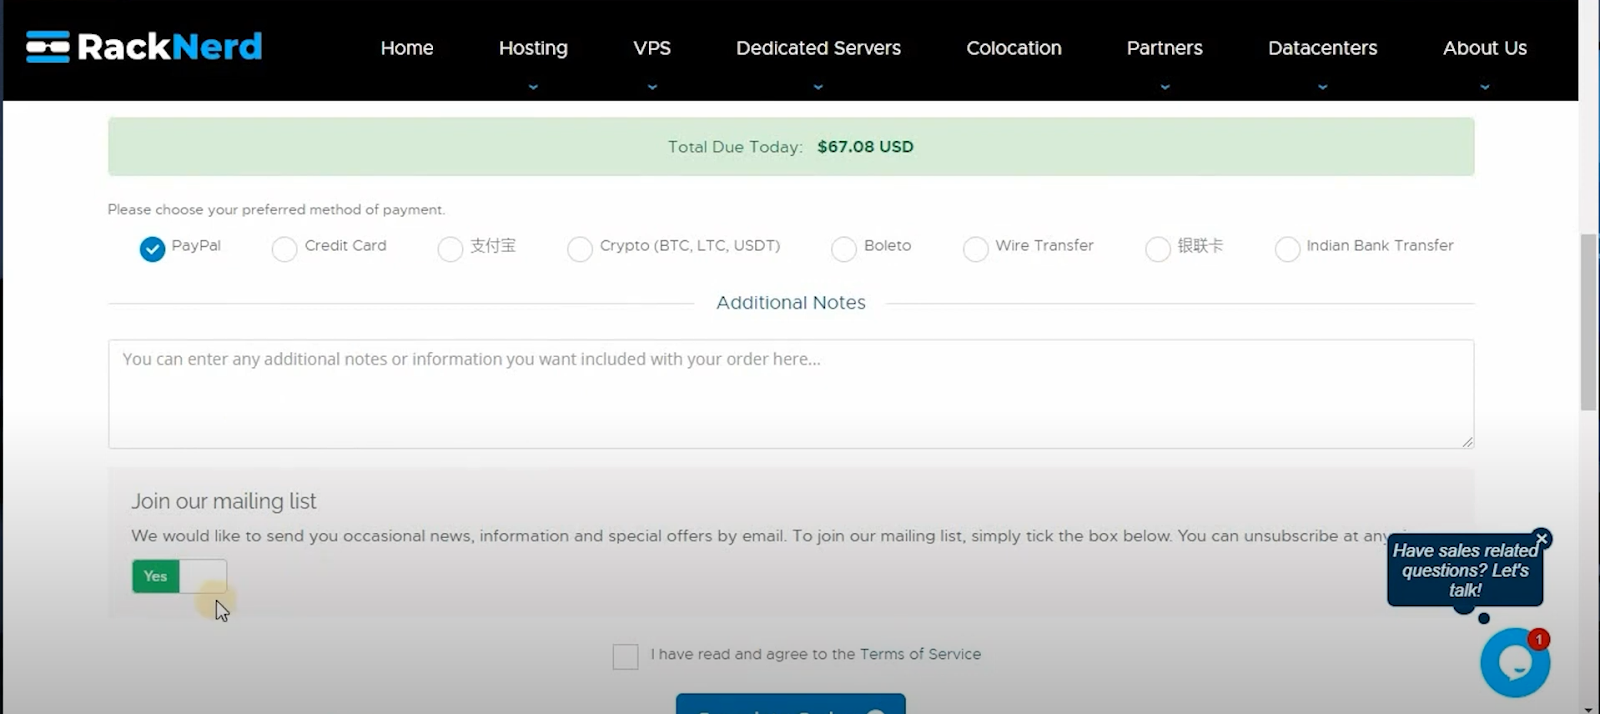
- Accept the Terms of Service and click “Complete Order”.
You’ll receive a confirmation email with your login credentials, invoice, and a copy of the order details.
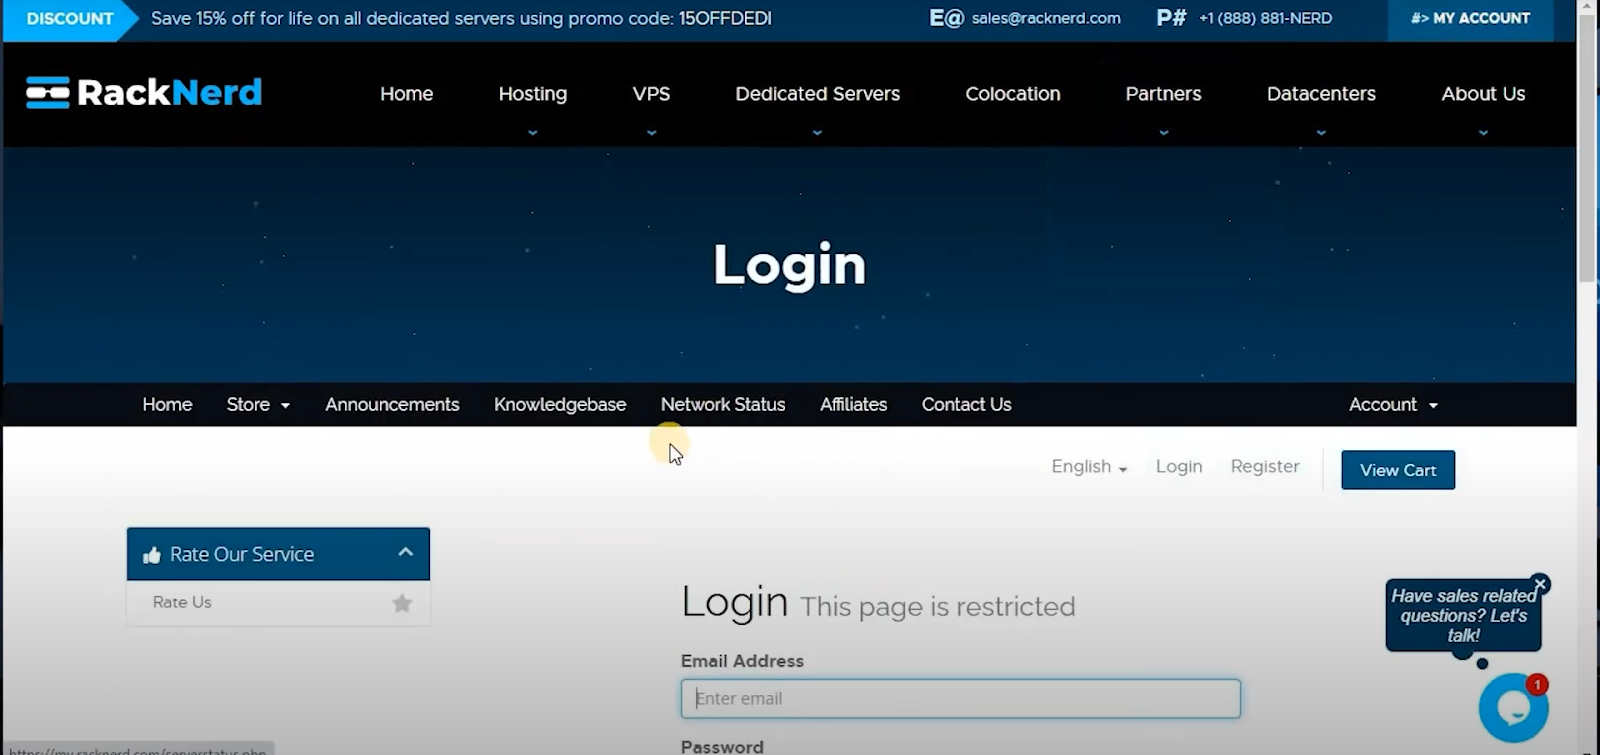
Step 5: Account Activation & Dashboard Access
Once your order is completed, your hosting account will typically be activated within 5–15 minutes. If it takes longer, feel free to contact our 24/7 support team for assistance. You can manage your hosting services from the RackNerd Client Area. From there, you can:
- Access cPanel
- Update passwords
- Review past emails and order history
- Contact support or billing
Final Notes: You’re All Set!
That’s it — your shared hosting package is now up and running with RackNerd. Need to migrate from another host? We offer free website migration assistance from any cPanel-based provider. Need help or have questions? Our expert team is available 24/7 with a fast response time — just open a support ticket.
Ready to Get Started?
Visit racknerd.com/shared-hosting to explore plans and get started. We’re excited to have you onboard!