Installing and Configuring ‘Monit’ to Automate Server Monitoring and Maintenance
Leave a comment on Installing and Configuring ‘Monit’ to Automate Server Monitoring and Maintenance
Introduction
Proactive monitoring and maintenance are essential to keep servers in optimal condition, as they are an integral part of any IT infrastructure. While manual monitoring can be time-consuming, technologies such as Monit can simplify server management by automating alerts and system monitoring. Monit allows for an easy way to monitor system resources, services, and processes—and can even restart services when necessary. In this tutorial, we’ll walk you through how to install, configure, and use Monit to improve the reliability and performance of your server.
What is Monit?
Monit is an open-source monitoring tool for Linux and Unix-based systems. It monitors key system parameters—such as CPU and memory usage—and supervises services or applications, automatically restarting them if they fail. Due to its simplicity and flexibility, Monit is a great option for small to medium-sized environments where reliable server performance is critical.
In this tutorial, we’ll be using Ubuntu 22.04 for the installation.
Step 1: Update System Packages
Before installing Monit, ensure that your Ubuntu server is up-to-date by running the following commands:
sudo apt update
sudo apt upgrade
Step 2: Install Monit
Once your server is updated, you can install Monit using the following command:
sudo apt install monit -yTo verify the installation, use:
monit -V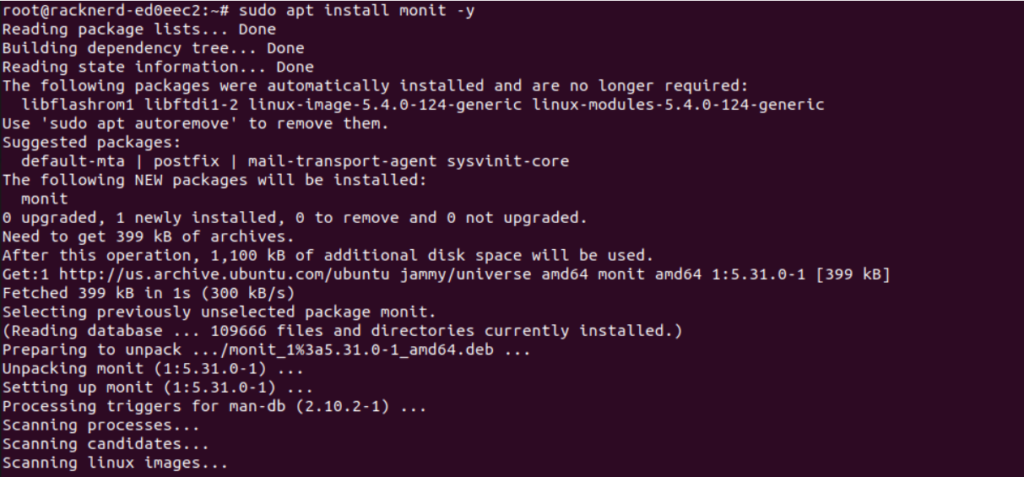

Step 3: Configuring Monit
The main configuration file for Monit is located at /etc/monit/monitrc. Let’s configure it for your use case.
Edit the Configuration File:
Open the file using your preferred text editor:
sudo vi /etc/monit/monitrcEnable the Web Interface:
Find the following lines in the configuration file and edit them:
set httpd port 2812
allow admin:password
Replace admin and password with your desired username and password for the Monit web interface.
Define Monitoring Checks:
You can add monitoring checks for various services. For example, to monitor the Apache web server, add the following configuration:
check process apache with pidfile /var/run/apache2/apache2.pid
    start program = "/etc/init.d/apache2 start"
    stop program = "/etc/init.d/apache2 stop"
    if failed port 80 protocol http then restart
    if 5 restarts within 5 cycles then alert
This configuration instructs Monit to monitor the Apache service and automatically restart it if it fails. You can add similar configurations for other services you wish to monitor.
After editing the file, save and exit.
Verify the Configuration Syntax:
Before applying changes, ensure that the configuration syntax is correct:
sudo monit -t
If no errors are shown, proceed to restart Monit to apply the changes:
sudo systemctl restart monitStep 4: Using Monit for Monitoring
Once Monit is running, you can monitor your services through the command line or the web interface.
Using the Web Interface:
To access Monit’s web interface, open a browser and go to:
http://your-server-ip:2812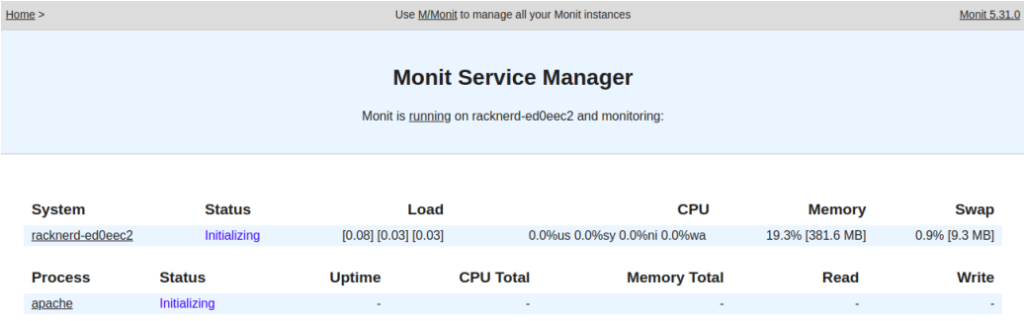
Login using the username and password you configured earlier.
Using the Command Line:
To check the status of all services being monitored by Monit, use the following command:
sudo monit status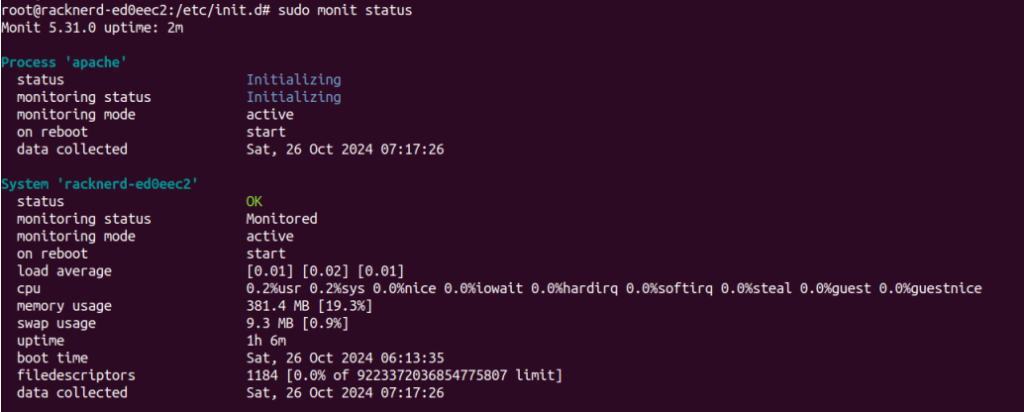
Conclusion
Monit is a powerful and lightweight tool for automating server monitoring and maintenance. By ensuring your services run smoothly and notifying you when issues arise, Monit helps eliminate the need for frequent manual checks. Once installed and configured, Monit will take over the task of monitoring your server’s health, allowing you to focus on more important tasks.
With the steps outlined in this tutorial, you should now have Monit up and running, ready to keep your server running efficiently.