How to Import Your Database into a PostgreSQL Server
Leave a comment on How to Import Your Database into a PostgreSQL Server
Introduction
PostgreSQL, an open-source relational database management system, is widely recognized for its reliability, rich feature set, and strong performance. Whether you’re new to PostgreSQL or need to import a database into your PostgreSQL server, this tutorial will guide you through the process to ensure your data is successfully operational.
Step 1: Install PostgreSQL
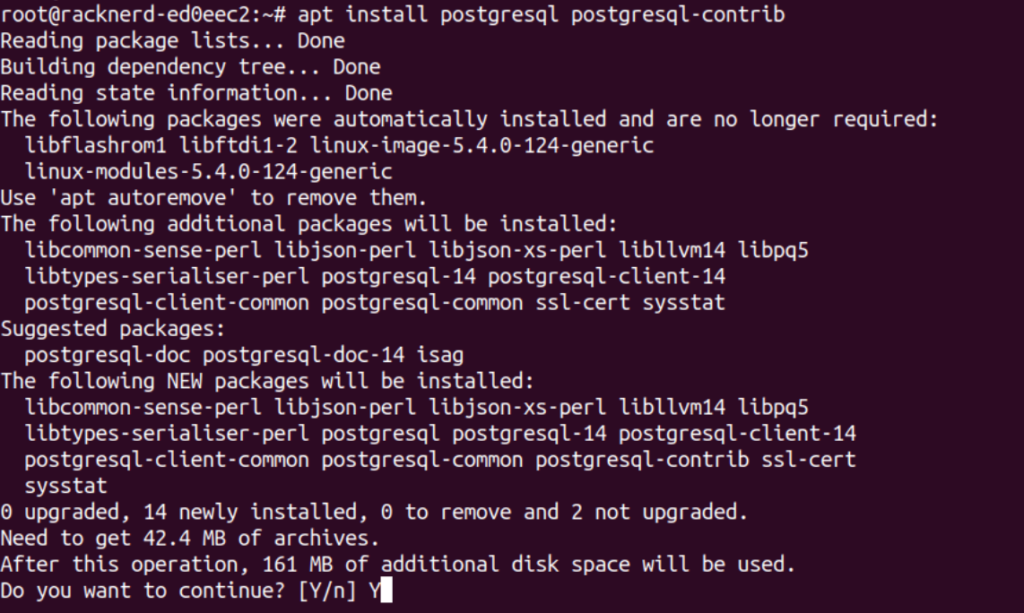
On Linux, installing software is typically done through a package manager. For this tutorial, we’ll be using Ubuntu, where the default package manager is apt. Follow these commands to install PostgreSQL:
sudo apt update
sudo apt install postgresql postgresql-contrib
Once installed, start the PostgreSQL service:
sudo service postgresql startTo verify that PostgreSQL is installed correctly and running, check the status with:
sudo systemctl status postgresqlIf everything is working, you should see an output confirming that the PostgreSQL service is active and running.

Step 2: Create a Target Database (Optional)
If you don’t already have a target database, you can create one. First, access the PostgreSQL command line:
sudo -u postgres psql
To create a new database, use the CREATE DATABASE command. Replace my_db with your desired database name:
CREATE DATABASE my_db;To connect to the newly created database, run the following command:
\c my_db
Now you’re ready to import data into your new database.
Step 3: Import Your Database
There are different methods to import data into your PostgreSQL server depending on the format of your data. Below, we cover importing from a SQL file, CSV file, and PostgreSQL dump file.
1. Importing from a SQL File
To import data from a SQL file, first exit the PostgreSQL shell:
\qThen, run the following command in your terminal to import the SQL file into your PostgreSQL database:
psql -U postgres -d my_db -f /path/to/yourfile.sqlHere’s a breakdown of the command:
-Uspecifies the PostgreSQL user (in this case,postgres).-dspecifies the database into which you want to import the file (my_db).-fspecifies the path to your.sqlfile.
2. Importing from a CSV File
If you have a CSV file, you can import it directly into a PostgreSQL table. Ensure that the table already exists before importing the data. Use the following command to import data from a CSV file:
COPY my_table(column1, column2, column3)
FROM '/path/to/yourfile.csv'
DELIMITER ','
CSV HEADER;
Explanation:
my_tableis the name of the table where you want to import the data.CSV HEADERtells PostgreSQL that the first row of your CSV file contains column names.
3. Importing from a .dump File
If you have a .dump file, which is commonly created using PostgreSQL’s pg_dump command, you can restore the data using pg_restore. Use the following command:
pg_restore -U postgres -d my_db /path/to/yourfile.dumppg_restoreis specifically designed to handle PostgreSQL dump files.- This command will restore all data, schemas, and database objects from the dump file into the target database.
Step 4: Verify the Import
Once the import is complete, it’s important to verify that the data has been correctly imported. In the PostgreSQL shell, you can list the tables in your database using the following command:
\dtIf the import was successful, this command will display a list of tables within the database.
Conclusion
Importing a database into PostgreSQL is a straightforward process with the right tools and commands. By following this tutorial, you can easily import SQL files, CSV files, and PostgreSQL dump files into your PostgreSQL instance. PostgreSQL’s powerful capabilities make it an excellent choice for managing databases, whether you’re migrating data or restoring from a backup.
