How to Install Cacti (Network Monitoring Tool) on Ubuntu Server
Leave a comment on How to Install Cacti (Network Monitoring Tool) on Ubuntu Server
Introduction
Cacti is an open-source network monitoring and graphing tool designed to provide a comprehensive view of your network’s performance. Built on PHP and MySQL, Cacti uses SNMP (Simple Network Management Protocol) to poll devices for their data and present it in a user-friendly graph format.
This tutorial will guide you step-by-step through the installation of Cacti on an Ubuntu server.
Step 1: Update System Packages
Before you begin installing Cacti and its dependencies, ensure that your Ubuntu server is up-to-date. Run the following commands to update all system packages:
sudo apt-get update
sudo apt-get upgrade -y
Step 2: Install Apache Web Server
Cacti requires a web server to function. Apache is a popular choice and will work well for this purpose. To install Apache, use the following command:
sudo apt install apache2 -yOnce installed, start and enable Apache to run on boot:
sudo systemctl start apache2
sudo systemctl enable apache2
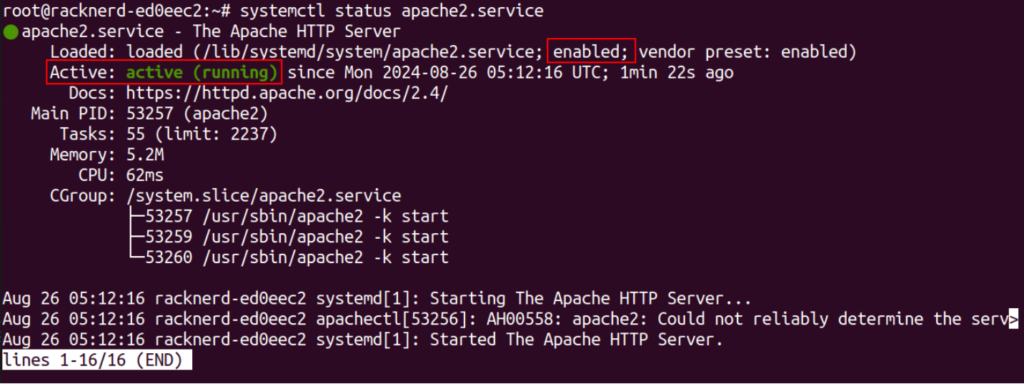
Verify the installation by checking the Apache service status:
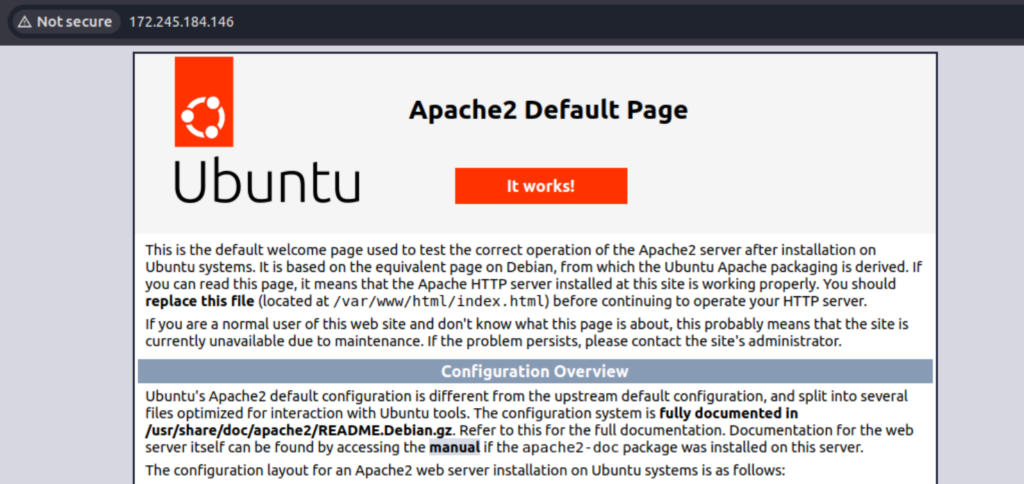
sudo systemctl status apache2.serviceAlternatively, you can visit your server’s IP address in a browser. If Apache is installed successfully, you should see the default Apache page.


Step 3: Install MySQL Database Server
Cacti uses MySQL (or MariaDB) as its database backend. Install MySQL by running:
sudo apt install mysql-server -yAfter installation, secure your MySQL installation:
sudo mysql_secure_installationFollow the prompts to set a root password, remove the test database, disable anonymous users, and disallow remote root login.
Step 4: Install PHP and Required Extensions
Since Cacti is built on PHP, you need to install PHP and several required extensions. Run the following command to install PHP and the necessary extensions:
sudo apt install php php-mysql php-xml php-ldap php-mbstring php-gd php-gmp libapache2-mod-php -yStep 5: Install SNMP and RRDTool
SNMP and RRDTool are essential for Cacti to collect and store network data. To install them, use the following command:
sudo apt install snmp snmpd rrdtool -yStep 6: Install Cacti
Now, install Cacti itself:
sudo apt install cacti -yDuring installation, you will be prompted to configure the Cacti web server. Choose Apache when asked for the web server.
You will also be prompted to configure the MySQL database for Cacti. Select Yes and provide the MySQL root password when prompted.


Step 7: Configure MySQL
To ensure MySQL works optimally with Cacti, you need to make some changes to the MySQL configuration file.
Open the MySQL configuration file for editing:
sudo vi /etc/mysql/mysql.conf.d/mysqld.cnfUnder the [mysqld] section, add the following lines:
collation-server = utf8mb4_unicode_ci
character-set-server = utf8mb4
max_heap_table_size = 64M
tmp_table_size = 64M
join_buffer_size = 64M
innodb_file_format = Barracuda
innodb_large_prefix = 1
innodb_buffer_pool_size = 512M
innodb_flush_log_at_trx_commit = 2
innodb_io_capacity = 5000
innodb_file_per_table = ON
Save the changes and restart MySQL for the new settings to take effect:
sudo systemctl restart mysqlStep 8: Finalize Cacti Installation
After the installation is complete, you can finish setting up Cacti through its web interface. Open your browser and navigate to:
http://your-server-ip/cactiFollow the on-screen instructions to complete the setup.
Conclusion
Congratulations! Your Ubuntu server now has Cacti installed and running. You can start adding network devices and begin monitoring the performance of your network using Cacti’s powerful graphing features. Network administrators often find Cacti invaluable due to its detailed visual representations and user-friendly interface.
To get the most out of Cacti, continue exploring its extensive feature set and consider customizing it to fit your network’s unique needs.
