How to Deploy a Node.js App on an Ubuntu Server
Leave a comment on How to Deploy a Node.js App on an Ubuntu Server
Introduction
For web developers, deploying a Node.js application on an Ubuntu server is a common task. This tutorial will guide you step-by-step through the entire process, from configuring your server to continuously running your application. By the end of this guide, your Ubuntu server will be up and running a Node.js application without issues.
Step 1: Update Your Ubuntu Server
First, ensure your Ubuntu server is up-to-date. Update all system packages using:
sudo apt update
sudo apt upgrade
Step 2: Install Node.js
Use the NodeSource repository to install the latest version of Node.js:
curl -fsSL https://deb.nodesource.com/setup_18.x | sudo -E bash -
sudo apt-get install -y nodejs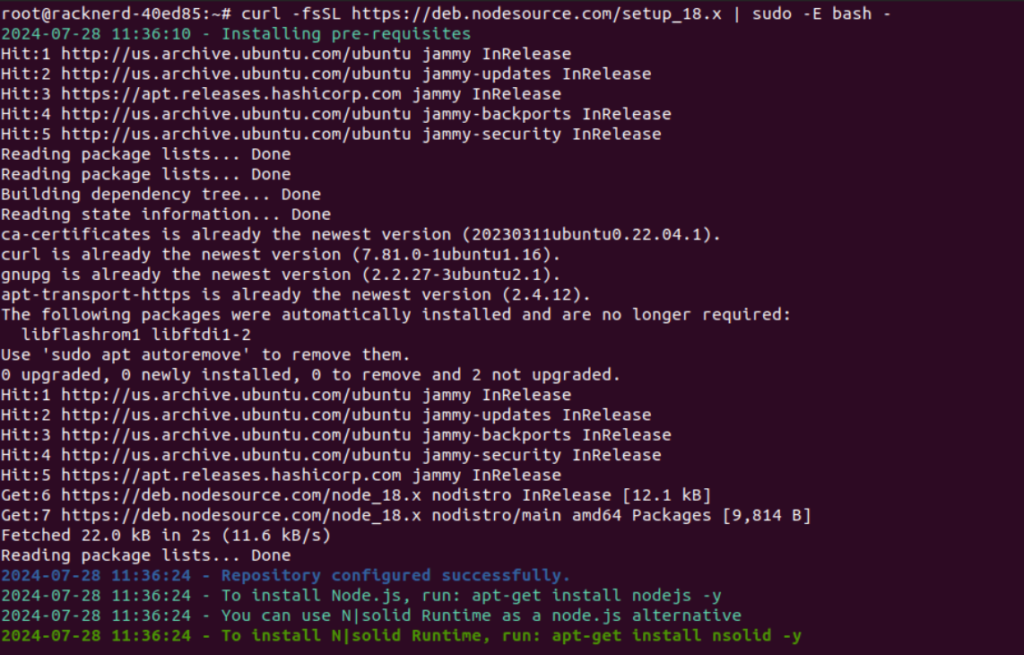
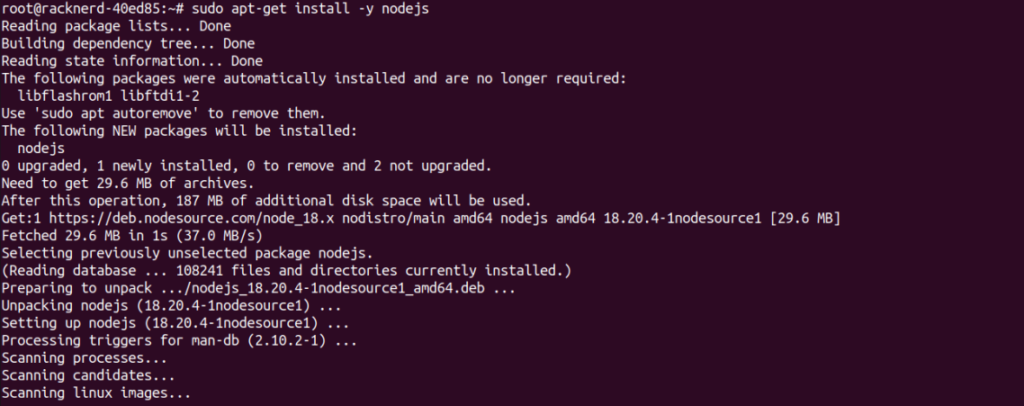
After installation, verify it using: node -v or node --version.
You should see a version like v18.20.4.

Step 3: Install Git
If Git isn’t already installed, you can install it with:
sudo apt-get install gitStep 4: Clone Your Application from GitHub
Navigate to the directory where you want to deploy your application:
cd /path/to/deployment/directoryUse the following command to clone your repository and enter it:
git clone https://github.com/yourusername/yourrepository.git
cd your_repository
Step 5: Install Dependencies
In your application directory, install the necessary dependencies:
cd /path/to/your/app
npm install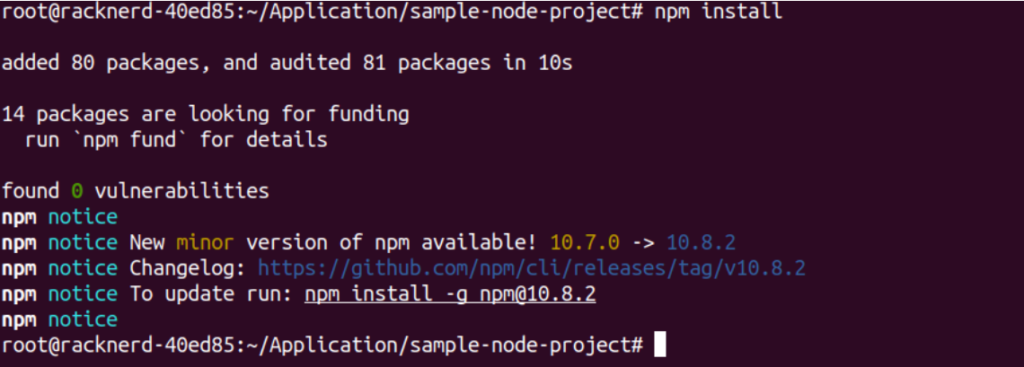
Step 6: Start Your Application
To ensure everything is working, start your application: node app.js
Replace app.js with your main file name. Your application should now be operational.
Step 7: Set Up a Process Manager
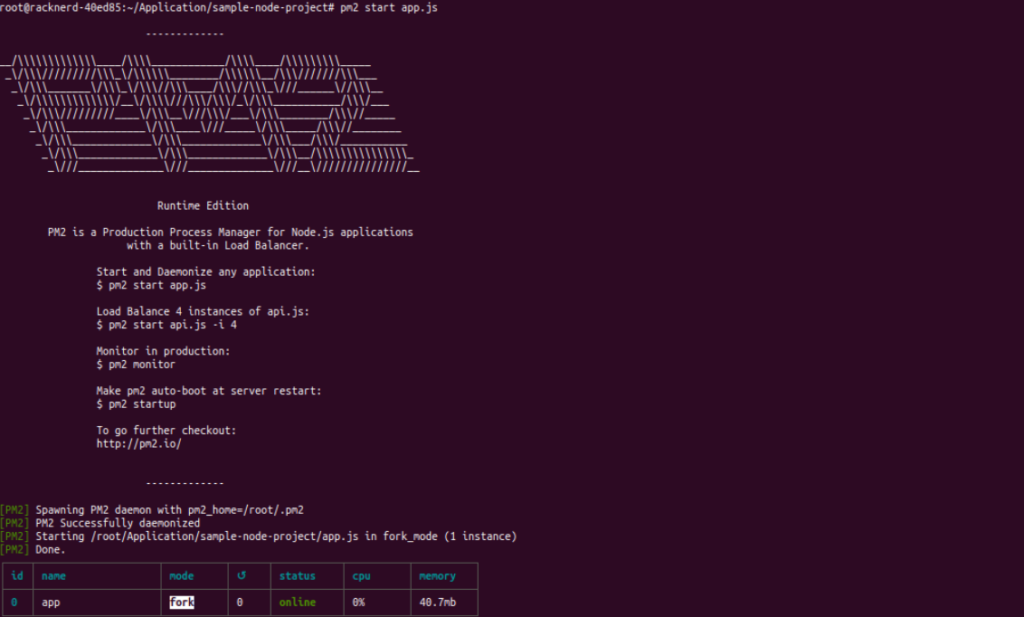
Use a process manager like PM2 to keep your application running in the background, even after the SSH session ends:
sudo npm install -g pm2
pm2 start app.js
pm2 startup systemd
pm2 save
Step 8: Set Up a Reverse Proxy
Using a reverse proxy like Nginx helps manage load balancing and traffic in production settings. Install Nginx and create a configuration file for your app:
sudo apt-get install nginx
sudo vi /etc/nginx/sites-available/yourapp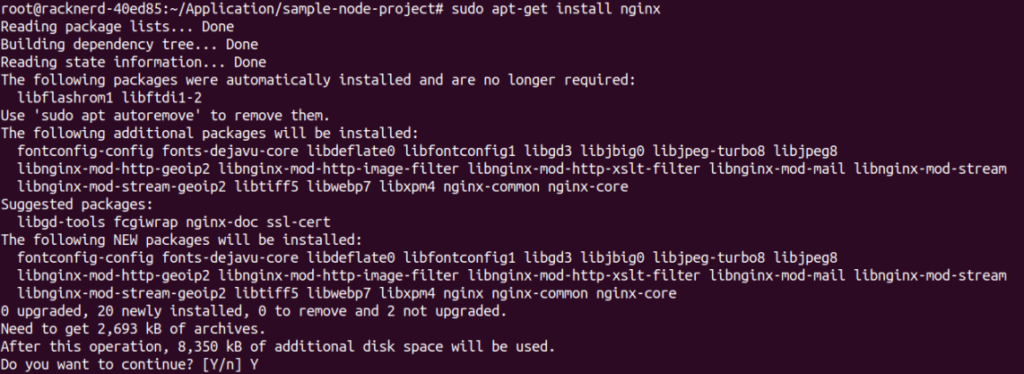
Add the following configuration (modify as needed):
server {
    listen 80;
    server_name yourdomain.com;

    location / {
        proxy_pass http://localhost:3000;
        proxy_http_version 1.1;
        proxy_set_header Upgrade $http_upgrade;
        proxy_set_header Connection 'upgrade';
        proxy_set_header Host $host;
        proxy_cache_bypass $http_upgrade;
    }
}
Enable the configuration using:
sudo ln -s /etc/nginx/sites-available/yourapp /etc/nginx/sites-enabled/
sudo nginx -t
sudo systemctl restart nginx
Conclusion
Deploying a Node.js application on an Ubuntu server can be a straightforward process. This guide covers the basics of deploying and managing your Node.js application effectively.
Keep in mind that this is just the beginning. As your application grows, explore more sophisticated deployment techniques, such as orchestration with Kubernetes or containerization with Docker. These technologies can greatly improve scalability, reliability, and efficiency.
